
DeVille V8-4.6L VIN Y (1998)
Fuel Tank Unit: Service and Repair
Fuel Sender Assembly Replacement
Removal Procedure
Tools Required
^
J34730-1A Fuel Pressure Gauge
^
Fuel Sender Lock Nut Wrench Fuel Sender Lock Nut Wrench
REMOVAL PROCEDURE
CAUTION: In order to Reduce the Risk of Personal Injury: Always allow for proper ventilation when working with fuel in enclosed areas.
CAUTION: Always wear safety goggles when working with fuel in order to protect the eyes from fuel splash.
1. Relieve the fuel system pressure. Refer to Fuel Pressure Release / Service and Repair / Fuel Pressure Relief Procedure.
2. Drain fuel tank. Refer to Fuel Tank Draining Procedure.
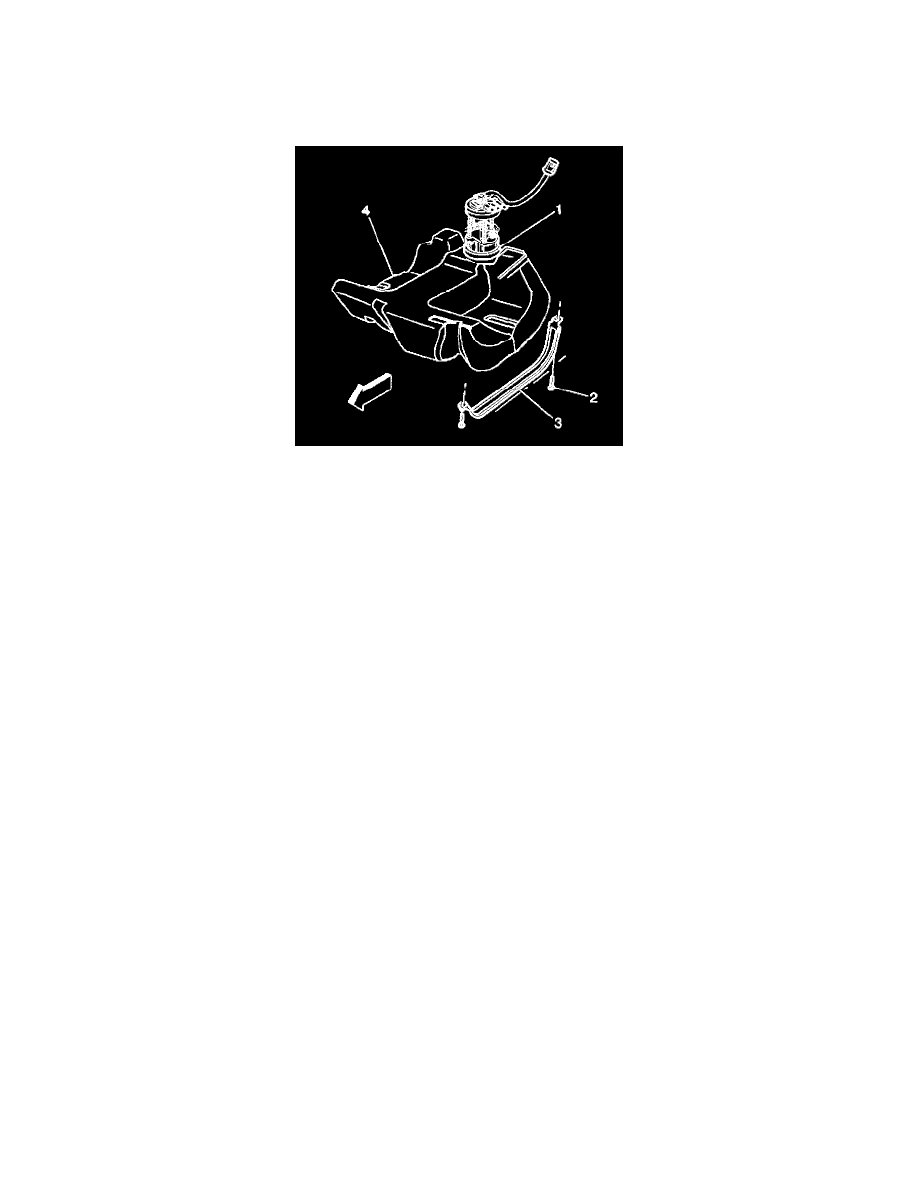
3. Remove fuel tank (4). Refer to Fuel Tank Replacement.
4. Remove the locking nut using J 39765 by turning counterclockwise.
IMPORTANT: The modular fuel sender assembly may spring up from its position. When removing the modular assembly from the fuel tank, be aware
that the reservoir bucket is full of fuel. Tip the modular assembly slightly during removal to avoid damage to the float. Have a shop towel ready to absorb
any leakage.
5. Remove modular fuel sender assembly (1) from the fuel tank.
6. Remove fuel sender seal (lip). Slide the fuel sender lip seal downward, past the reservoir and carefully over the float arm assembly
7. Discard the fuel sender lip seal.
8. Carefully discard the reservoir fuel into an approved container.
Installation Procedure