
DeVille V8-4.6L VIN Y (1998)
8. Lift the air inlet assembly (1) onto the radiator core support area by pulling firmly straight up.
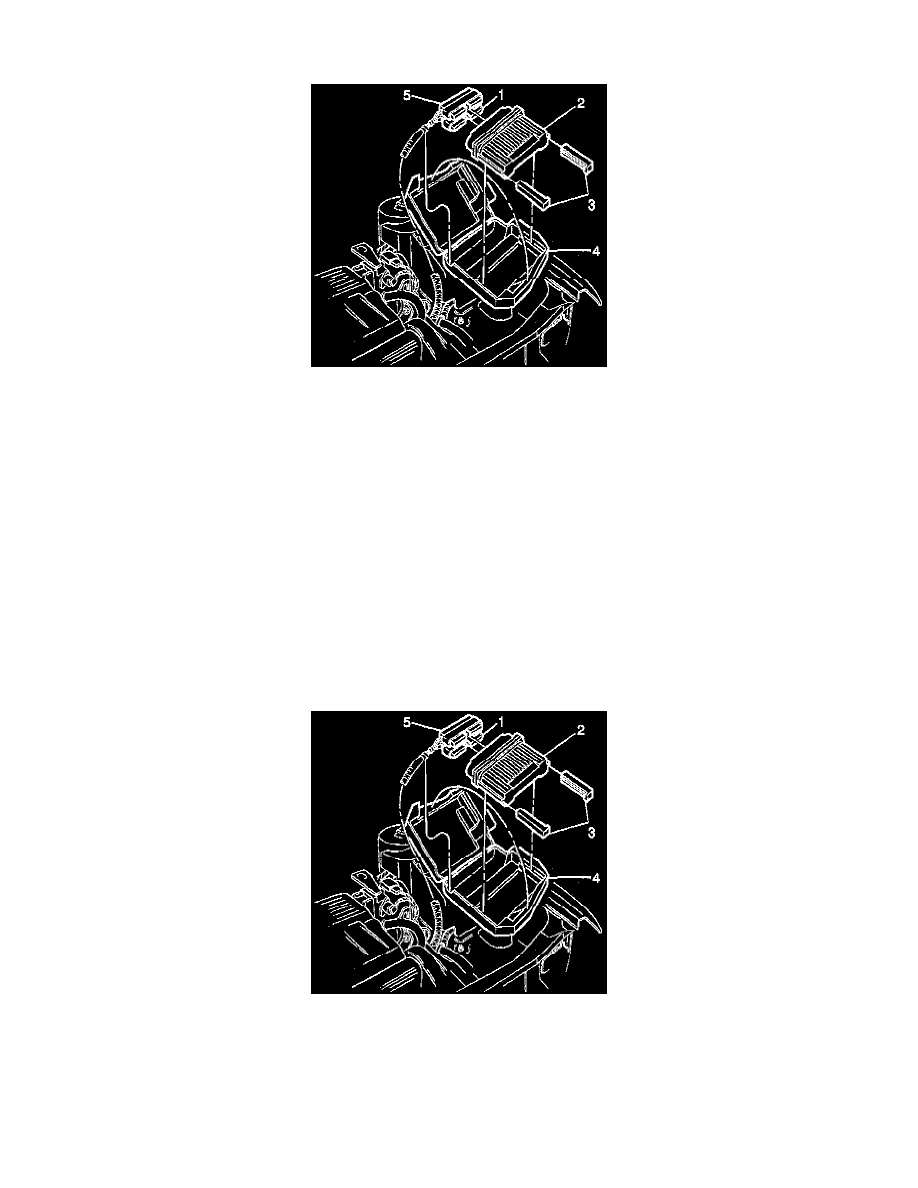
Accessing PCM
9. Open the air inlet housing (4) to gain access to the PCM (2).
10. Loosen the connector attaching bolts.
11. Disconnect both PCM connectors (1 and 5).
^
If installing a replacement PCM the KS module will have to be transferred from the original PCM to the replacement PCM.
^
If installing a replacement PCM the PCM Isolators (3) will have to be transferred to the replacement PCM.
Installation
PCM Installation
If a replacement PCM is being installed it will be necessary to transfer the KS module from the original PCM. Refer to Knock Sensor Module.
Procedure
Notice: Numbers in text correspond to numbered components in image.
Accessing PCM
1. Slide the PCM Isolators (3) on to the PCM (2).
2. Install Install the PCM connectors (1 and 5).
^
Tighten the PCM connectors screws to 10 Nm (7 lb ft).
3. Place the PCM (2) into the air inlet housing (4).
4. Close and latch the air inlet housing (4).