
DeVille V8-4.6L VIN Y (1998)
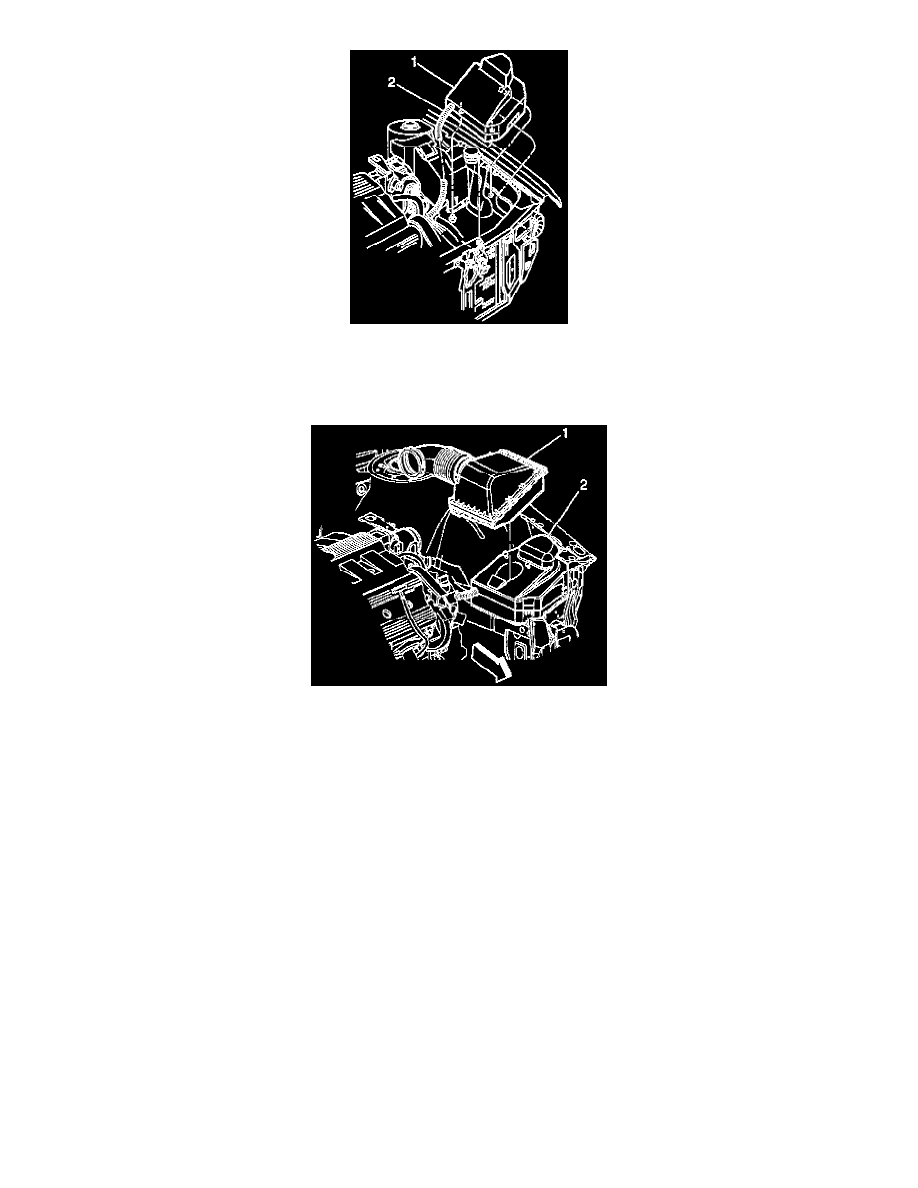
Air Inlet Housing
5. Install the air inlet housing (1) by inserting the outboard locating pin into the inside fender alignment hole.
6. Press the air inlet housing (1) firmly down to engage the bottom locating pins.
Air Cleaner Assembly
7. Ensure that the locating pin grommets are present and properly positioned in the bottom of the air cleaner assembly (1).
8. Install the air cleaner assembly (1) onto the air inlet housing (2).
Important: An improperly installed air cleaner or a distorted /missing Intake Air Duct may cause a DTC to set. Ensure air cleaner assembly and IA duct
is installed correctly and that there are no kinks or folds in the IA Duct or possible debris in the air cleaner assembly or the MAF sensor inlet screen that
may distort the air flow.
9. Install the Intake Air duct to the air cleaner assembly and the MAF sensor.
^
Tighten the Intake Air duct clamps to 3 Nm (27 lb in).
10. Connect the IAT sensor connector.
11. Install the gusset (brace) between the LH fender and the radiator core support.
^
Tighten the 5 gusset (brace) attaching bolts to 24 Nm (18 lb ft).
12. Connect the negative battery cable.
Notice: If proper programming procedures are not followed, permanent damage to the PCM will result.
13. If a replacement PCM is being installed it must be programmed (flashed) using the latest Techline programming procedures.
14. Start the engine. If the engine fails to start verify the following:
^
The PCM contains the correct program
^
The PCM connectors are fully engaged into the PCM.
^
That all fuses are present and not blown.