
DeVille V8-4.6L VIN Y (1998)
Control Arm Bushing: Service and Repair
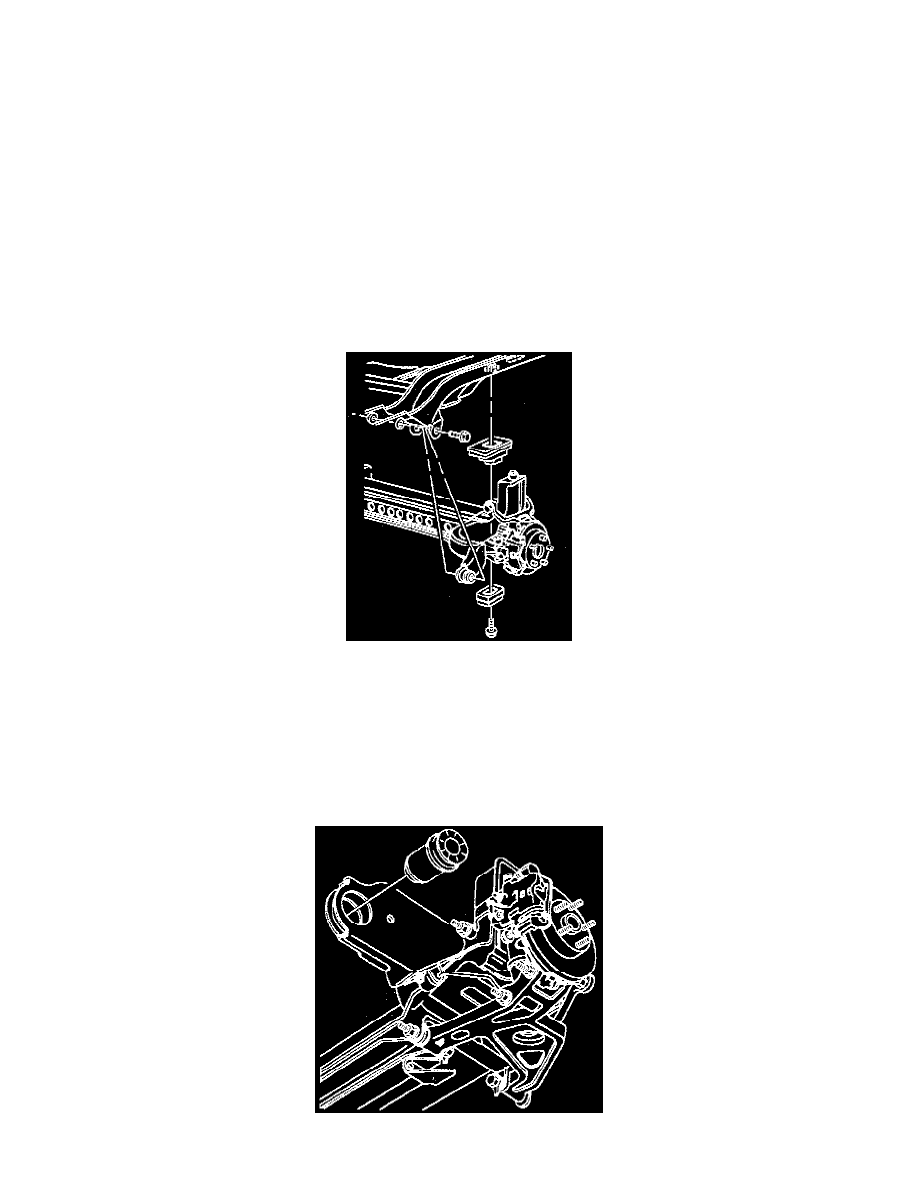
Rear Axle Lower Control Arm Bushing Replacement
REMOVAL
^
Tools Required:
-
J 21474-5 Receiver
-
J 21474-18 Long Nut
-
J 21474-19 Long Bolt with Bearing
-
J 21474-23 Remover
-
J 35739-1 Spacer
-
J 35739-3 Installer
1. Raise and support the vehicle.
2. Remove the tire and wheel assemblies.
3. Remove the brake bracket retainer screw.
4. Disconnect the road sensing suspension position sensor and the bracket from the shock tower.
5. Lower the exhaust system and heat shield, if you are replacing the right side bushing.
6. Install the screw jack under the rear suspension support forward arm.
7. Remove the forward arm nuts and bolts.
IMPORTANT: While lowering the suspension support, carefully watch the position of the brake calipers, hoses and pipes in order to prevent
damage during the removal procedure.
8. Slowly lower the forward arm only as far as required in order to gain tool clearance (approximately 5 inches).
9. Insert the J 35739 Rear Control Arm Bushing Service Set between the forward arm flanges.
10. Coat the threads of the J 21474-19 with High Pressure Lubricant in order to prevent thread damage.
11. Install the J 35739 Rear Control Arm Bushing Service Set, the J 21474-5, the J 21474-18 and the J 21474-19.
12. Draw the bushing out of the forward arm by tightening the nut.