
DeVille d Elegance V8-4.6L VIN Y (1998)
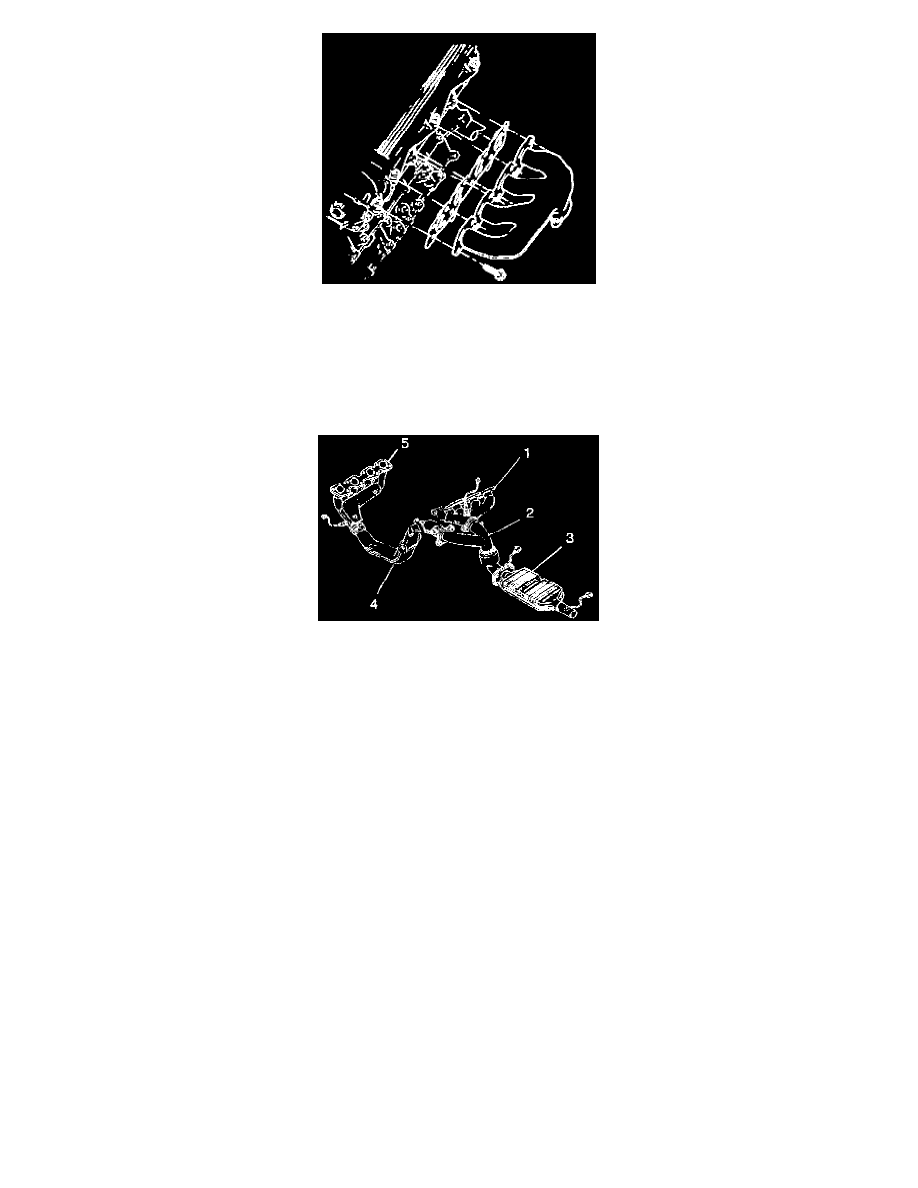
1. Install the exhaust manifold by inserting the outlet pipe partially into the exhaust crossover pipe.
2. Move the manifold into position.
3. Install the gasket to the manifold. Hold the gasket in position by inserting two bolts.
NOTICE: Refer to Fastener Notice in Service Precautions.
4. Start the remainder of the manifold bolts. Tighten the bolts to 25 Nm (18 ft. lbs.).
5. Coat the oxygen sensor threads with high-temperature anti-seize, P/N 5613695 or equivalent.
6. Install the sensor. Tighten the nut to 40 Nm (30 ft. lbs.).
7. Connect the exhaust oxygen sensor.
8. Install the rear generator bracket.
^
Tighten the crankcase bolts to 60 Nm (44 ft. lbs.).
^
Tighten the generator bolts to 30 Nm (22 ft. lbs.).
9. Position the motor mount and the bracket.
10. Loosely install two nuts securing the mount to the bracket.
11. Lower the vehicle.
12. Loosely install two bolts to the mount bracket at the cylinder head.
13. Lower the engine to the installed position guiding the motor mount studs in the cradle holes.
14. Raise the vehicle.
15. Loosely install two nuts to the bottom of the motor mount.
16. Loosely install two bolts securing the mount bracket to the crankcase. Tighten the fasteners in steps 12, 17 and 18 to 30 Nm (22 ft. lbs.).
17. Install the rear generator bracket. Tighten the four screws to 50 Nm (37 ft. lbs.).
18. Install four nuts at the converter to the exhaust manifold rear pipe. Tighten the bolts to 25 Nm (18 ft. lbs.).
19. Lower the vehicle.
20. Remove the J 28467-A. Tighten the fasteners installed in step 14 to 30 Nm (22 ft. lbs.).
21. Install the engine cooling fans.
22. Install the air cleaner assembly.
23. Install the left and right engine torque struts.
24. Install the radiator cradle beauty cover.