
DeVille d Elegance V8-4.6L VIN Y (1998)
Wheel Bearing: Service and Repair
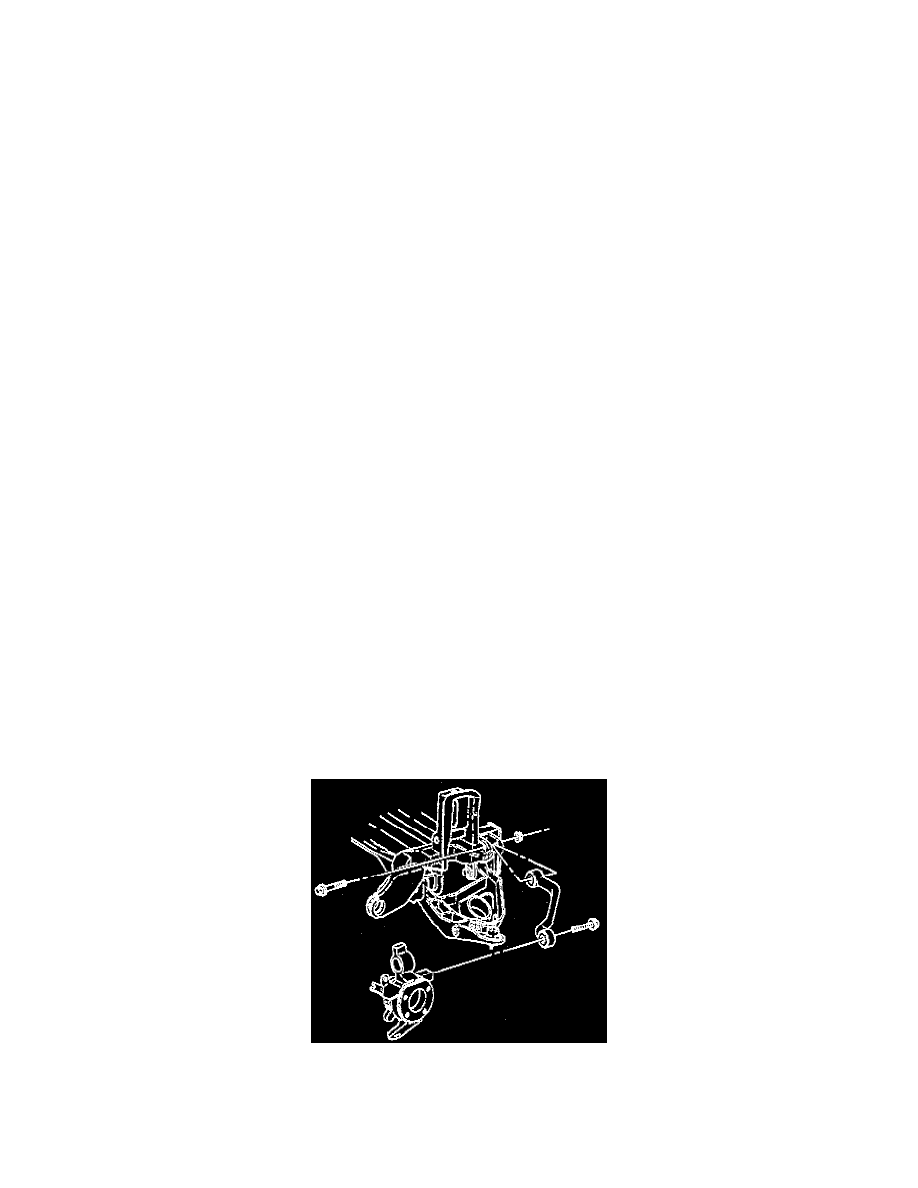
Rear
Without B9Q/V4U
REAR HUB AND/OR BEARINGS
REMOVAL
1. Raise and support the vehicle.
2. Remove the tire and wheel assembly.
3. Remove the caliper. Suspend the caliper.
4. Remove the rotor.
5. Remove the hub and bearing assembly.
INSTALLATION
1. Install the hub and bearing assembly.
^
Tighten the hub mounting bolts to 70 Nm (52 ft. lbs.).
NOTICE: Use the correct fastener in the correct location. Replacement fasteners must be the correct part number for that application. Fasteners
requiring the use of thread locking compound or sealant are identified in the service procedure. Do not use paints, lubricants, or corrosion
inhibitors on fasteners or fastener joint surfaces unless specified. These coatings affect fastener torque and joint clamping force and may damage
the fastener. Use the correct tightening sequence and specifications when installing fasteners in order to avoid damage to parts and systems.
2. Install the rotor.
3. Install the caliper and new caliper bracket mounting bolts.
^
Tighten the caliper bracket mounting bolts to 113 Nm (83 ft. lbs.).
^
Tighten the parking brake cable bracket bolt to 43 Nm (32 ft. lbs.).
4. Install the tire and wheel assembly.
5. Lower the vehicle.
With B9Q/V4U (Hearse or Coachbuilder)
REAR HUB AND/OR BEARINGS
REMOVAL
1. Raise the vehicle.
2. Remove the wheel and tire.
3. Remove the brake drum.
4. Remove the brake shoes and brake cable.
5. Remove the brake line and wheel speed sensor.
6. Support the lower control arm with jack stand.
7. Remove the ball stud nut and separate the ball stud from knuckle.
8. Remove the upper knuckle nut and bolt.