
DeVille d Elegance V8-4.6L VIN Y (1998)
Powertrain Control Module: Service and Repair
Powertrain Control Module (PCM) Replacement
Removal
Removal Procedure
Notice: To prevent internal PCM damage, the ignition switch must be in the LOCK position when disconnecting or reconnecting power to the PCM, as
when battery cables, PCM connectors or fuses are connected or disconnected. Due to system requirements, the ignition switch powers the PCM ON in all
key positions except LOCK.
Notice: Numbers in text correspond to numbered components in image.
1. Record the Transaxle Fluid and Engine Oil Life Left Indexes.
Important: The key must be in the LOCK position for a minimum of 30 seconds prior to disconnecting power to the PCM. This is to allow the PCM to
store the Transaxle fluid life transaxle shift adapts and Throttle Position Learned value into the EEPROM. Failure to wait the 30 seconds may result in a
EEPROM reset and the Transaxle fluid life being reset to 0.
2. Disconnect the negative battery cable.
3. Remove the gusset (brace) from between the LH fender and the radiator core support by removing the 5 attaching bolts.
4. Loosen the Intake Air duct clamp at the MAF sensor and the air cleaner assembly.
5. Remove the Intake Air duct.
6. Disconnect the IAT sensor connector.
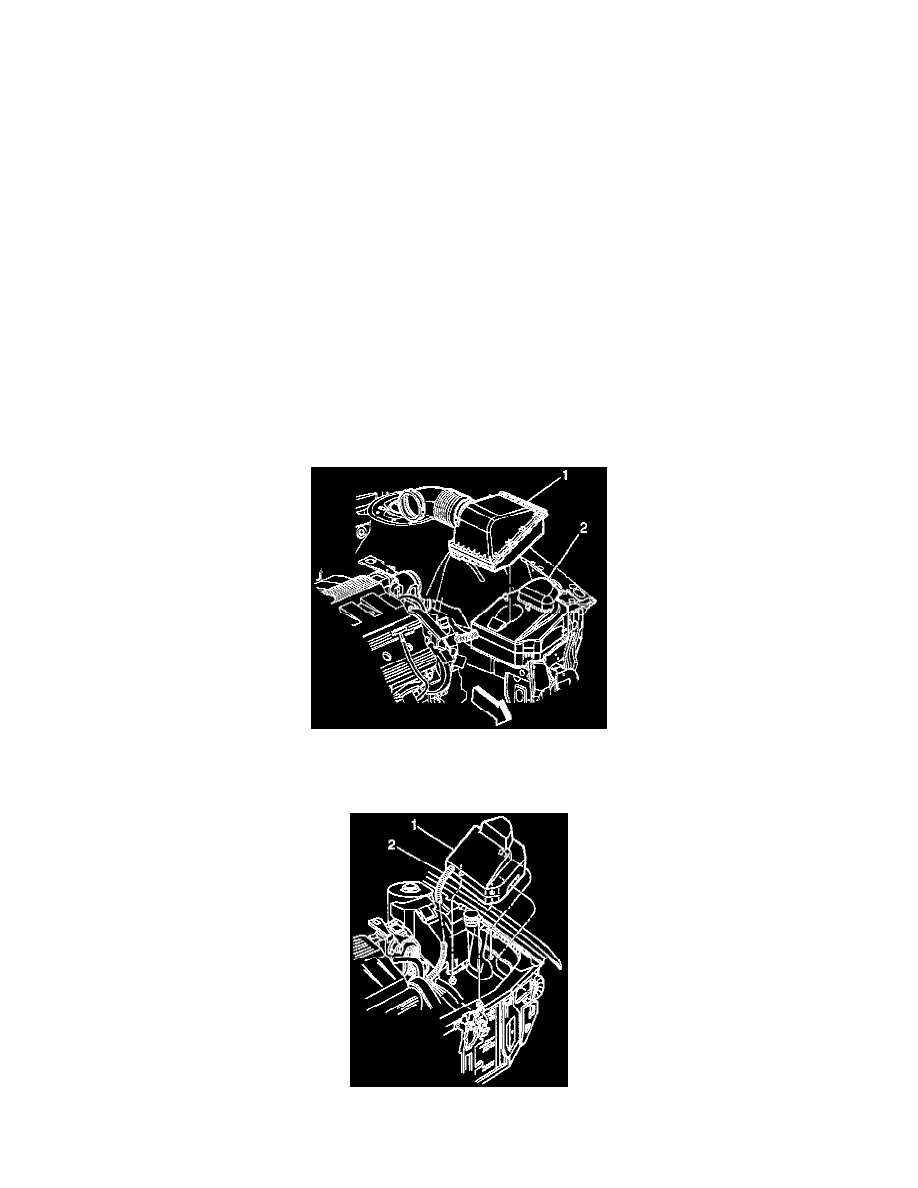
Air Cleaner Assembly
7. Remove the air cleaner assembly (1) from the air inlet housing (2).
Air Inlet Housing