
DeVille DHS V8-4.6L VIN Y (2000)
Rear Door Limiter: Service and Repair
Rear Side Door Check Link Replacement
Removal Procedure
1. Open the door.
2. Remove the door trim panel. Refer to Rear Side Door Trim Panel Replacement (Standard) (See: Rear Door Panel/Service and Repair/Panel
Replacement/Rear Side Door Trim Panel Replacement (Standard)) .
3. Remove the door module. Refer to Door Control Module Replacement.
4. Remove the water deflector. Refer to Rear Side Door Water Deflector Replacement (See: Rear Door Panel/Service and Repair) .
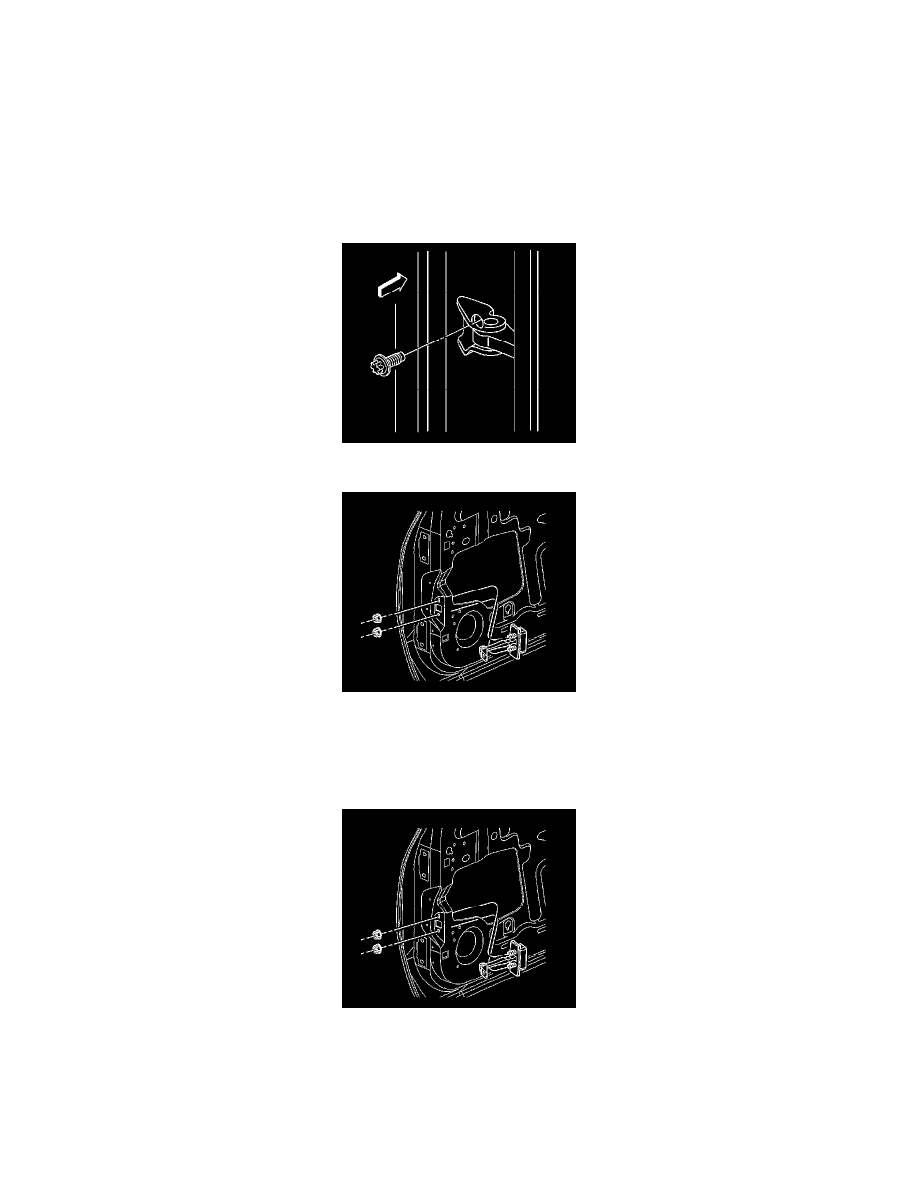
5. Remove the check link to pillar bolt.
6. Note the position of the arrow on the check link arm to aid in reassembly.
7. Remove the 2 nuts from the door check link.
8. Remove the check link through the front access hole of the inner door panel.
Installation Procedure
1. Install the check link into the door. Ensure the arrow on the check link arm is positioned as noted during removal.
2. Load the check link studs through the access hole in the inner panel.
Notice: Refer to Fastener Notice in Cautions and Notices.
3. Install the check link nuts.