
DeVille DHS V8-4.6L VIN Y (2000)
Notice: Refer to Fastener Notice in Cautions and Notices.
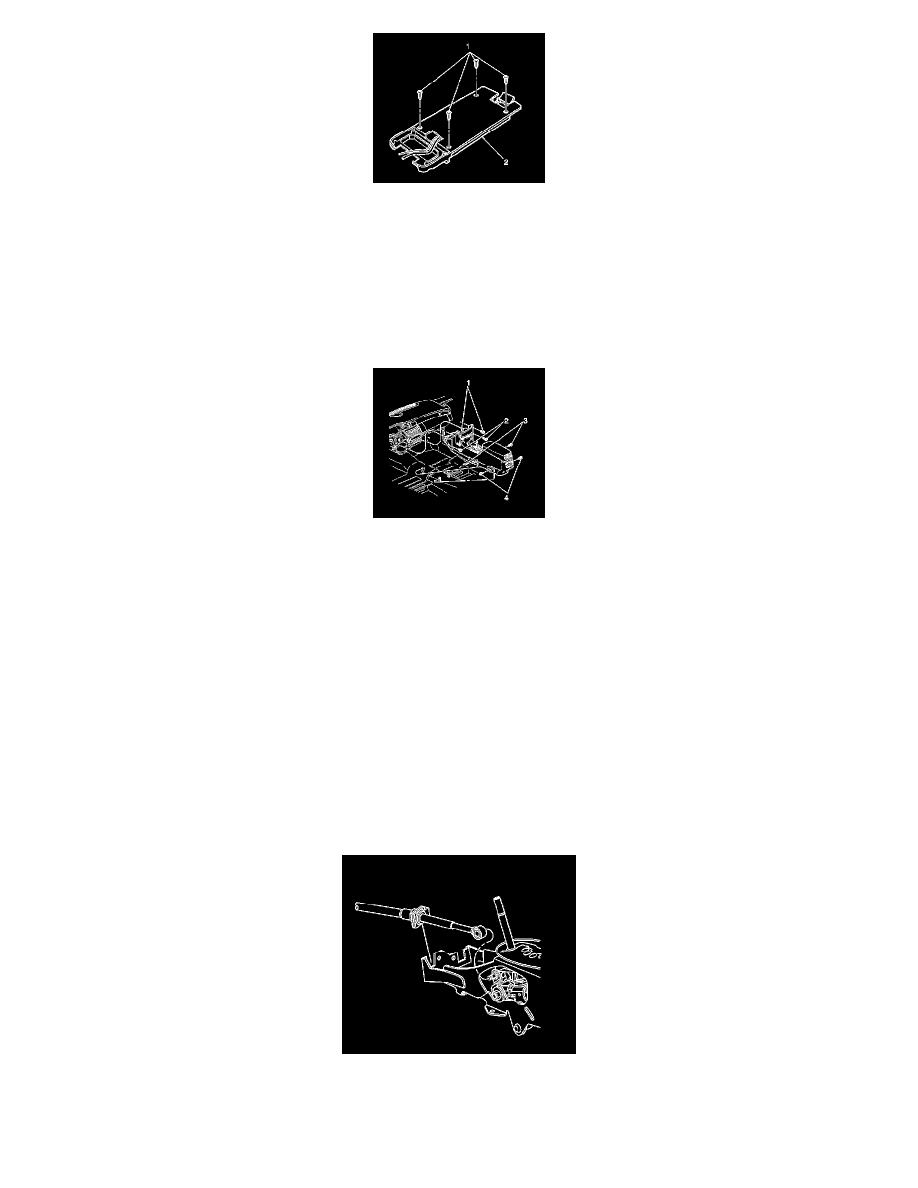
9. Install the interface card to the console tray insert.
Tighten the fasteners to 1.6 N.m (14 lb in).
10. Install the console tray insert to the console tray (2). Refer to Console Tray Insert Replacement (DTS) (See: Console Tray Insert Replacement
(DTS)) .
11. Connect the center console electrical connectors.
12. Align the locating pins on the floor console to the IP.
13. Install the two upper console to IP fasteners (1).
Tighten the fasteners (1) to 9 N.m (80 lb in).
14. Install the two lower console to IP fasteners (2).
Tighten the fasteners (2) to 9 N.m (80 lb in).
15. Adjust the front seats to the forward position.
16. Install the two rear console to floor fasteners (4).
Tighten the fasteners (4) to 9 N.m (80 lb in).
17. Adjust the front seats to the rear position.
18. Install the two front console to floor fasteners (3).
Tighten the fasteners (3) to 9N.m (80 lb in).
19. Slide the transaxle range selector cable fully into the console until it snaps into place.
20. Connect the transaxle range selector cable terminal to the shift lever pin.
21. Install the IP center storage compartment. Refer to Instrument Panel Compartment Replacement (Base and DHS) (See: Glove
Compartment/Service and Repair/Instrument Panel Compartment Replacement (Base and DHS))Instrument Panel Compartment Replacement