
DeVille DHS V8-4.6L VIN Y (2000)
Trim Panel: Service and Repair
Rear Compartment Side Trim Replacement - Left Side
Rear Compartment Side Trim Replacement - Left Side
Removal Procedure
1. Open the rear compartment lid.
2. Remove the rear compartment sill plate. Refer to Rear Compartment Sill Trim Plate Replacement (See: Rear Compartment Sill Trim Plate
Replacement) .
3. Remove the rear compartment trim panel. Refer to Rear Compartment Trim Panel Replacement (See: Rear Compartment Trim Panel Replacement
) .
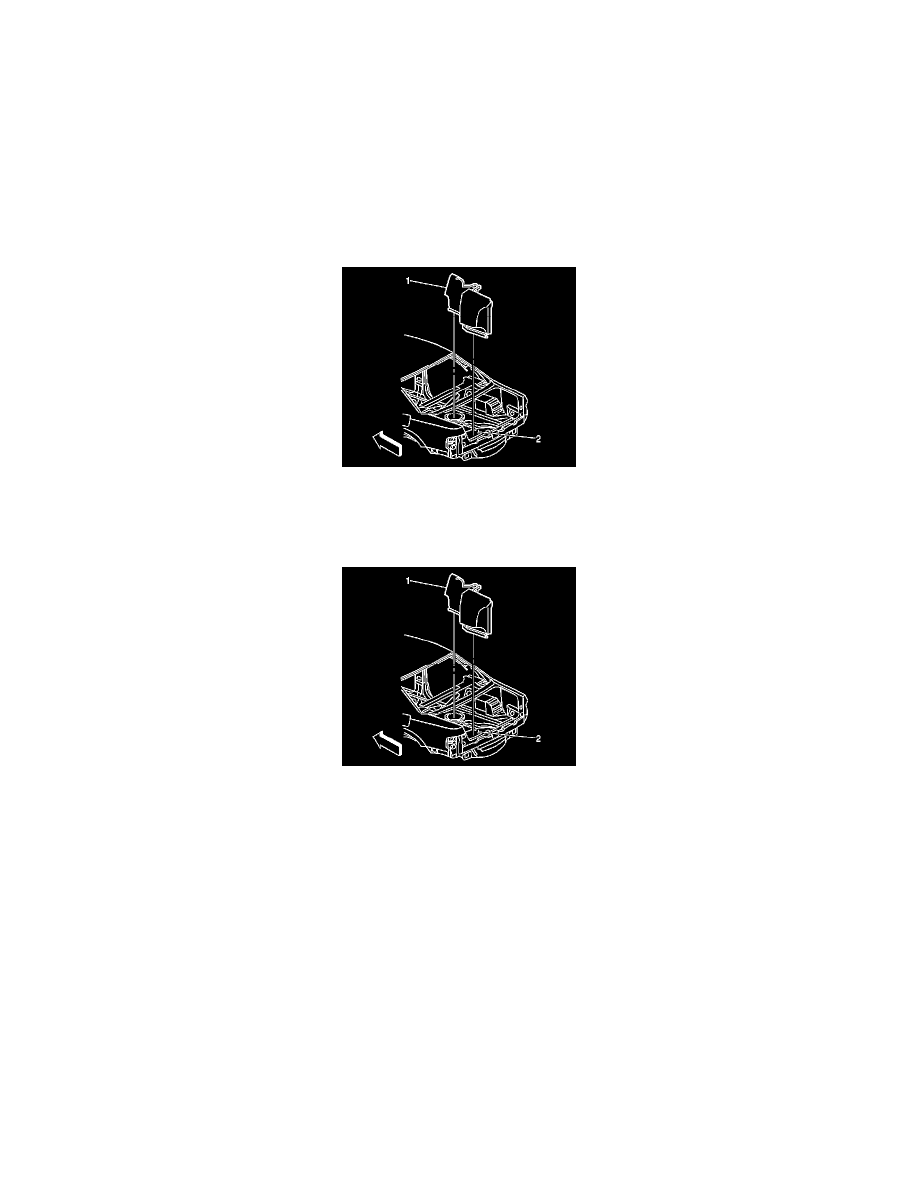
4. Route the fuel filler door manual release cable through the opening in the LH side rear compartment trim panel (1).
5. Remove the LH side rear compartment trim panel (1) from the vehicle (2).
Installation Procedure
1. Install the LH side rear compartment trim panel (1) to the vehicle (2).
2. Route the fuel filler door manual release cable through the opening in the LH side rear compartment trim panel (1).
3. Install the rear compartment trim panel. Refer to Rear Compartment Trim Panel Replacement (See: Rear Compartment Trim Panel Replacement) .
4. Install the rear compartment sill plate. Refer to Rear Compartment Sill Trim Plate Replacement (See: Rear Compartment Sill Trim Plate
Replacement) .
5. Close the rear compartment lid.