
DeVille DHS V8-4.6L VIN Y (2000)
Alignment: Service and Repair
Front Wheel Alignment
Front Camber Adjustment (FE1, FE3)
-
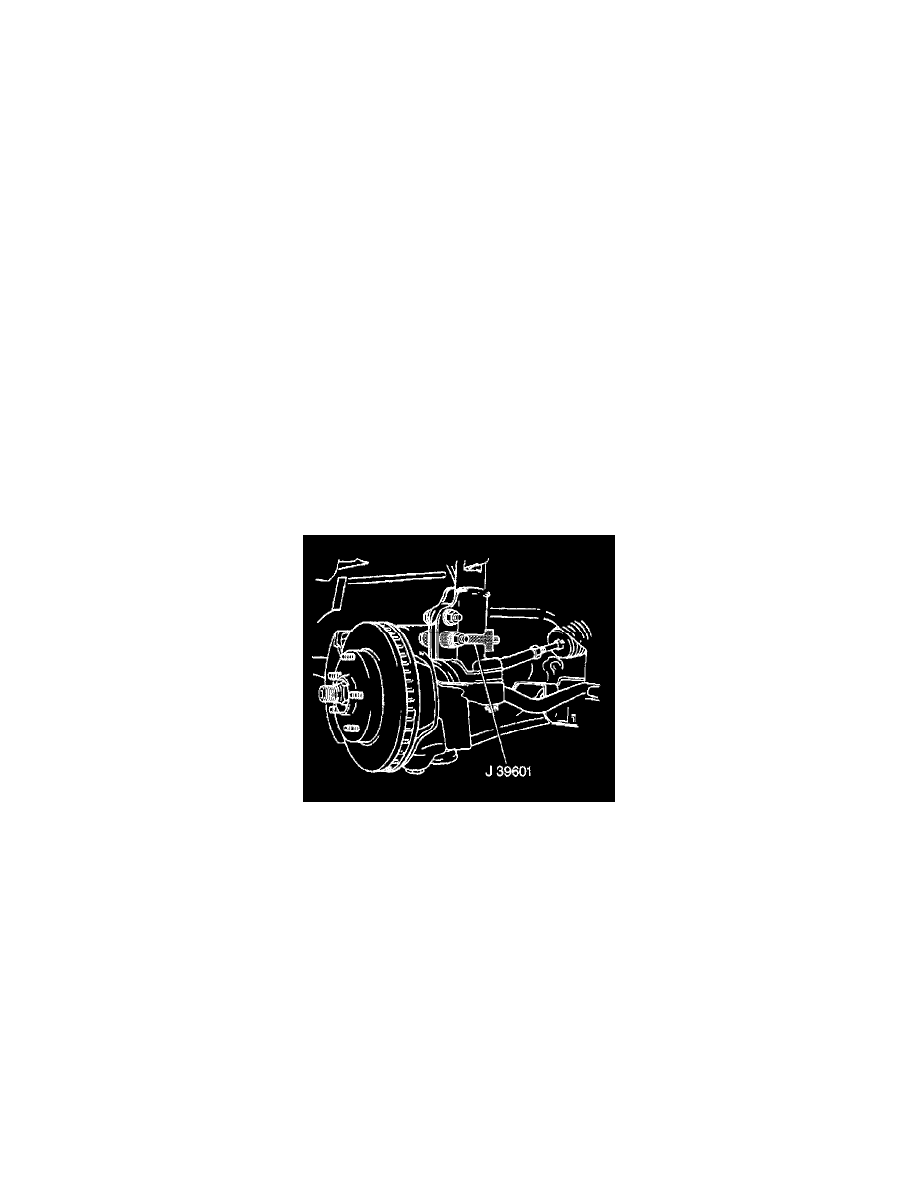
Tools Required
-
J39601 Camber Adjustment Tool
1. Raise and support the vehicle. Refer to Vehicle Lifting.
2. Remove the tires and wheels. Refer to Tire and Wheel Removal and Installation in Wheels, Tires and Alignment.
Important: Do not allow bolts to' turn this will ruin the serrated shoulder.
3. Remove the nuts from the strut bolts.
4. Tap out the upper and lower bolts from the strut and knuckle.
5. Separate the strut from the knuckle.
Important: It may be necessary to grind the lower bolt hole on the strut to achieve proper camber setting.
If camber specification is not achieved by this procedure check for bent or worn parts.
6. Using a round file or a die grinder file the inner metal plate to the outside plates diameter.
7. File excess metal to make the slotted holes.
8. Paint the exposed metal with rust preventive paint or primer.
9. Replace the strut to the knuckle.
10. Install both the upper and lower bolts.
11. Do not tighten at this time (leave loose).
Notice: Refer to Fastener Notice in Service Precautions.
12. Using J39601 set camber to specification. It may be necessary to remove one of the arms of the J39601 in order to install it.
Tighten the upper strut to knuckle nut to 147 Nm (108 ft. lbs.).
13. Remove the J39601 camber adjustment tool.
Tighten the lower strut to knuckle nut to 147 Nm (108 ft. lbs.).
14. Replace the tire and wheel.
15. Lower the vehicle.
16. Perform a wheel alignment. Refer to Alignment Specifications in Alignment.
Front Camber Adjustment (FE7)
-
Tools Required
-
J39601 Camber Adjustment Tool