
DeVille DHS V8-4.6L VIN Y (2000)
Canister Purge Control Valve: Service and Repair
REMOVAL PROCEDURE
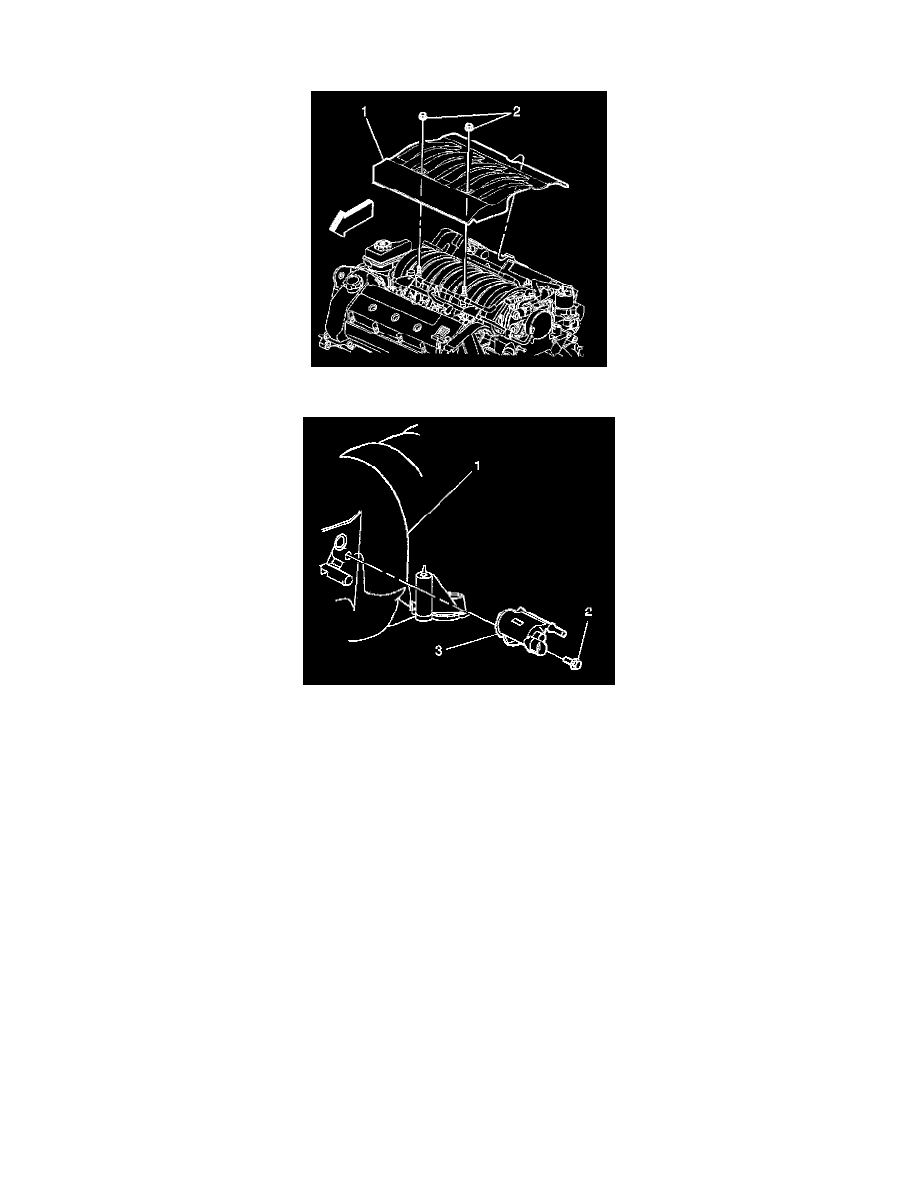
1. Remove the intake manifold sight shield nuts (2) from the intake manifold sight shield (1).
2. Disconnect the EVAP purge solenoid electrical connector.
3. Remove the EVAP purge pipe from the EVAP purge solenoid.
4. Partially open the throttle.
5. Remove the EVAP purge solenoid retaining bolt (2) from the EVAP purge solenoid.
6. Remove the EVAP purge solenoid (3) from the intake manifold (1).
INSTALLATION PROCEDURE
IMPORTANT: Be sure to install the new O-ring on the EVAP purge solenoid.
1. Partially open the throttle.
2. Install the EVAP purge solenoid (3) into the intake manifold (1).
NOTE: Refer to Fastener Notice in Service Precautions.
3. Install the EVAP purge solenoid retaining bolt.
Tighten
Tighten the bolt to 10 N.m (88 lb in).
4. Allow the throttle to close.
5. Connect the EVAP purge solenoid hose to the EVAP purge solenoid.
6. Connect the EVAP purge solenoid electrical connector to the EVAP purge solenoid.