
DeVille DHS V8-4.6L VIN Y (2000)
Ignition Control Module: Service and Repair
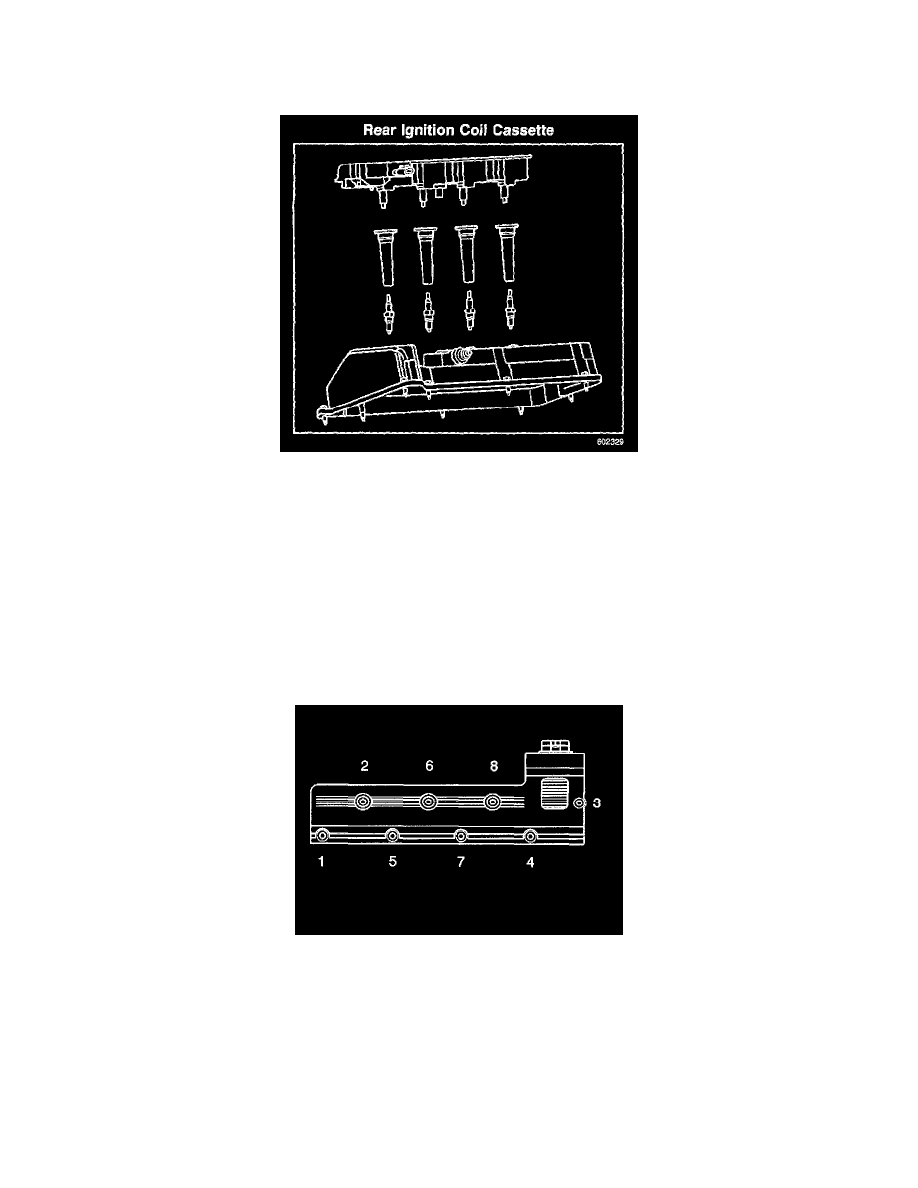
Ignition Control Module Replacement - Bank 1
REMOVAL PROCEDURE
Locations View
1. Remove the engine sight shield retaining bolts and the engine sight shield.
2. Disconnect the ignition control module electrical connector.
IMPORTANT: If the vehicle is equipped with secondary air injection (AIR), continue with step 3. It the vehicle is NOT equipped with AIR,
continue with step 8
3. Disconnect the AIR vent solenoid electrical connector (if equipped with AIR).
4. Remove the AIR pipe to exhaust manifold bolts (if equipped with AIR).
5. Disconnect the AIR system vacuum hoses. Be sure to mark the locations for proper installation (if equipped with AIR).
6. Remove the AIR bracket to engine bolts (if equipped with AIR).
7. Remove the AIR assembly (if equipped with AIR).
8. Using the removal sequence, remove the ignition assembly retaining bolts.
9. Carefully, remove the ignition assembly.
10. Remove the ignition control module retaining screws.
11. Remove the ignition control module.
INSTALLATION PROCEDURE
NOTE: Refer to Fastener Notice in Service Precautions.