
DeVille DHS V8-4.6L VIN Y (2000)
11. Remove the lower windshield supports (1) from the cowl panel if equipped.
Important: Keep the cutting edge of the tool against the windshield. This will allow the urethane adhesive to be separated from the
windshield and leave a base of urethane on the pinchweld flange. The only suitable lubrication is clear water.
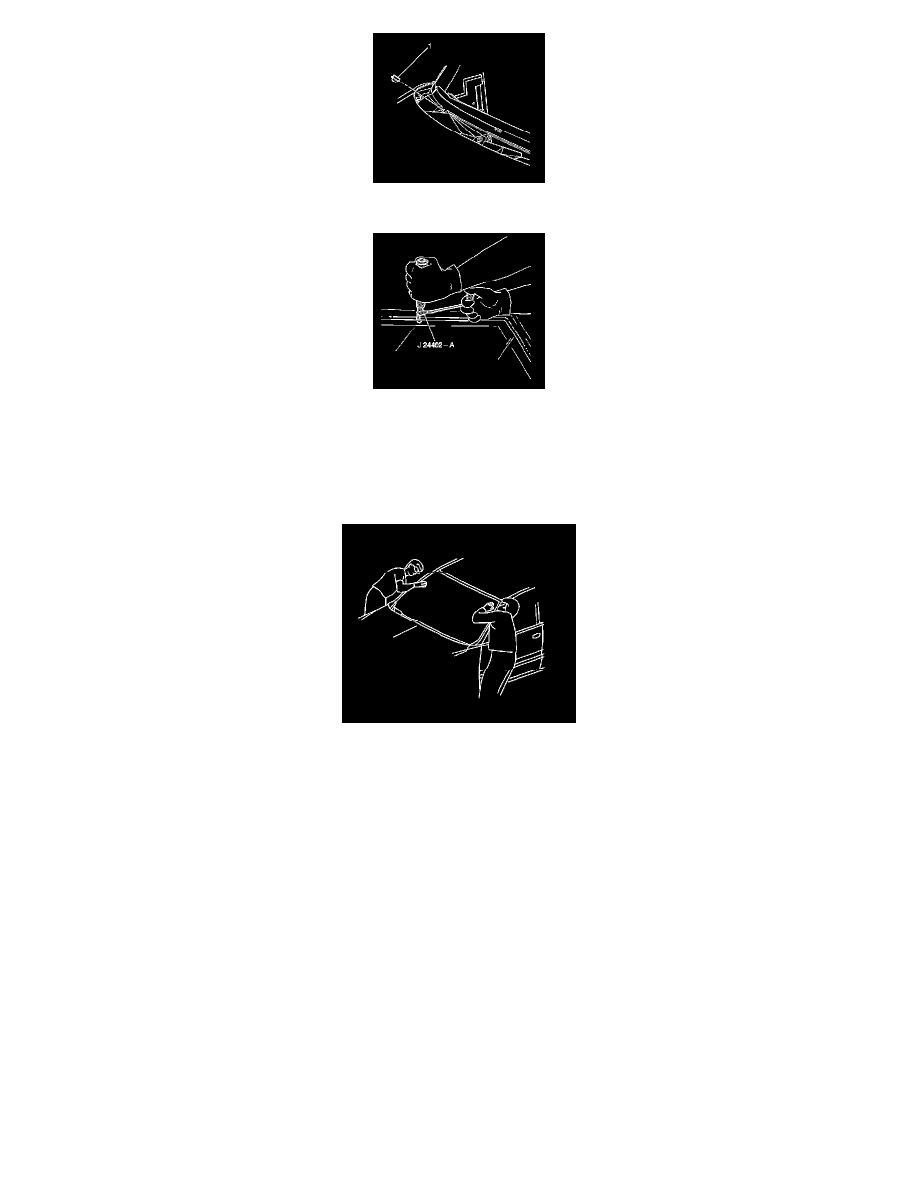
12. Use the J 24402-A or J 39032 in order to remove the windshield.
13. Push out on the upper portion of the windshield and insert wooden blocks between the windshield and the front body hinge pillars.
14. From the inside of the vehicle, using a sharp utility knife, cut the lower urethane adhesive bead from the pinchweld flange.
15. With the aid of an assistant, use suctions cups to lift the windshield from the opening.
16. Remove the windshield from the vehicle.
Installation Procedure
1. Verify all primers and urethane adhesive are within expiration dates.
Caution: When replacing stationary windows, use Urethane Adhesive Kit GM P/N 12346392 (Canadian P/N 10952983), or a urethane adhesive
system meeting GM Specification GM3651G, to maintain original installation integrity. Failure to use the urethane adhesive kit will result in poor
retention of the window which may allow unrestrained occupants to be ejected from the vehicle resulting in personal injury.
2. Inspect the following components for the causes of a broken windshield:
*
The flange of the windshield opening
*
The windshield reveal molding
3. Inspect for any of the following problems in order to help prevent future breakage of the windshield:
*
High weld
*
Solder spots
*
Hardened spot weld sealer
*
Any other obstruction or irregularity in the pinchweld flange.
Important: If corrosion of the pinchweld flange is present, or if sheet metal repairs or replacements are required, the pinchweld flange