
DeVille DHS V8-4.6L VIN Y (2000)
3. Apply heat to the sensor (2) area of the windshield. Use a J25070 or equivalent heat gun with a maximum of 740 watts.
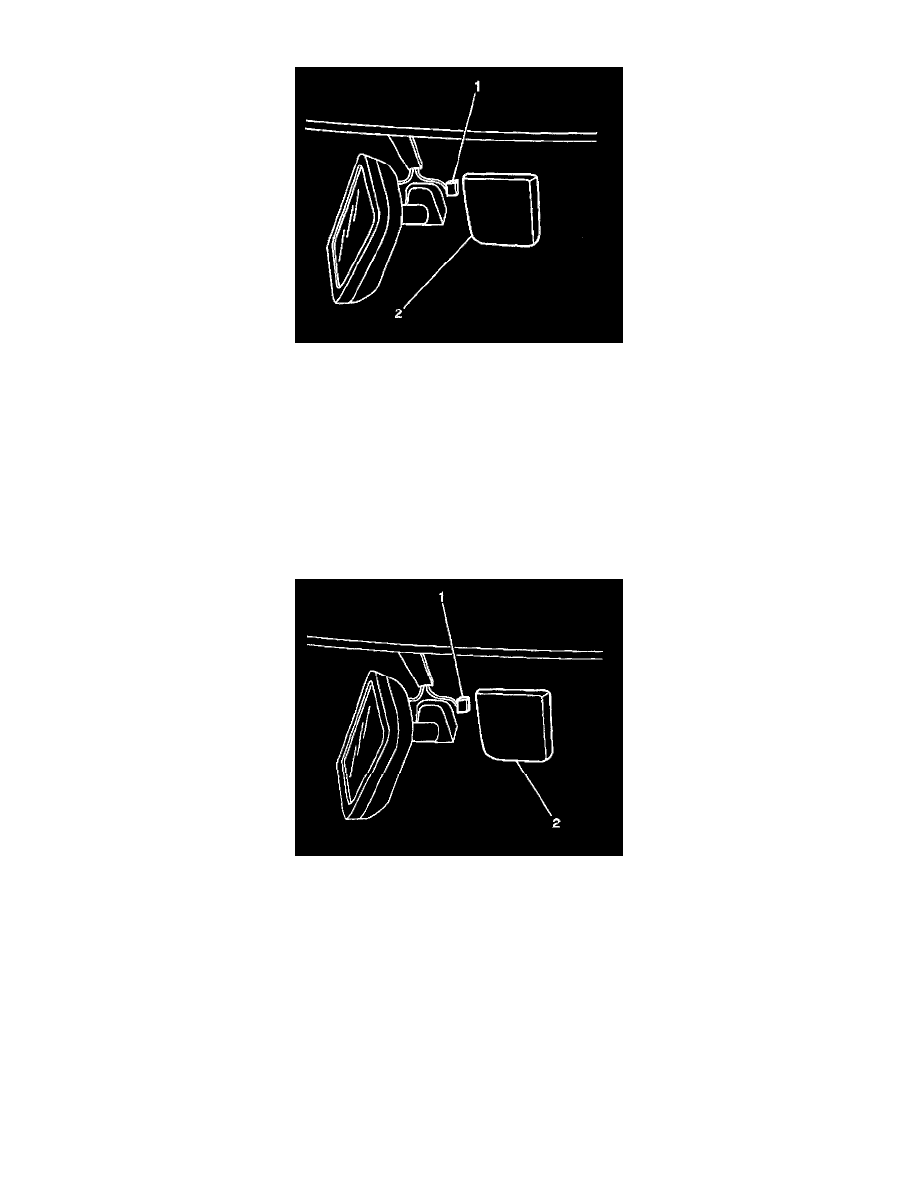
4. In order to remove the rain sensor (2) from the windshield, twist the sensor back and forth. Remove the rain sensor module from the windshield.
5. Remove the tape residue from the windshield.
6. Cover the instrument panel below the sensor with a protective cloth.
CAUTION: It broken glass tails into the defroster outlets, It can be blown into the passenger compartment and cause personal Injury.
7. Use a sharp plastic scraper in order to remove the optical tape from the windshield.
8. Wipe the windshield until the remaining tape residue is completely removed. Use a clean lint free cloth with isopropyl alcohol.
INSTALLATION PROCEDURE
IMPORTANT: The temperature of the windshield must be 13°C (55°F)-38°C (100°F) for proper adhesion.
1. Remove the red backing from the optical tape. Install the sensor on the windshield.
2. Firmly push the sensor against the windshield. Hold the sensor for 10 to 15 seconds.
3. Inspect the sensor for air bubbles between the tape and the windshield. Repeat the previous step, if incomplete adhesion or bubbles are present.
4. Attach the rain sensor (2) to the windshield.
IMPORTANT: Do not move or shift the sensor on the windshield after installation.
5. Connect the wiring connector (1) to the sensor (2).