
DeVille DTS V8-4.6L VIN 9 (2002)
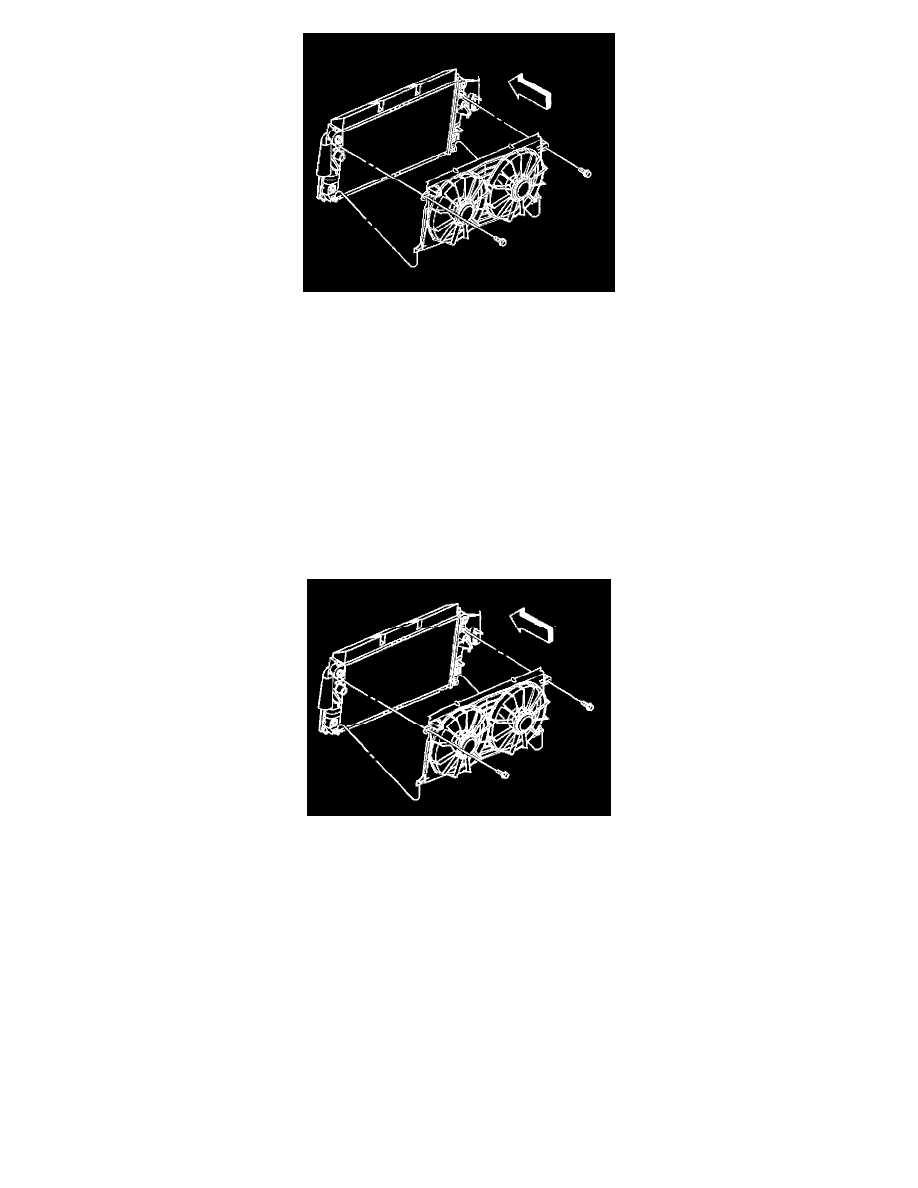
15. Remove the 2 electric cooling fan mounting bolts.
Important: Care should be taken when removing the cooling fan assembly not to damage the lower attachment points of both the cooling fan
assembly and radiator.
16. Remove the electric cooling fan assembly from the vehicle in the following order:
16.1.
Position the cooling fan assembly towards the left side of the vehicle.
16.2.
Pull upward on the right side of the fan assembly.
16.3.
Position the fan assembly towards the right side of the vehicle.
16.4.
Pull upward on the fan assembly removing the fan assembly from the vehicle.
Installation Procedure
Important: Care should be taken when installing the cooling fan assembly not to damage the lower attachment points of both the cooling fan
assembly and radiator.
1. Install the cooling fan assembly to the vehicle in the following order:
1.1.
Position the cooling fan assembly behind the radiator.
1.2.
Position the fan assembly towards the right side of the vehicle.
1.3.
Push downward on the right side of the fan assembly.
1.4.
Move the fan assembly into position, aligning the lower feet of the fan shroud to the mounting tabs on the radiator.
Important: The bolts retaining the cooling fan to the radiator end tanks are a special length and should be the ONLY bolts used upon reinstallation.
The use of longer bolts will damage the radiator end tanks.
Notice: Refer to Fastener Notice in Service Precautions.
2. Install the electric cooling fan mounting bolts.
-
Tighten the bolts to 6 Nm (53 inch lbs.).