
DeVille DTS V8-4.6L VIN 9 (2002)
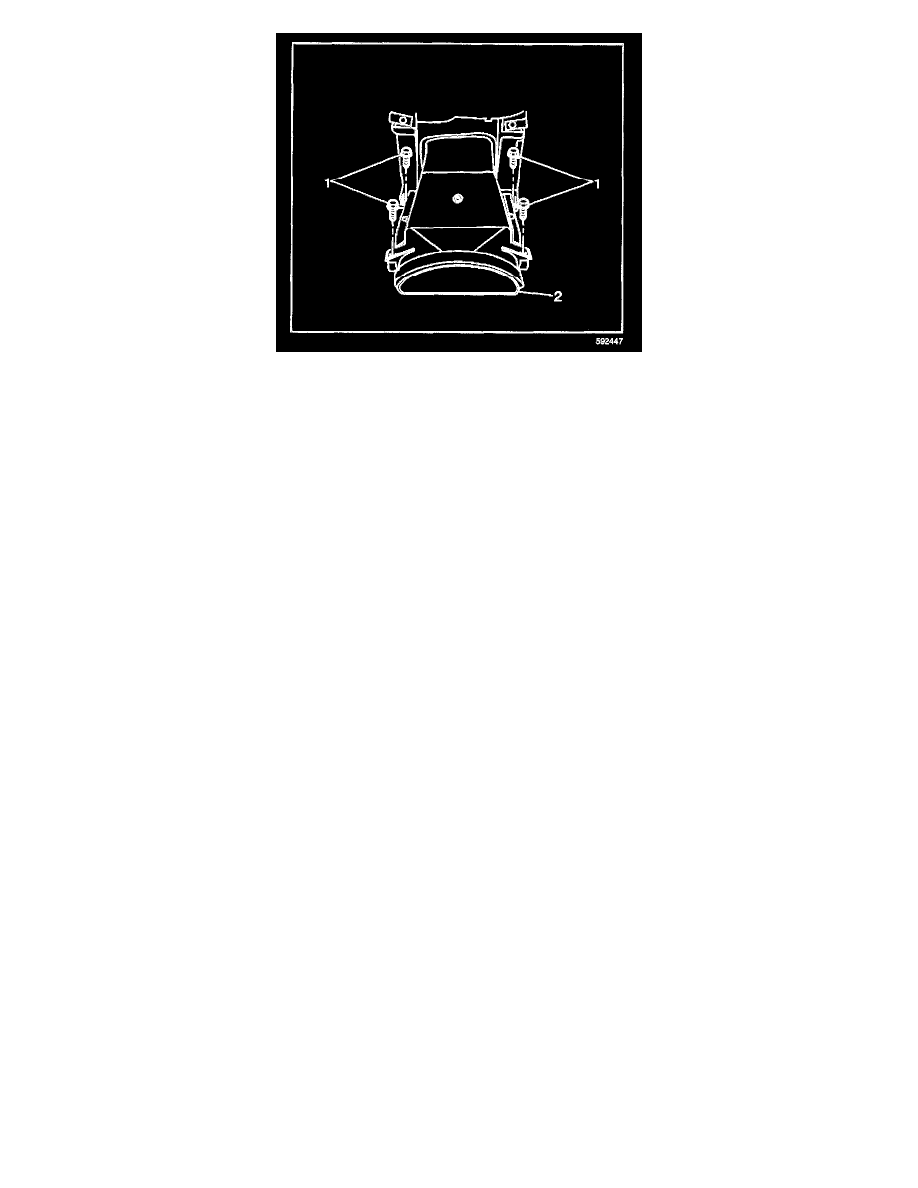
6. Install both halves of the rear extension duct (2) to the rear HVAC assembly.
7. Install the screws in order to hold the rear extension duct to the auxiliary HVAC assembly.
Tighten
Tighten screws to 1.4 N.m (12 lb in).
8. Install the Auxiliary Blower Motor and IP Center Support Bracket assembly into the vehicle.
9. Recalibrate the actuators. Refer to Body Control Module (BCM) Programming/RPO Configuration (DIM) or Body Control Module (BCM)
Programming/RPO Configuration (IPM) or Body Control Module (BCM) Programming/RPO Configuration (RIM) in Body Control System.
Re-Calibrating Actuators
CALIBRATION PROCEDURE WITH A SCAN TOOL
Use the following steps to perform the calibration update:
1. Install a scan tool.
2. Turn ON the ignition, with the engine OFF.
3. With a scan tool, select Instrument Panel Module.
4. Select Special Functions.
5. Select Miscellaneous Test.
6. Select Recalibrate all Motors.
7. Select ON, wait 30 seconds.
8. HVAC Door Calibrations will display Cal OK.
CALIBRATION PROCEDURE WITHOUT A SCAN TOOL
1. Turn OFF the ignition.
2. Remove the battery positive voltage circuit fuse of the Instrument Panel Control Module.
IMPORTANT: The module memory will not clear if the battery positive voltage circuit fuse is installed in less than 60 seconds.
3. Wait 60 seconds.
4. Install the fuse.
Recirculation Actuator Replacement
REMOVAL PROCEDURE
CAUTION: Refer to SIR Handling Caution