
DeVille DTS V8-4.6L VIN 9 (2002)
3. Connect the ABS electrical connector.
Notice: Refer to Fastener Notice in Service Precautions.
4. Install stabilizer shaft link bolt, spacer, insulator and nut.
^
Tighten the stabilizer shaft link nut to 15 Nm (11 ft. lbs.).
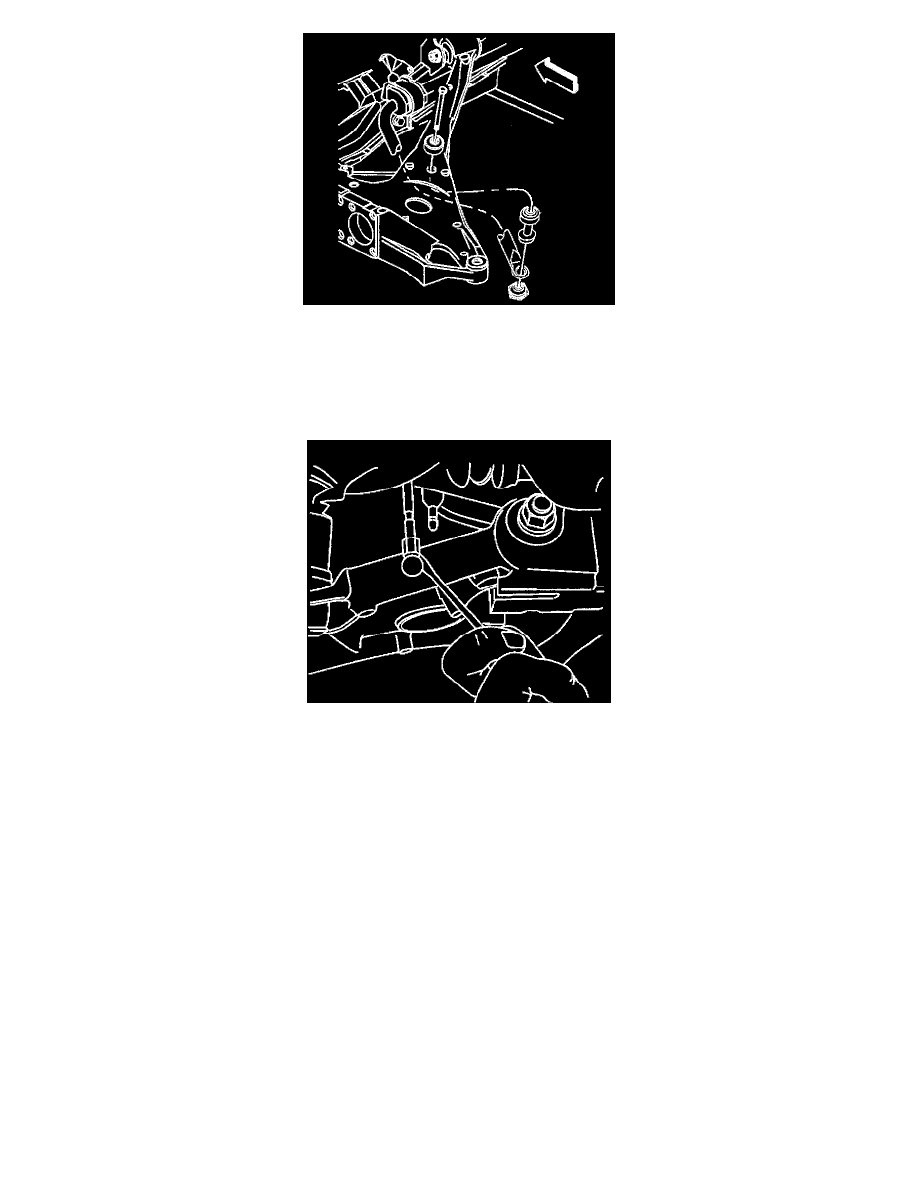
5. Install the automatic level control height sensor link to the left lower control arm.
6. Install the rear suspension support assembly.
7. To obtain trim height, raise the control arm until the spindle face is parallel to the ground.
8. Tighten the control arm nuts.
^
Tighten the control arm nuts to 106 Nm (78 ft. lbs.)
9. Install the tire and wheel.
10. Lower the vehicle.
With RPO FE7
Rear Axle Lower Control Arm Replacement (FE7)
Removal Procedure