
DeVille DTS V8-4.6L VIN 9 (2002)
10. Place a drain pan under the vehicle.
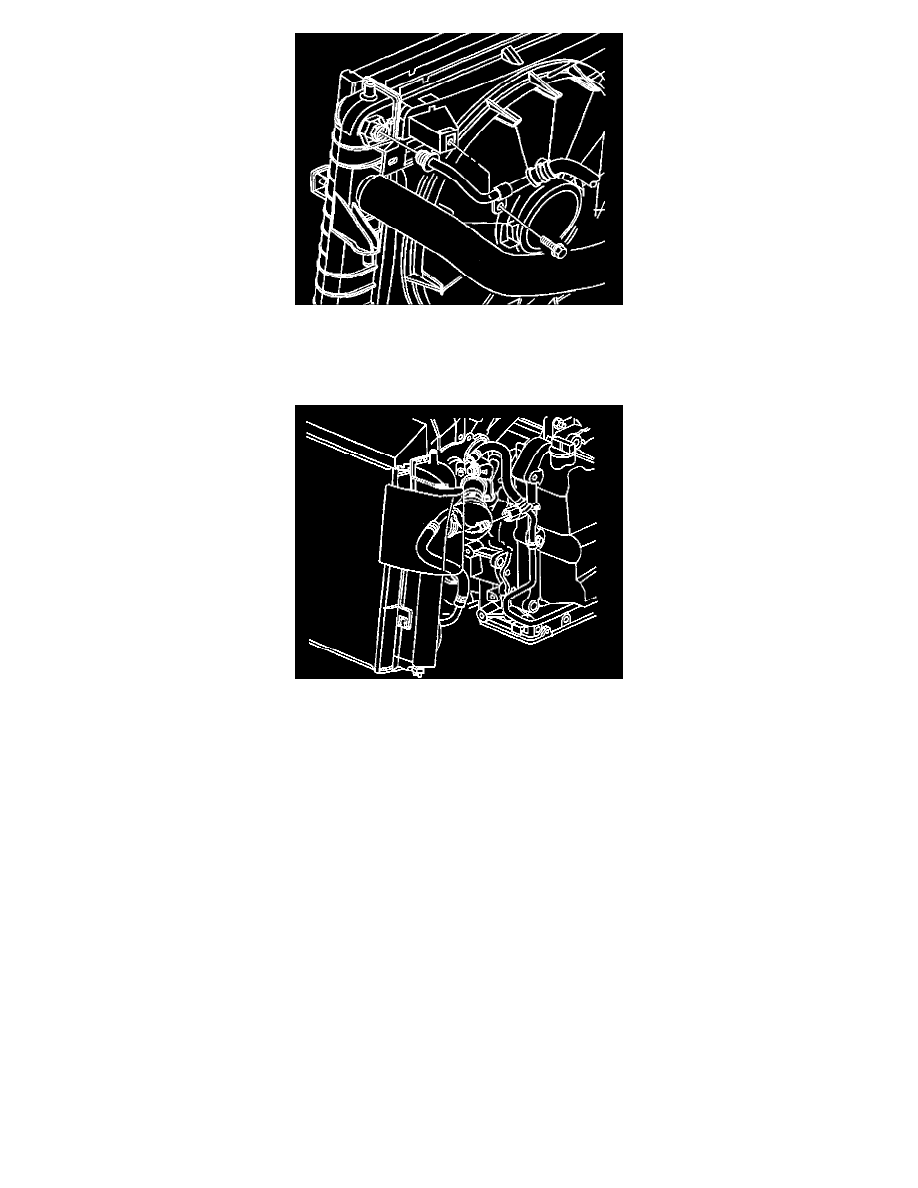
11. Remove the upper transaxle oil cooler pipe retaining bolt from the radiator fan shroud.
12. Disconnect the upper transaxle oil cooler pipe from the radiator using the J41623-B. Install plugs in the oil cooler pipe and the radiator to prevent
fluid loss and contamination.
13. Disconnect the lower transaxle oil cooler pipe from the transaxle and Install plugs in the oil cooler pipe and the transaxle, to prevent fluid loss and
contamination.
14. Disconnect the transaxle vent tube from the accelerator bracket.
15. Install the engine support fixture.
16. Raise and support the vehicle. Refer to Vehicle Lifting.
Caution: To avoid any vehicle damage, serious personal injury or death when major components are removed from the vehicle and the vehicle is
supported by a hoist, support the vehicle with jack stands at the opposite end from which the components are being removed
17. Secure the vehicle to the front hoist pads.
18. Remove the stabilizer shaft links.
19. Swing the stabilizer shaft downward in order to gain access to the power steering gear retaining bolts.
20. Remove the left front fascia extension.
Important: The following are exceptions while following the frame removal procedure:
^
Do not remove the front stabilizer shaft from the frame.
^
Do not remove the A.I.R. pump assembly from the vehicle. Retain the pump to the body using mechanics wire.
^
Do not remove the insulators from the frame.
^
Do not remove the control arms from the frame.
21. Remove the front frame.