
Eldorado V8-4.6L VIN Y (1994)
2.
Remove the power window switch assembly (7).
2.1.
Place protective tape between the forward edge of the power window switch assembly and the door trim panel (9).
Important:
In order to avoid damage, the retention spring clip must be fully disengaged prior to removal of the power window switch assembly.
2.2.
Between the forward edge of the power window switch assembly and the door trim panel (9), carefully insert a plastic trim tool far enough
to depress and disengage the switch plate retention spring clip.
2.3.
Use the plastic trim tool in one hand to gently pry the forward edge of the power window switch assembly upward. Use the other hand to
grasp and pull the switch assembly from the door trim panel.
2.4.
Disconnect the electrical connectors (8).
3.
Remove the inside door handle trim plate/bezel (1).
3.1.
Between the top edge of the inside door handle trim plate/bezel and the door trim panel (3), carefully insert the plastic trim tool and gently
pry the inside door handle trim plate/bezel outward far enough to disengage the retaining clips.
3.2.
Pull the door handle trim plate/bezel outward and slide over the handle.
3.3.
Disconnect the two electrical connectors (10).
4.
Remove the outside rearview mirror upper door trim panel (shark fin) (2). Use the door trim pad clip remover, J 38778, to disengage the upper
door trim panel (shark fin) retaining clip.
5.
Remove the door lamp lens cover assembly (5).
5.1.
Between the forward angled edge of the door lamp lens cover and the door trim panel (6), carefully insert the plastic trim tool and gently pry
the lens cover assembly outward far enough to disengage the retaining clip.
5.2.
Disconnect the electrical connector (4).
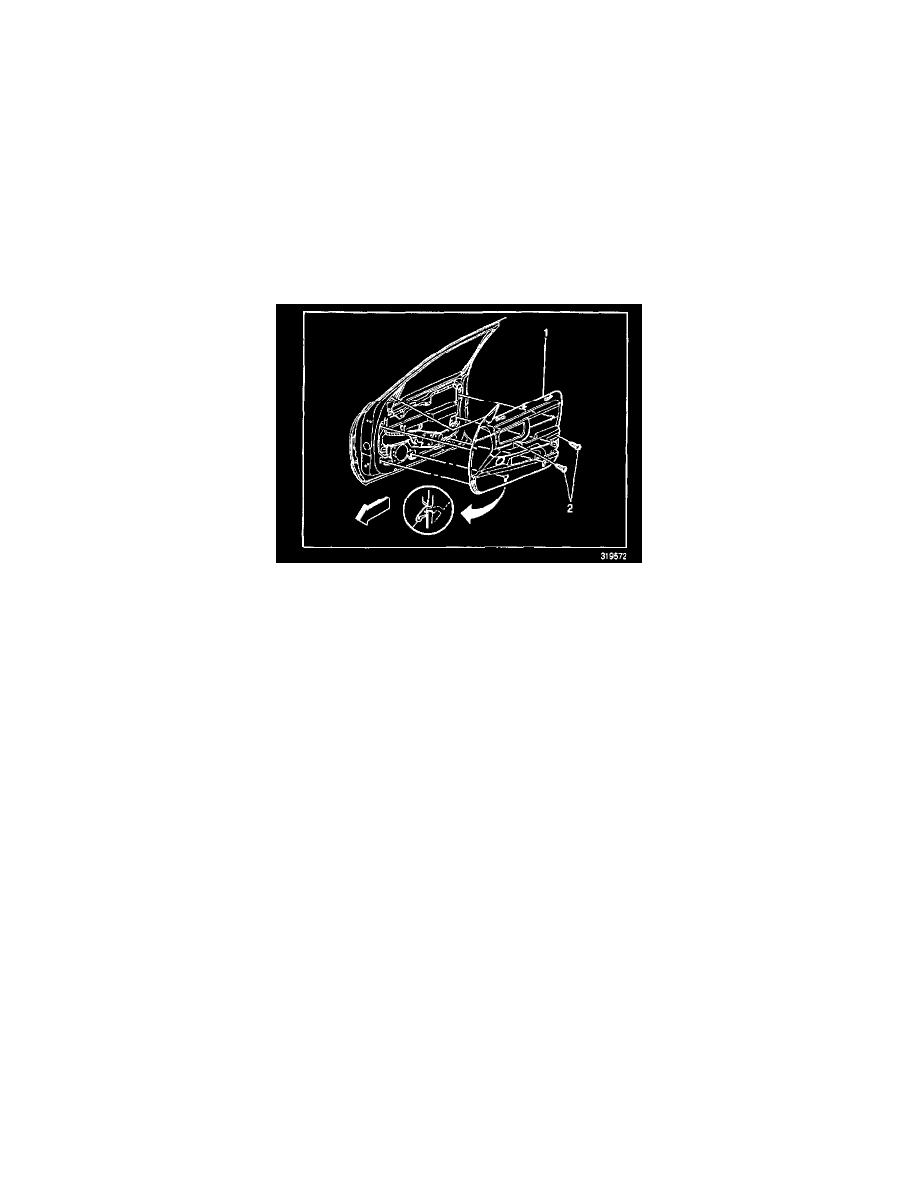
6.
Remove the two door trim panel retaining fasteners (2).
^
Behind the door lamp lens cover assembly.
^
Behind the door handle trim plate/bezel.
Important:
If the door trim panel hooks are damaged during removal, a hook repair kit with instructions, J 42983, is available.
7.
Remove the door trim panel (1) by LIFTING upward and outward in order to disengage the panel hooks from the door.
8.
Disconnect the door trim panel speaker electrical connector.
94-99 Deville Trim Panel Repl.-RH Side Door
1994-1999 DeVille Trim Panel Replacement-