
Eldorado V8-4.6L VIN Y (1994)
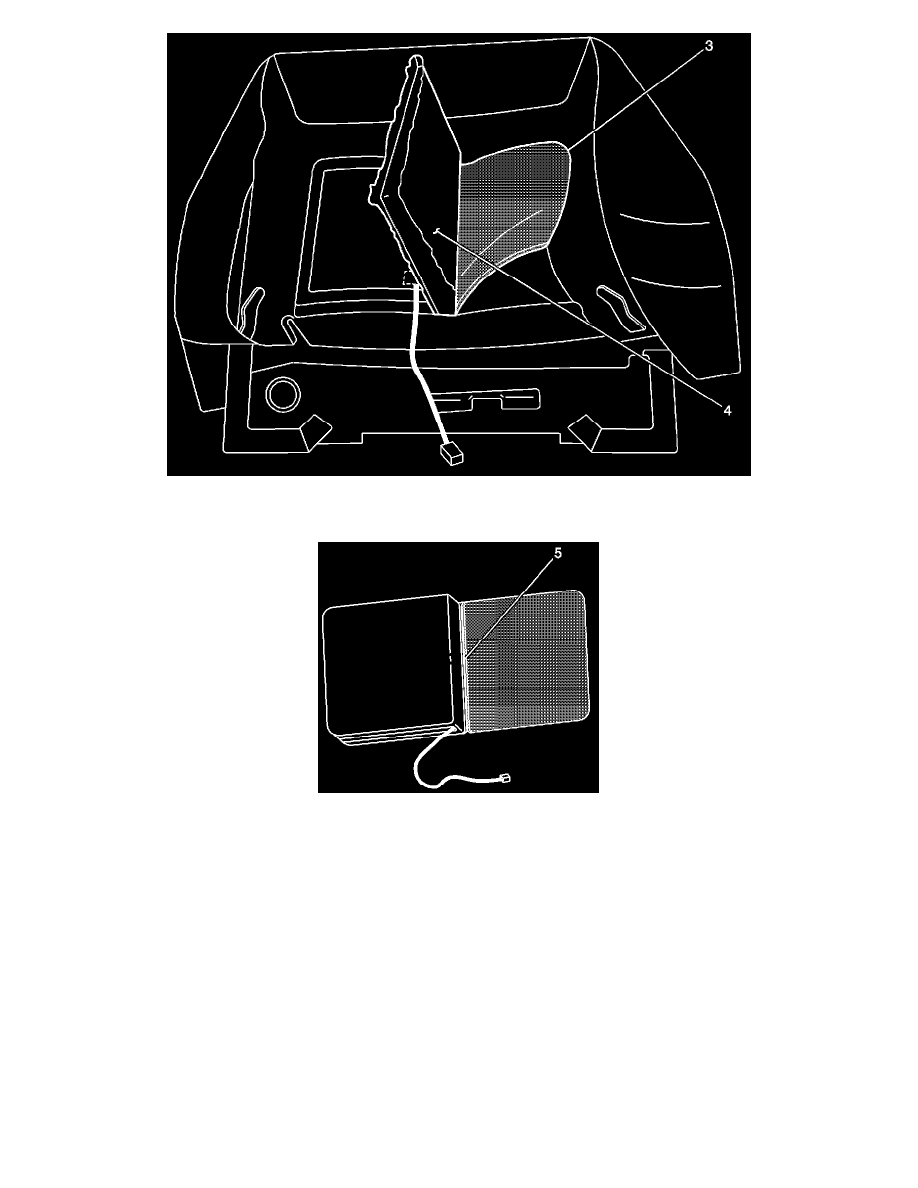
5.
Along the outer edges (3) of the two piece center insert, carefully cut the stitches that secure the factory heat element (4). No need to separate the
two leather pieces.
6.
Along the centerline of the two assemblies (5), carefully cut the stitches that secure the factory heat element to the two piece center insert. No need
to separate the two leather pieces.
Service Heat Element Installation Procedure
DeVille
1.
With the harness side down, element side up, place the new service heat element on a clean flat surface.
2.
With the leather side up, place the two piece center insert over the service heat element.
3.
Match up the alignment notches of the two assemblies.
4.
Carefully pull back the two piece leather insert and fold in half (leather to leather).
5.
Important:
DO NOT sew through the wires located in the heat element center/trench. Stitch the center of two piece leather insert to the center/trench of the
service element. From the folded insert side, sew between the seam and edge.
6.
Important:
Ensure the alignment notches match up. Stitch the outer edges of the insert to the element. From the element side, sew as close to the edge as