Escalade ESV RWD V8-6.2L (2010)

Trim/Dashboard / Instrument Panel/Service and Repair/Instrument Panel Service Positioning (With SLT))Instrument Panel Service Positioning
(Cadillac) (See: Body and Frame/Interior Moulding / Trim/Dashboard / Instrument Panel/Service and Repair/Instrument Panel and Console
Trim/Instrument Panel Service Positioning (Cadillac)).
9. Install the upper intake manifold sight shield. Refer to Upper Intake Manifold Sight Shield Replacement (See: Engine, Cooling and
Exhaust/Engine/Intake Manifold/Service and Repair/Upper Intake Manifold Sight Shield Replacement).
10. Install the battery. Refer to Battery Replacement (See: Starting and Charging/Battery/Service and Repair/Removal and Replacement).
11. Install the accumulator. Refer to Air Conditioning Accumulator Replacement (HP2) (See: Accumulator HVAC/Service and Repair)Air
Conditioning Accumulator Replacement (Non-HP2) (See: Accumulator HVAC/Service and Repair).
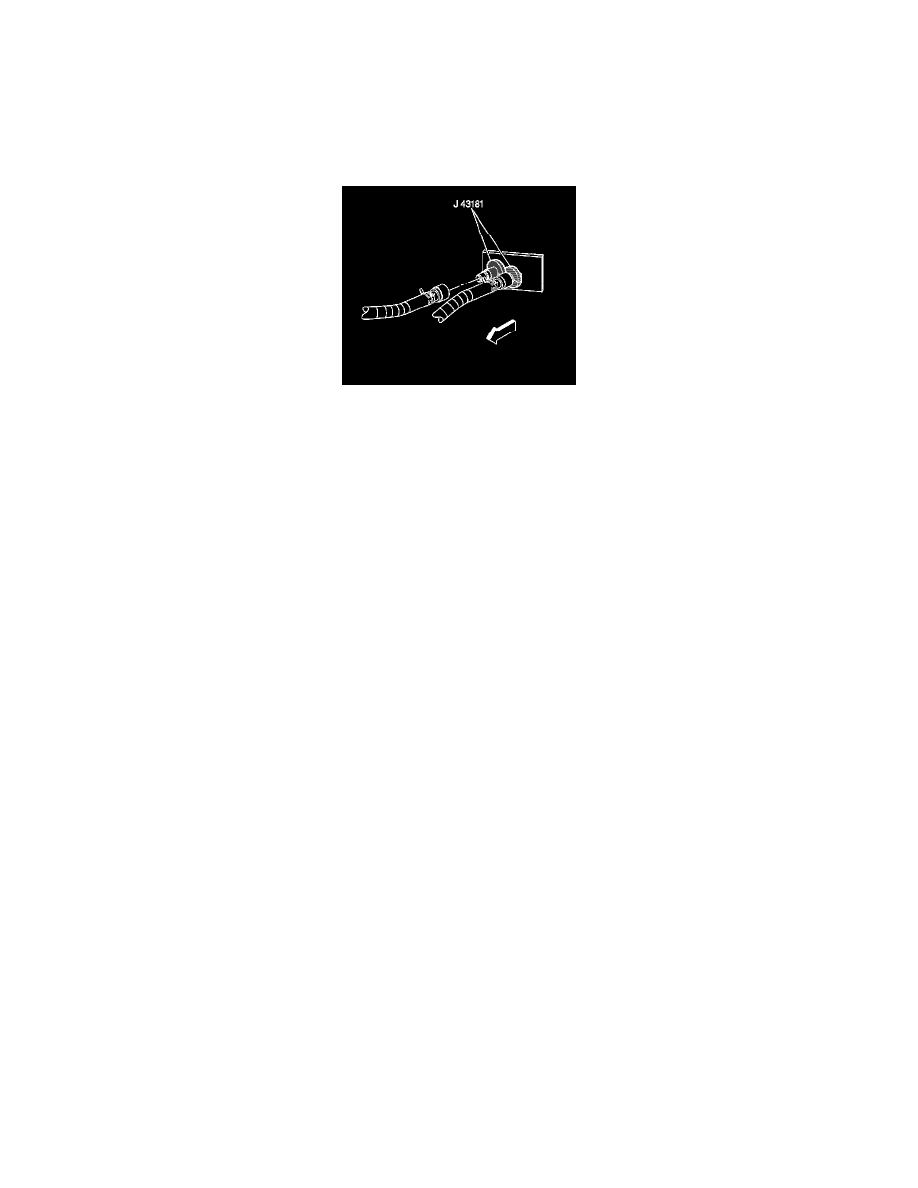
12. Install the surge tank outlet hose to the heater core.
Firmly push the quick connect onto the heater core pipe until you hear an audible click.
13. Install the inlet heater hose to the heater core.
Firmly push the quick connect onto the heater core pipe until you hear an audible click.
14. Fill the engine coolant. Refer to Cooling System Draining and Filling (Static Fill) (See: Engine, Cooling and Exhaust/Cooling System/Service
and Repair/Cooling System Draining and Filling (Static Fill)).
