Escalade V8-5.7L VIN R (2000)

Front Door Trim Panels Inserts Replacement
1.
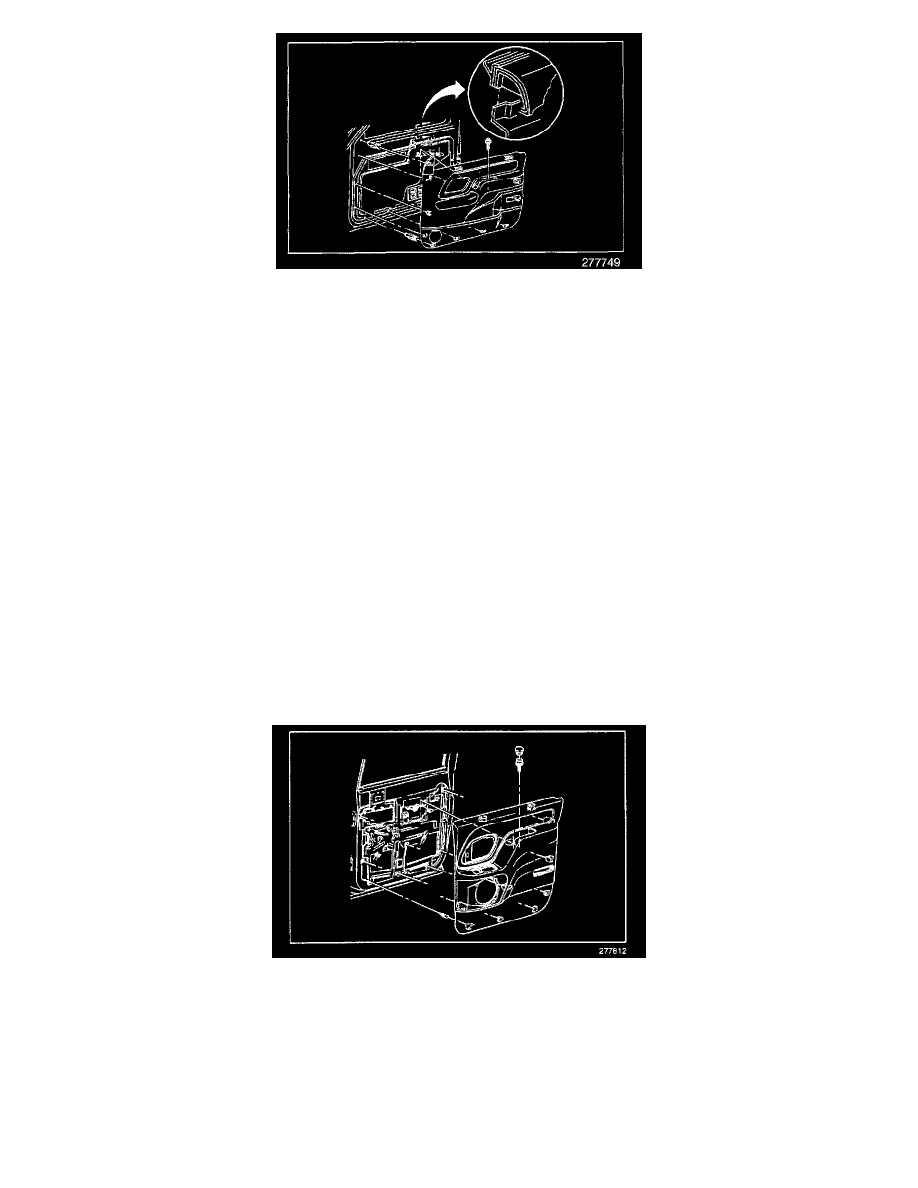
Remove both front door trim panels. Refer to the Trim Panel Replacement - Side Front Door procedure in the Service Manual.
2.
Remove and discard both front door trim panel switch plates.
3.
Remove the two screws and three nuts retaining the woodgrain trim inserts to the door panels.
4.
Replace the right insert with P/N 88892568.
5.
Replace the left insert with P/N 88892567.
Tighten
^
Tighten the wood insert retaining nuts to 0.8 N.m (7 lb in).
^
Tighten the wood insert retaining screws to 2.5 N.m (22 lb in).
6.
Install both front door trim panels. Refer to the Trim Panel Replacement - Side Front Door procedure in the Service Manual.
7.
Replace the right front door trim panel switch plate with P/N 15024198.
8.
Replace the left front door trim panel switch plate with P/N 15024197.
Rear Door Trim Panels Inserts Replacement
1.
Remove both rear door trim panels. Refer to the Trim Panel Replacement - Side Rear Door procedure in the Service Manual.
2.
Remove the two screws and three nuts retaining the wood grain trim inserts to the door panels.
3.
Replace the right insert with P/N 88892570.
4.
Replace the left insert with P/N 88892569.
Tighten
