
Escalade V8-5.7L VIN R (2000)
Intake Manifold: Service and Repair
Intake Manifold Replacement - Lower
Removal Procedure
1. Disconnect the battery negative cable. Refer to Battery Cable.
2. Drain the engine coolant. Refer to Draining and Filling Cooling System.
3. Remove the air cleaner assembly. Refer to Air Cleaner Assembly Replacement.
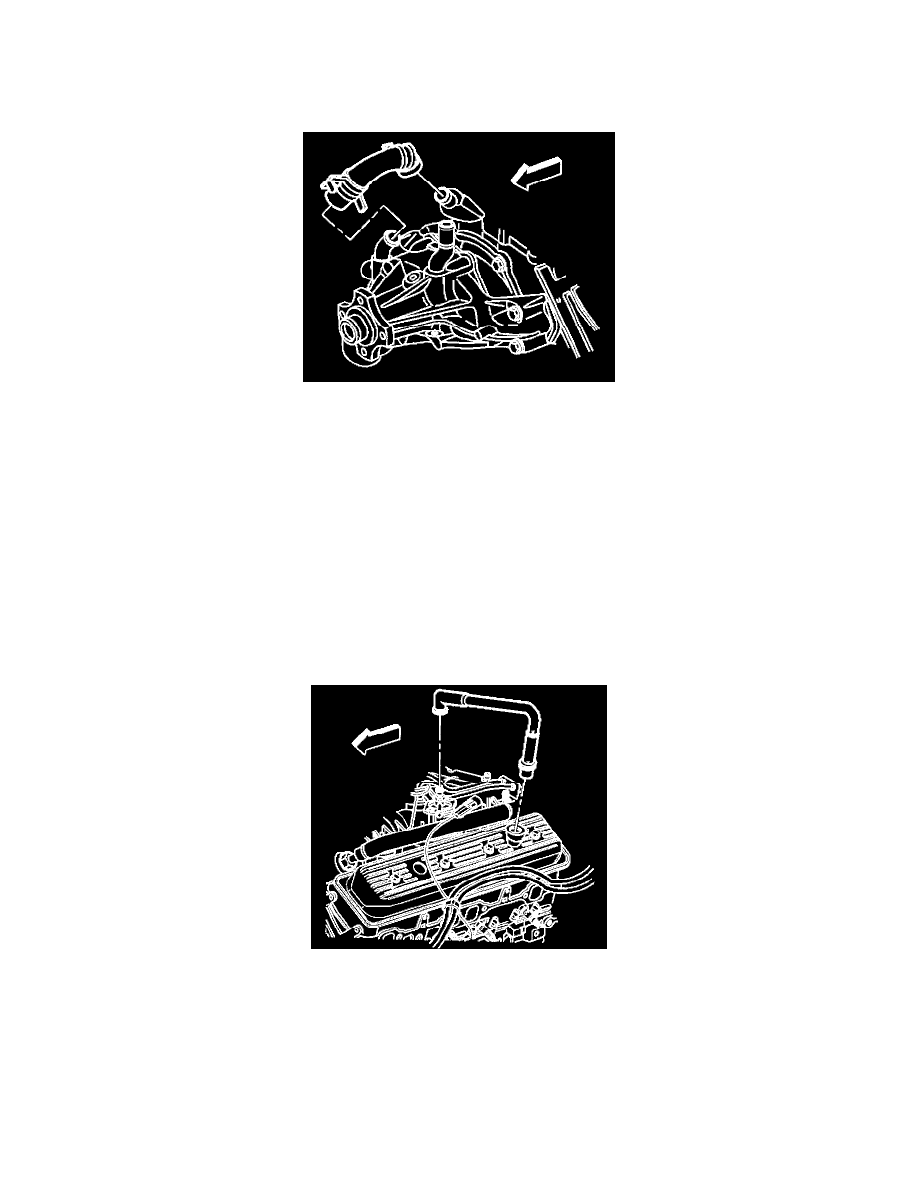
4. Remove the following coolant hoses:
5. Upper radiator hose. Refer to Radiator Hose Replacement.
6. Both heater hoses. Refer to Heater Hoses Replacement (Inlet/Outlet Hose).
7. Water pump inlet hose. Refer to Hot Water Bypass Valve Replacement in Cooling System.
8. Disconnect all electrical connectors and secure out of the way.
9. Remove the distributor. Refer to Distributor Replacement.
10. Use a twisting motion to remove the vacuum brake booster hose, if equipped.
11. Disconnect the accelerator control cable and the cruise control cable, if equipped. Refer to Accelerator Controls Cable Replacement.
12. Remove the drive belt. Refer to Drive Belt Replacement.
Important: It is not necessary to discharge the A/C refrigerant.
13. Remove the Air Conditioning (A/C) compressor, if equipped, and set the A/C compressor aside. Refer to Compressor Replacement.
14. Remove the PCV valve.
15. Disconnect the Exhaust Gas Recirculation (EGR) pipe from the bracket and the front of the intake manifold. Refer to Secondary Air Injection
Check Valve/Pipe Replacement.
16. Disconnect the fuel pipes from the rear of the intake manifold. Refer to Fuel Hose/Pipes Replacement (Engine Compartment).
17. Disconnect the electrical connector from the power steering pump.