Escalade V8-5.7L VIN R (2000)

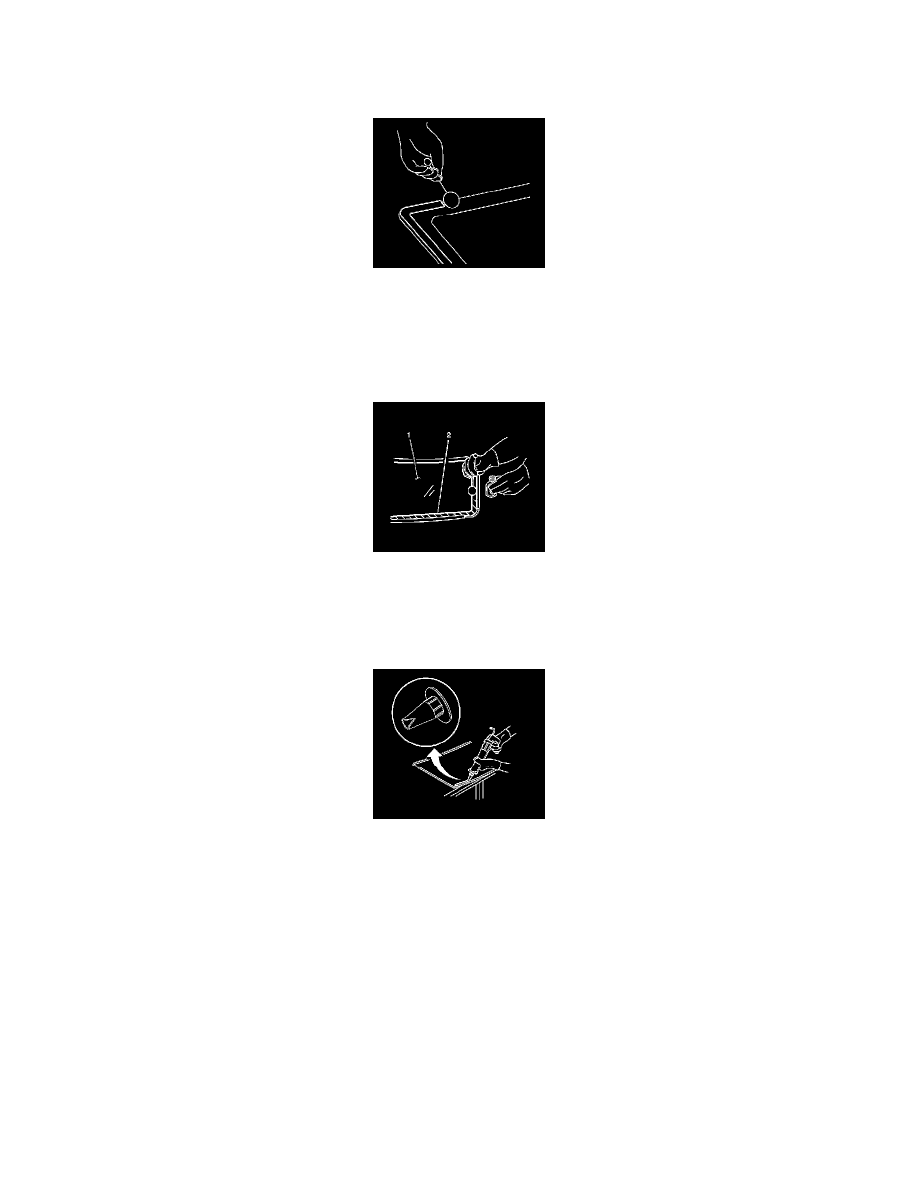
3. Shake the pinchweld primer (#3 black) well.
4. Use a new dauber to apply the primer to the primed surface of the flange in the bonding area.
5. Allow the primer to dry for approximately 10 minutes.
9. If installing a new window:
1. Use a new dauber, to apply the stationary window prep (#1 clear) approximately 10 mm to 16 mm (3/8 in. to 5/8 in) around the entire
perimeter of the glass inner surface (reference the illustration of the primer/bonding areas).
2. Apply stationary window prep (#1 clear) to any exposed edges of the window.
3. Wipe the primed area immediately with a lint free cloth.
10. Shake the stationary window primer (#2 black) well.
1. Use a new dauber, to apply the stationary window primer (#2 black) to the areas of the stationary window (1) which prep (#1 clear) was
applied.
2. Allow the primer to dry for approximately 6 minutes.
11. Cut the tip of the applicator nozzle as follows:
1. If short method installation is being used, cut the tip to provide an urethane adhesive bead of approximately 6.0 mm (1/4 in).
2. If extended installation method is being used, cut the tip to provide an adhesive bead of approximately 10.5 mm (0.14 in) wide and 10.5 mm
(0.14 in) high.
Caution: Refer to Glass and Sheet Metal Handling Caution in Service Precautions.
Caution: Refer to Repair Material Curing Caution in Service Precautions.
