
Escalade 4WD V8-6.0L Hybrid (2011)
Case Adapter: Service and Repair
Transfer Case Adapter Replacement
Removal Procedure
1. Remove the transfer case. Refer to Transfer Case Assembly Replacement See: Service and Repair/Removal and Replacement/Transfer Case
Assembly Replacement.
2. Remove the transmission mount.
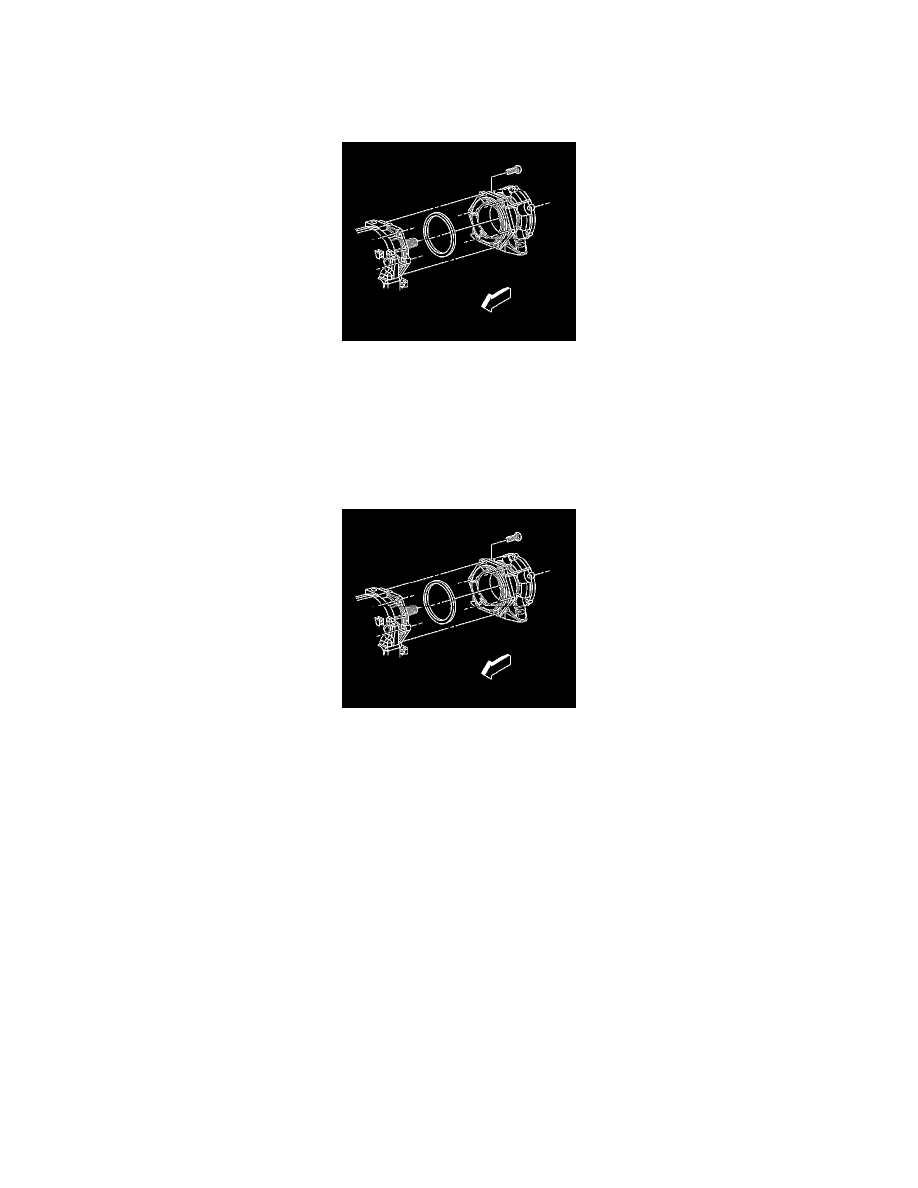
3. Remove the transfer case adapter bolts.
4. Remove the adapter.
5. Remove the adapter seal.
Installation Procedure
Note: Always use a new seal for the adapter. Do not use any type of sealant or adhesive in place of or with the seal.
1. Install a NEW seal onto the adapter.
Note: The transfer case adapter must be installed so that the adapter is evenly seated to the transmission before installing the retaining nuts.
2. Install the adapter.
Caution: Refer to Fastener Caution See: Service Precautions/Vehicle Damage Warnings/Fastener Caution.
3. Install the adapter bolts.
Tighten the bolts to 50 Nm (37 lb ft).
4. Install the transmission mount.
5. Install the transfer case. Refer to Transfer Case Assembly Replacement See: Service and Repair/Removal and Replacement/Transfer Case
Assembly Replacement.