
Escalade AWD V8-6.0L Hybrid (2010)
).
7. Mark the relationship of the rotor to the hub.
8. Compress the brake caliper pistons:
1. Install a large C-clamp over the top of the caliper housing and against the back of the outboard pad.
2. Slowly tighten the C-clamp until the pistons are pushed completely into the caliper bores.
3. Remove the C-clamp from the caliper.
Caution: Support the brake caliper with heavy mechanic wire, or equivalent, whenever it is separated from its mount and the hydraulic flexible
brake hose is still connected. Failure to support the caliper in this manner will cause the flexible brake hose to bear the weight of the caliper, which
may cause damage to the brake hose and in turn may cause a brake fluid leak.
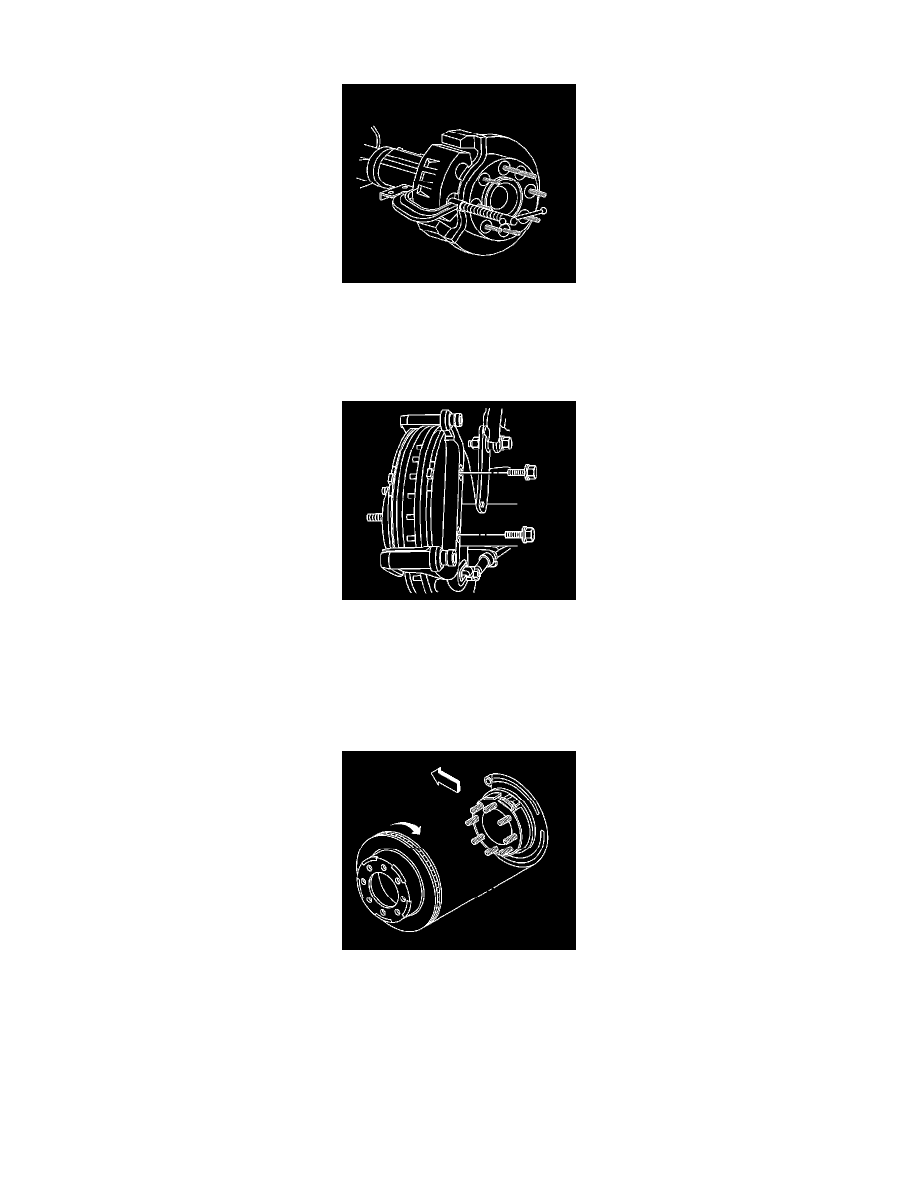
9. Remove the brake caliper bracket bolts.
10. Remove the caliper and caliper bracket as an assembly and support with heavy mechanics wire or equivalent. DO NOT disconnect the hydraulic
brake flexible hose from the caliper.
11. Remove the brake rotor retaining push nuts from the wheel studs, if applicable.
12. It may be necessary to strike the end of the hub or the rotor with a deadblow hammer to separate the rotor from the hub.
13. Remove the rotor by slowly turning the rotor while pulling the rotor away from the axle.
Installation Procedure
Note: Whenever the brake rotor has been separated from the hub/axle flange, any rust or contaminants should be cleaned from the hub/axle flange
and the brake rotor mating surfaces. Failure to do this may result in excessive assembled lateral runout (LRO) of the brake rotor, which could lead
to brake pulsation.