Escalade AWD V8-6.2L (2009)

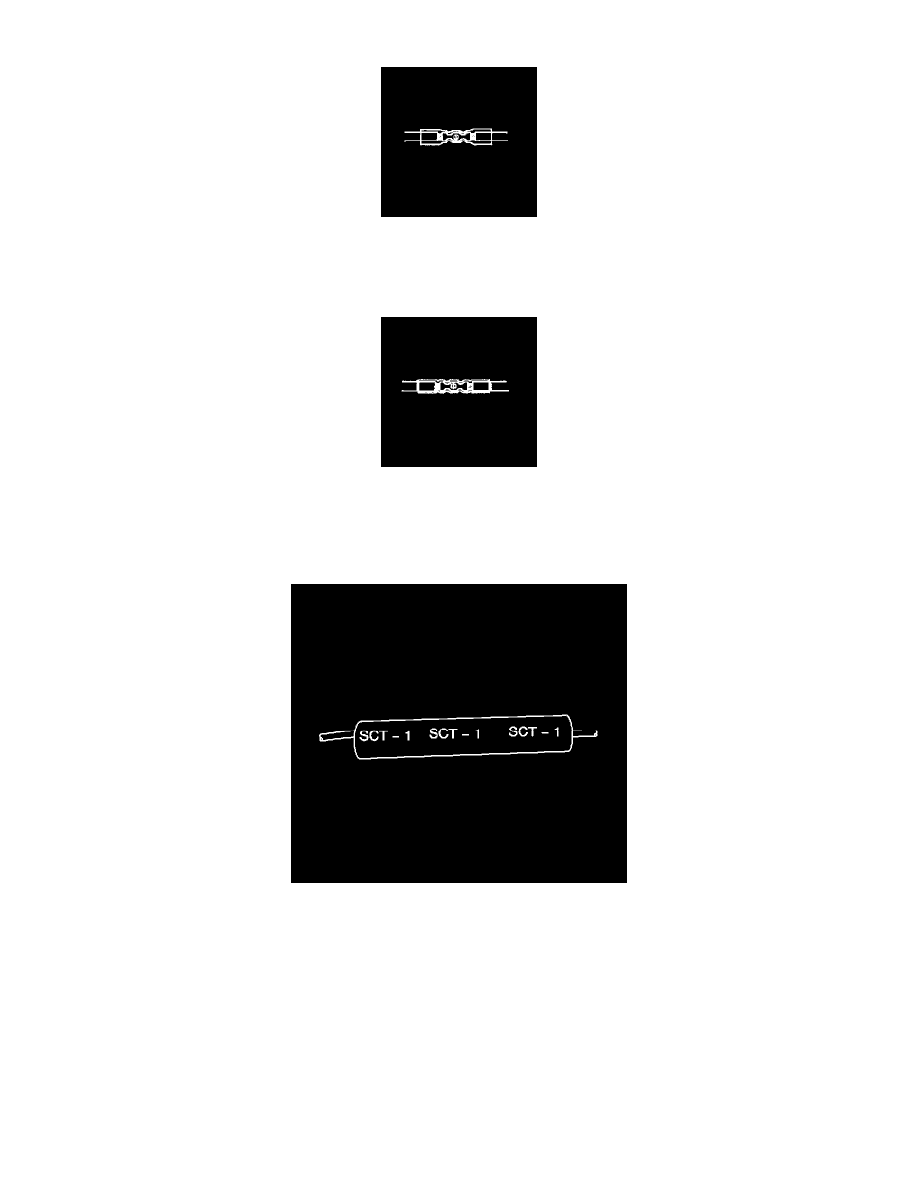
hold the DuraSeal splice sleeve in the proper nest.
9. Insert the wire into the DuraSeal splice sleeve barrel until the wire hits the barrel stop.
10. Tightly close the handles of the crimp tool until the crimper handles open when released.
The crimper handles will not open until you apply the proper amount of pressure to the splice sleeve. Repeat steps 4 and 5 for the opposite end of
the splice.
11. Using the heat torch, apply heat to the crimped area of the barrel.
12. Gradually move the heat barrel to the open end of the tubing:
*
The tubing will shrink completely as the heat is moved along the insulation.
*
A small amount of sealant will come out of the end of the tubing when sufficient shrinkage is achieved.
13. Center the high temperature SCT1 shrink tube over the DuraSeal splice sleeve.
14. Using the heat torch, apply heat to the high temperature heat shrink tubing.
15. Gradually move the heat from the center to the open end of the tubing:
*
The tubing will shrink completely as the heat is moved along the insulation.
*
A small amount of sealant will come out of the end of the tubing when sufficient shrinkage is achieved.
16. Replace any reflective tape and clips that may have been remove during the repair.
Repairing Damaged Wire Insulation
Repairing Damaged Wire Insulation
Danger: In order to reduce the risk of personal injury, loss of high voltage isolation to ground and higher system impedance, do not attempt to
