
Escalade ESV AWD V8-6.2L (2007)
Important:
^
DO NOT use any air tools to remove or tighten the guide pin bolts. Use hand tools only.
^
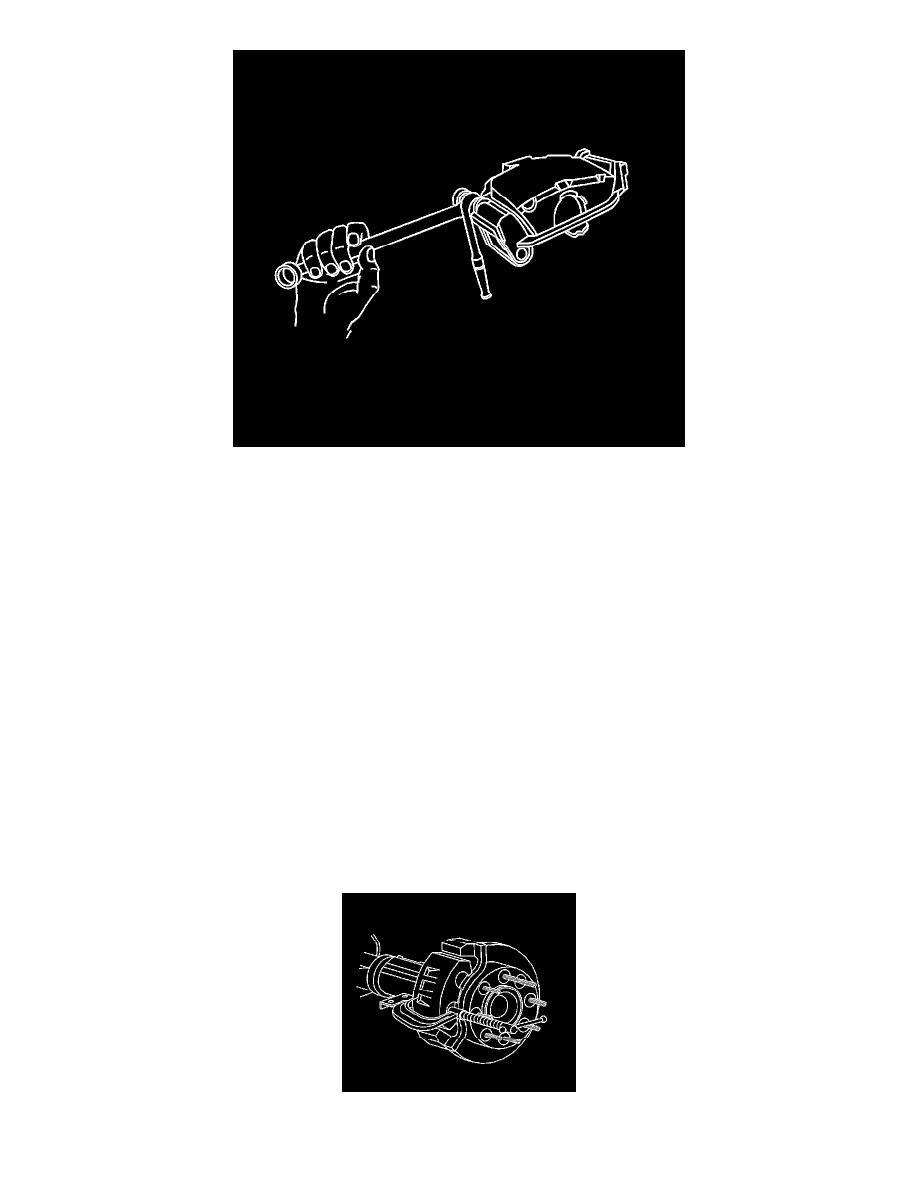
Install an open end wrench to hold the caliper guide pin in line with the brake caliper while removing or installing the caliper guide pin
bolt. DO NOT allow the open end wrench to come in contact with the brake caliper. Allowing the open end wrench to come in contact with
the brake caliper will cause a pulsation when the brake is applied.
Use an open end wrench to hold the guide pins while tightening the guide pin bolts.
Tighten the bolts to 38 N.m (28 lb ft).
7. Install the tire and wheel assembly.
8. Lower the vehicle. Refer to Lifting and Jacking the Vehicle.
9. With the engine OFF, gradually apply the brake pedal to approximately 2/3 of its travel distance.
10. Slowly release the brake pedal.
11. Wait 15 seconds, then repeat steps 11-12 until a firm pedal is obtained to properly seat the caliper pistons and pads.
12. Fill the master cylinder reservoir to the proper level with clean brake fluid, if necessary. Refer to Master Cylinder Reservoir Filling.
Rear Brake Caliper Bracket Replacement (2500 Series)
Rear Brake Caliper Bracket Replacement (2500 Series)
Caution: Refer to Brake Dust Caution.
Removal Procedure
1. Inspect the fluid level in the brake master cylinder reservoir.
2. If the fluid level is midway between the maximum - full point, and the minimum allowable level, no fluid needs to be removed from the reservoir