
Escalade EXT AWD V8-6.2L (2009)
Rear Brake Caliper Replacement (2500 Series)
Warning: Refer to Brake Dust Warning (See: Service Precautions/Technician Safety Information/Brake Dust Warning).
Warning: Refer to Brake Fluid Irritant Warning (See: Service Precautions/Technician Safety Information/Brake Fluid Irritant Warning).
Removal Procedure
1. Inspect the fluid level in the brake master cylinder reservoir.
2. If the brake fluid level is midway between the maximum-full point and the minimum allowable level, no brake fluid needs to be removed from the
reservoir before proceeding.
3. If the brake fluid level is higher than midway between the maximum-full point and the minimum allowable level, remove brake fluid to the
midway point before proceeding.
4. Raise and support the vehicle. Refer to Lifting and Jacking the Vehicle (See: Maintenance/Vehicle Lifting/Service and Repair).
5. Remove the tire and wheel assembly. Refer to Tire and Wheel Removal and Installation (See: Maintenance/Wheels and Tires/Service and Repair
).
6. Compress the brake caliper pistons.
1. Install 2 large C-clamps over the top of the caliper housing and against the back of the outboard brake pad.
2. Slowly tighten the C-clamps until the caliper pistons are pushed completely into the caliper bores.
3. Remove the C-clamps from the caliper.
7. Clean all dirt and debris from the brake caliper and fittings.
Note: Cap or plug to the brake hose to prevent brake fluid leakage and contamination of the brake system.
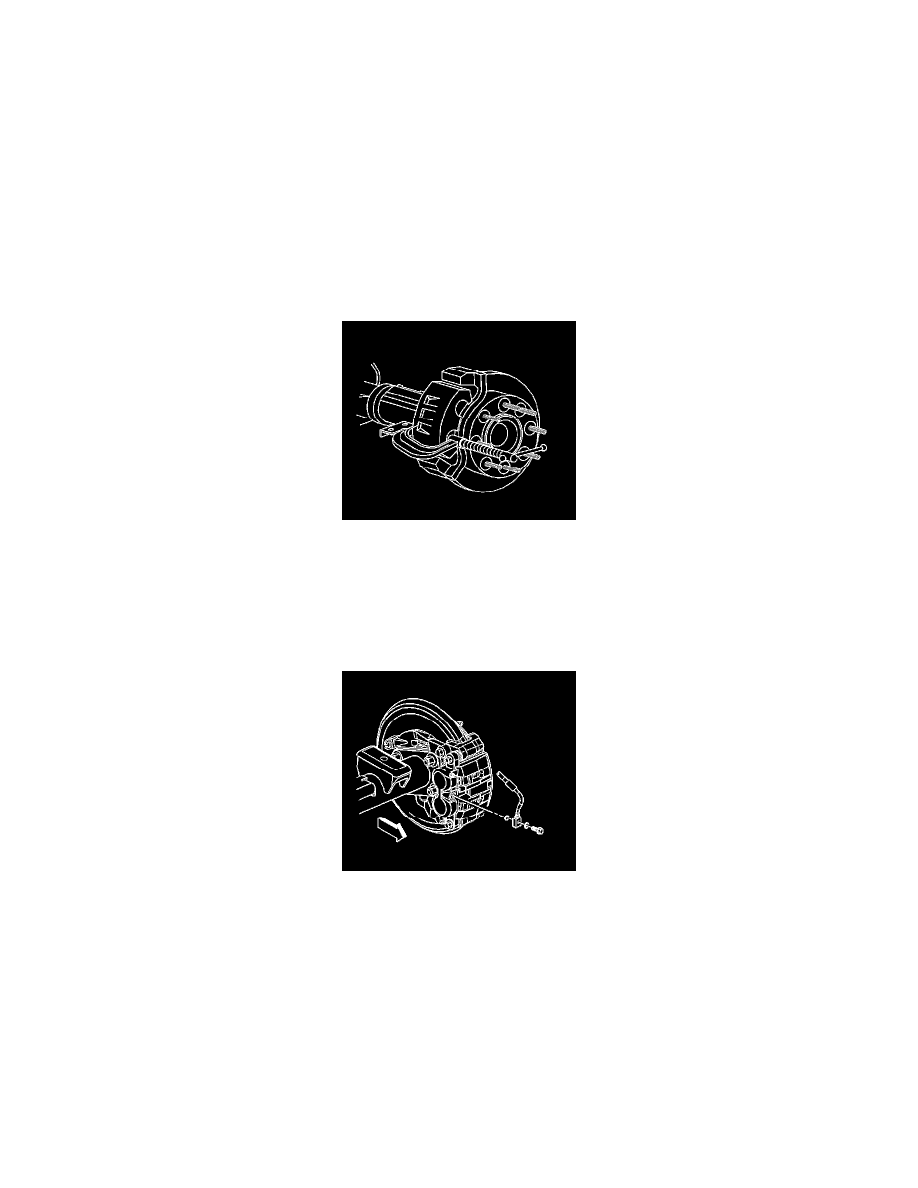
8. Remove the brake hose to caliper bolt.
9. Remove the brake hose from the caliper.
Note:
*
Ensure that the copper gaskets are not attached to the brake caliper or the brake hose.
*
DO NOT re-use the copper gaskets, replace them with NEW.
10. Remove and discard the 2 copper brake hose gaskets.