
Escalade EXT AWD V8-6.2L (2009)
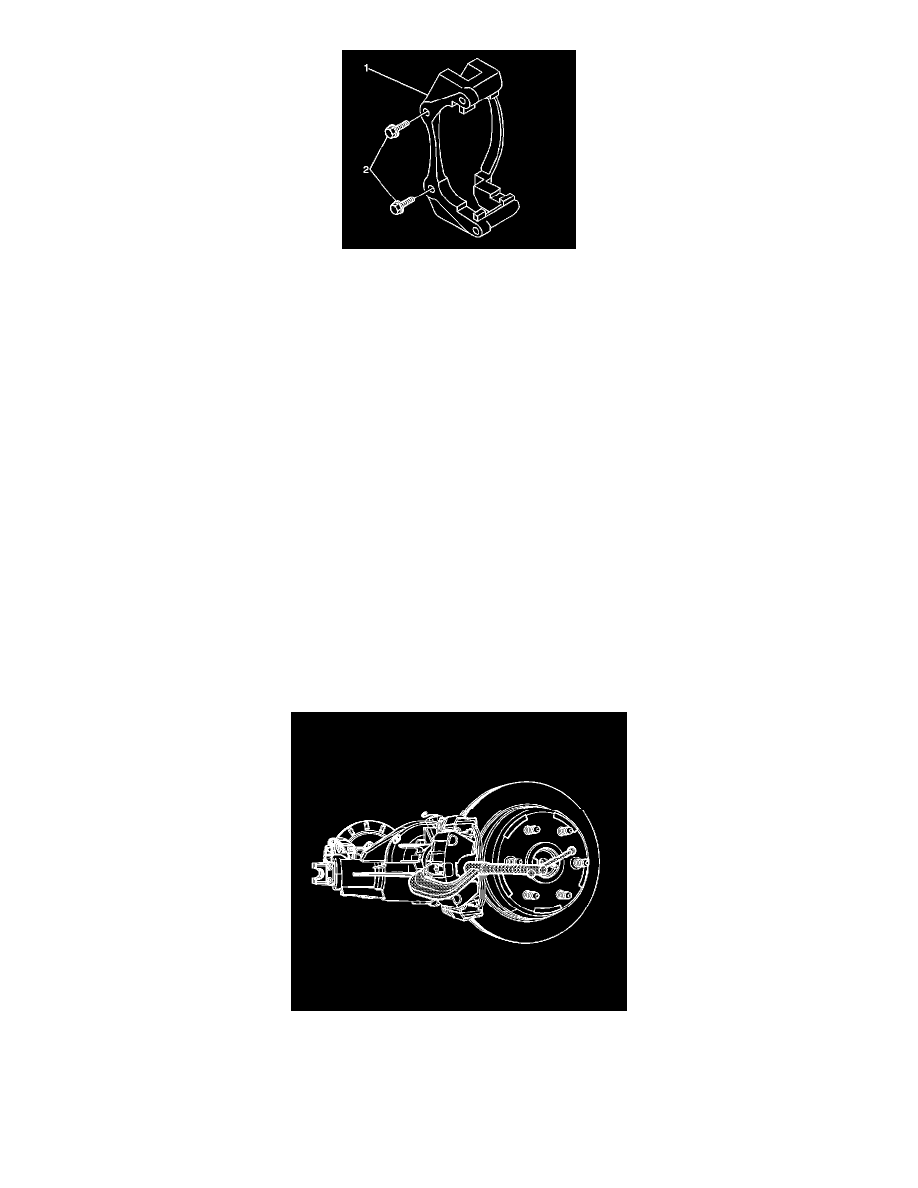
1. Install the brake caliper bracket (1) to the steering knuckle.
2. Perform the following procedure before installing the brake caliper bracket bolts.
1. Remove all traces of the original adhesive patch.
2. Clean the threads of the bolt with denatured alcohol or equivalent and allow to dry.
3. Apply Threadlocker GM P/N 12345493 (Canadian P/N 10953488) to the threads of the bolt.
Caution: Refer to Fastener Caution (See: Service Precautions/Vehicle Damage Warnings/Fastener Caution).
3. Install the brake caliper bracket mounting bolts (2) and tighten to 300 Nm(221 lb ft).
4. Install NEW brake pad retaining springs to the brake caliper bracket.
5. Install the brake pads. Refer to Front Disc Brake Pads Replacement (2500 Series) (See: Disc Brake System/Brake Pad/Service and Repair/Front
Disc Brake Pads Replacement (2500 Series))Front Disc Brake Pads Replacement (1500 Series) (See: Disc Brake System/Brake Pad/Service and
Repair/Front Disc Brake Pads Replacement (1500 Series)).
6. Slowly apply pressure to the brake pedal until a firm pedal as been achieved.
7. Fill the master cylinder reservoir to the proper level with clean brake fluid, if necessary. Refer to Master Cylinder Reservoir Filling (See: Brake
Master Cylinder/Service and Repair/Procedures/Master Cylinder Reservoir Filling).
8. Install the tire and wheel assembly. Refer to Tire and Wheel Removal and Installation (See: Maintenance/Wheels and Tires/Service and Repair).
Rear Brake Caliper Bracket Replacement (1500 Series)
Rear Brake Caliper Bracket Replacement (1500 Series)
Warning: Refer to Brake Dust Warning (See: Service Precautions/Technician Safety Information/Brake Dust Warning).
Removal Procedure
1. Inspect the fluid level in the brake master cylinder reservoir.
2. If the fluid level is midway between the maximum -full point and the minimum allowable level, no fluid needs to be removed from the reservoir
before proceeding.
3. If the fluid level is higher than midway between the maximum -full point and the minimum allowable level, remove fluid to the midway point
before proceeding.
4. Raise and support the vehicle. Refer to Lifting and Jacking the Vehicle (See: Maintenance/Vehicle Lifting/Service and Repair).
5. Remove the tire and wheel assembly. Refer to Tire and Wheel Removal and Installation (See: Maintenance/Wheels and Tires/Service and Repair