
Escalade EXT AWD V8-6.2L (2009)
Rocker Arm Assembly: Service and Repair
Valve Rocker Arm and Push Rod Replacement
Removal Procedure
1. Remove the rocker arm cover. Refer to Valve Rocker Arm Cover Replacement - Left Side (See: Cylinder Head Assembly/Valve Cover/Service
and Repair/Valve Rocker Arm Cover Replacement - Left Side) or Valve Rocker Arm Cover Replacement - Right Side (See: Cylinder Head
Assembly/Valve Cover/Service and Repair/Valve Rocker Arm Cover Replacement - Right Side).
Note: The engine firing order is 1, 8, 7, 2, 6, 5, 4, 3. Cylinders 1, 3, 5 and 7 are the left bank.
2. Remove the number one cylinder spark plug. Refer to Spark Plug Replacement (See: Tune-up and Engine Performance Checks/Spark
Plug/Service and Repair).
Note: Place the rocker arms, pushrods, and pivot support, in a rack so that they can be installed in the same location from which they were
removed.
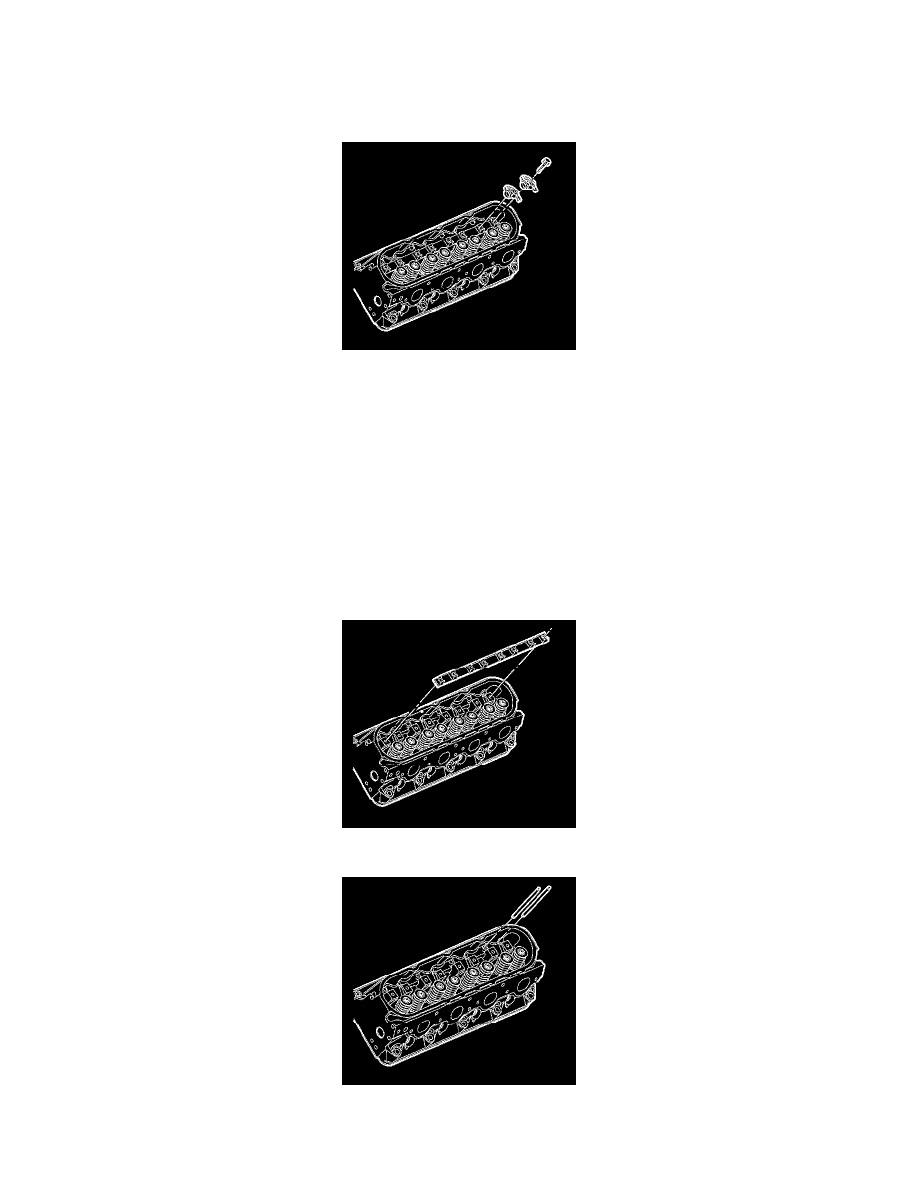
3. Remove the rocker arm bolts.
4. Remove the rocker arms.
5. Remove the rocker arm pivot support.
6. Remove the pushrods.
7. Clean and inspect the rocker arms and pushrods, if required. Refer to Valve Rocker Arm and Push Rod Cleaning and Inspection (See: Service