
Fleetwood FWD V8-300 4.9L (1993)
5.
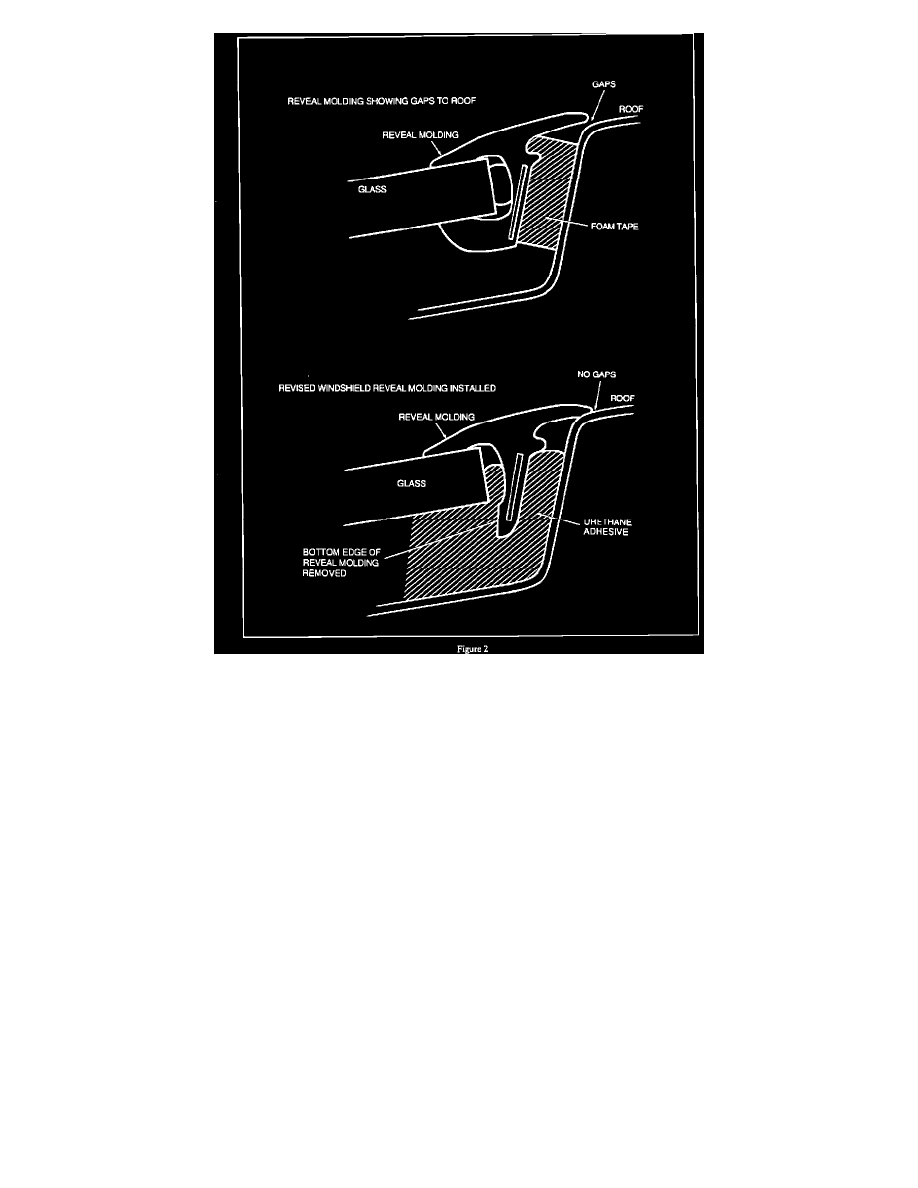
Trim the lower lip off the reveal molding as shown in Figure 2.
6.
Dry fit the molding to the opening.
7.
Remove adhesive from cavity if necessary.
8.
Apply urethane, P/N 12345633, into the cavity up to the bottom side of the windshield.
9.
Install molding.
10.
Tape the molding to the body using masking tape.
11.
Allow urethane to cure overnight before removing tape.
12.
Remove any excess squeeze out of urethane from the glass and the body after tape is removed.
For warranty purposes use Labor Operation T1939 at .7 hour.
Windshield Side Reveal Molding to Glass
III.
Wind rush due to gap at windshield side reveal molding to glass, left and or right side.
1.
Remove auxiliary weatherstrip to access the windshield side reveal molding retaining screws.
2.
Remove the retaining screws and the molding.
3.
Holding the windshield side reveal molding in position, flush the molding to the glass. Determine how much elongation of the screw holes in the
molding is necessary to position the molding flush to the glass.