
Seville V8-252 4.1L (1982)
4.
Remove the transmission from the vehicle and disassemble the case cover as listed in the appropriate Service Information Manual.
5.
Press the drive sprocket support out of the case cover (refer to SIM Section 325-4L, Figure Nos. 153 and 157).
NOTE:
The case cover must be supported as outlined in the Service Information Manual to prevent damaging the cover.
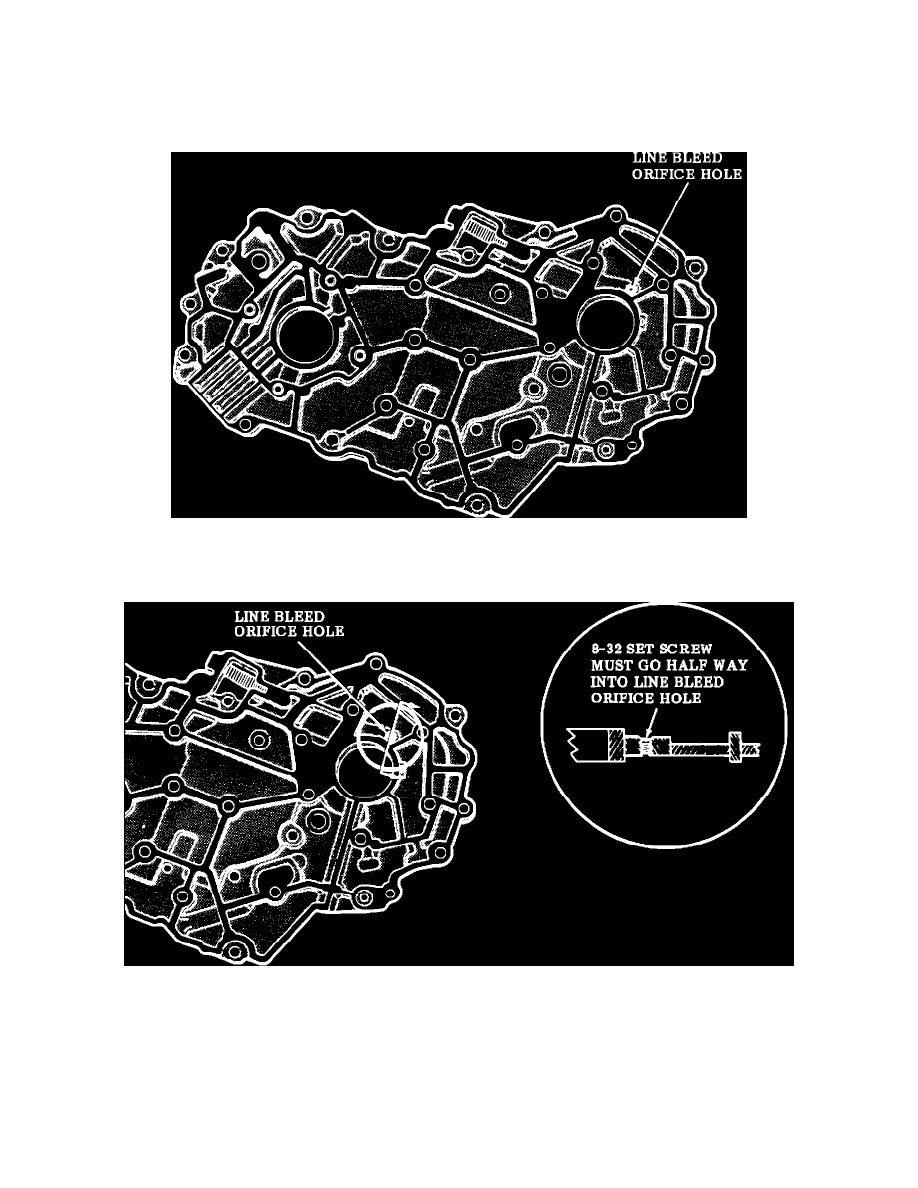
FIGURE 2 - CASE COVER PLATE
6.
Remove the line bleed orifice cup plug from either side with a 1/8" punch (refer to Figure 2).
FIGURE 3 - CASE COVER PLATE
7.
Tap screw threads into the line bleed orifice hole using a #8-32 tap. Run the tap into the hole from the sprocket support side approximately
halfway through; do not tap the hole all the way through (refer to Figure 3).
8.
Coat the set screw with Loctite and install into the case cover with a 5/64" allen wrench until snug.
9.
Remove the pressure regulator bushing from the case and install the new bushing.