Seville V8-273 4.5L (1989)

Hydraulic Assembly: Service and Repair
Hydraulic Unit
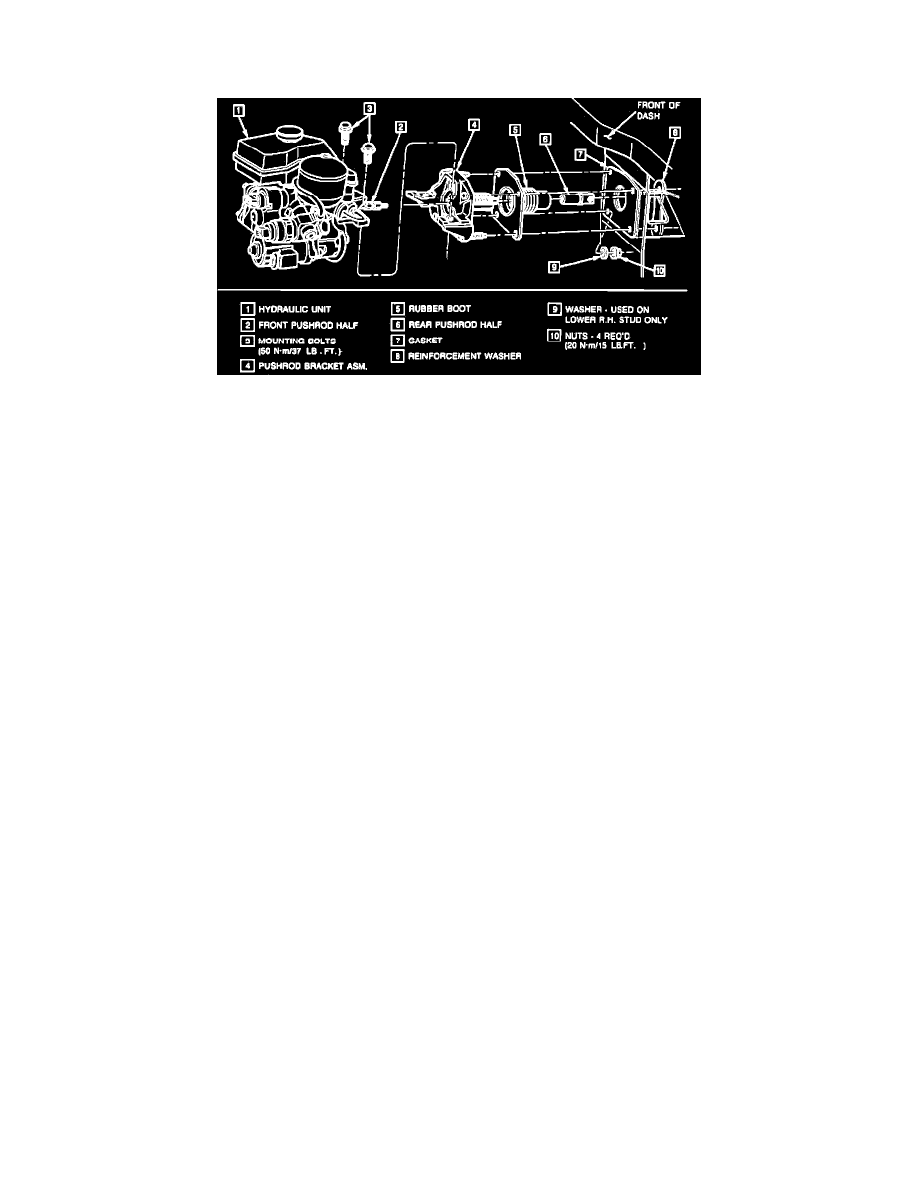
Fig. 59 Hydraulic Unit
1.
Disconnect battery ground cable.
2.
Depressurize hydraulic accumulator by depressing brake pedal a minimum of 25 times. A noticeable change in pedal resistance will be felt
when accumulator is depressurized. Failure to depressurize accumulator may result in personal injury and/or damage to vehicle and
painted surfaces.
3.
Label, then disconnect all electrical connectors from hydraulic unit.
4.
Remove cross-car brace.
5.
Remove pump bolt, then move pump/motor assembly to the side.
6.
Disconnect three hydraulic lines from valve block. Use a back-up wrench to prevent pipes from twisting.
7.
From inside the vehicle, disconnect pushrod from brake pedal.
8.
Push dust boot past hex on pushrod, then separate push rod halves by unthreading.
9.
Remove two hydraulic unit mounting bolts from the pushrod bracket, then the hydraulic unit, Fig. 59. The front half of the pushrod will remain
locked in hydraulic unit.
10.
Reverse procedure to install, noting the following:
a. Use new hydraulic unit mounting bolts.
b. Torque mounting bolts to 37 ft. lbs.
