
Seville V8-273 4.5L (1989)
Compressor Shaft Seal: Service and Repair
Installation
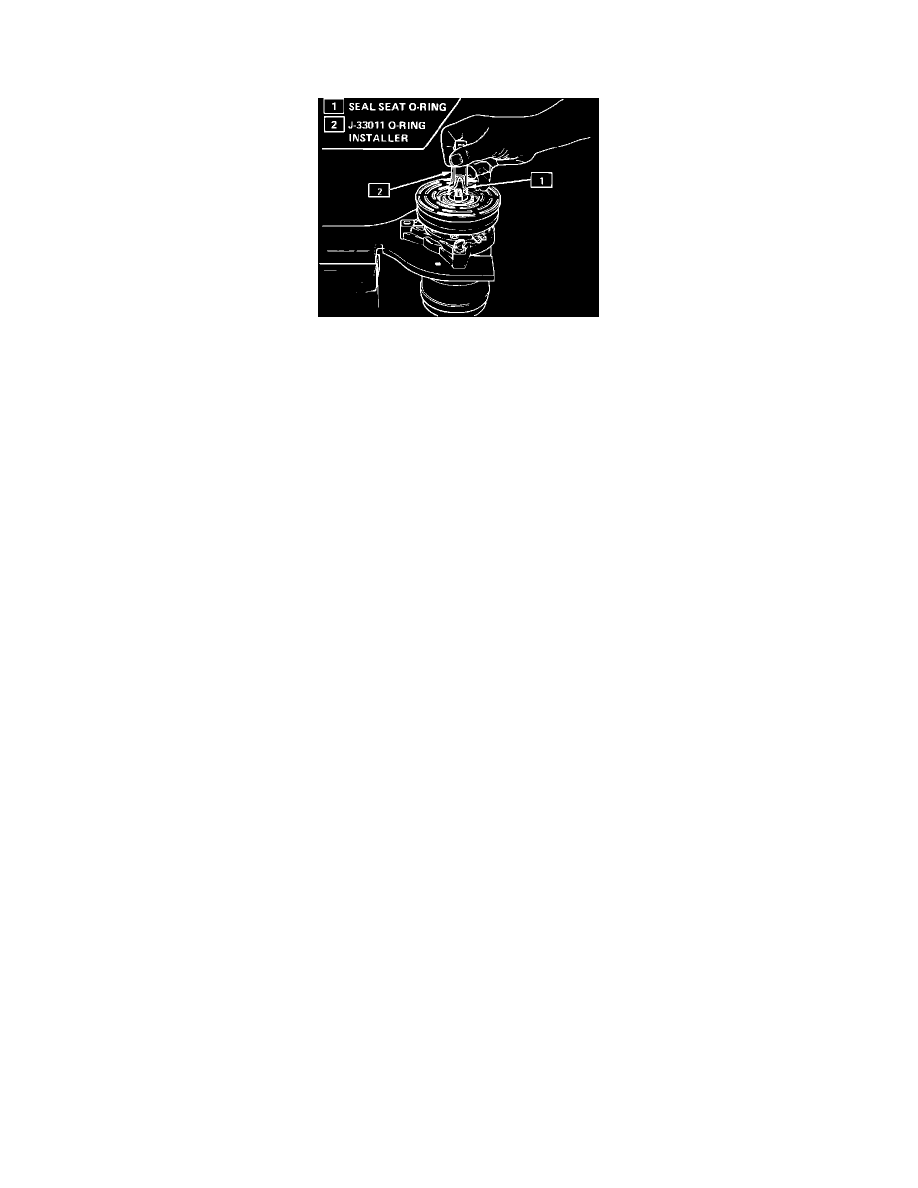
Fig. 5 Installing seal seat O-ring
1.
Dip new seal seat O-ring in 525 viscosity refrigerant oil and place on O-ring installer J-33011, Fig. 5.
2.
Insert O-ring installer into compressor neck. When installer bottoms, lower moveable slide of installer to release O-ring into seal seat lower O-ring
groove (top groove is for shaft seal retainer ring). Rotate installer to seat O-ring and remove installer.
3.
Dip O-ring and seal face of new seal assembly into 525 viscosity refrigerant oil. Position seal assembly on seal installer J-33018 by engaging tabs
of seal with tangs of installer.
4.
With seal protector J-33021 over end of compressor shaft, slide new seal assembly onto shaft. Twist installer clockwise while pushing seal
assembly down shaft until seal assembly engages flats on shaft. Disengage installer by pressing downward and twisting counterclockwise.
5.
Attach ceramic seal to seal seat remover/installer J-23128-A and coat seal face and outer surface with clean 525 viscosity refrigerant oil. Install
seat over compressor shaft and J-33021 seal protector. Push seat into place with turning motion, being careful not to dislodge seat O-ring. Ensure
seal seat makes good contact with O-ring and remove installer and seal protector.
6.
Install new seal seat retainer ring with flat side against seal seat. Press retainer ring into position using sleeve from remover/installer J-5403.
7.
Leak test compressor and clean any excess oil resulting from seal installation.
8.
Install clutch plate and hub assembly.
9.
Install compressor, belts, and bracket.
10.
Evacuate and charge A/C system.