
Seville V8-4.9L VIN B (1995)
Band Apply Servo: Service and Repair
4TH Servo
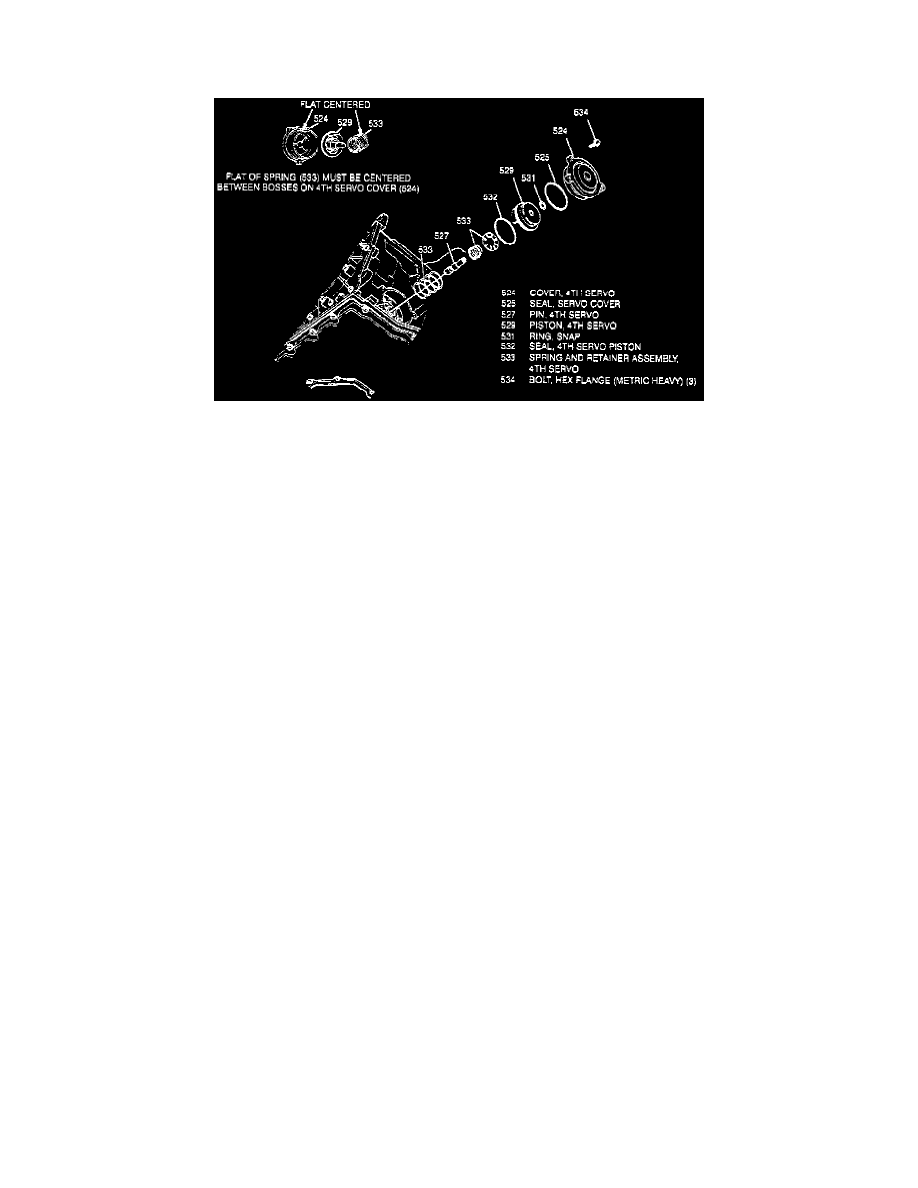
Fig.27 Exploded View Of 4th Servo Assembly
REMOVAL
1. Raise and support vehicle, then remove three bolts, Fig. 27. Hold servo cover in place until all bolts are removed. If cover is not held in place,
apply pin will damage bore in case.
2. Remove cover and servo assembly, Fig. 27.
3. Inspect piston for cracking, then check apply pin and springs for damage.
4. Remove seal and servo cover seal.
5. Remove snap ring, pin and springs.
INSTALLATION
1. Install new seal onto piston, then pin, small spring, retainer, snap ring and seal to cover.
2. Install 4th servo and large spring into cover. Ensure tab on piston is aligned with notch in case bore (early models).
3. Ensure flat spring is centered between bosses on cover (early models). A light mark may be scribed on top of piston for a reference.
CAUTION: Do not mark side of piston or a fluid leak or binding condition may result.
4. Install cover attaching screws. Hand start screws, then tighten in a star pattern to specification.
5. Lower vehicle, then add transmission fluid.