
Seville STS V8-4.6L VIN 9 (1998)
Alignment: Service and Repair
Front Wheel Alignment
Measuring Front Alignment Angles
^
Bounce the front and rear bumpers three times to normalize the suspension before checking the alignment.
^
Install the alignment equipment following the manufacturer's instructions. Measure the alignment angles and record the readings. If any
adjustments are needed, make the adjustments in the following order.
1. Caster
2. Camber
3. Toe
Front Caster Adjustment
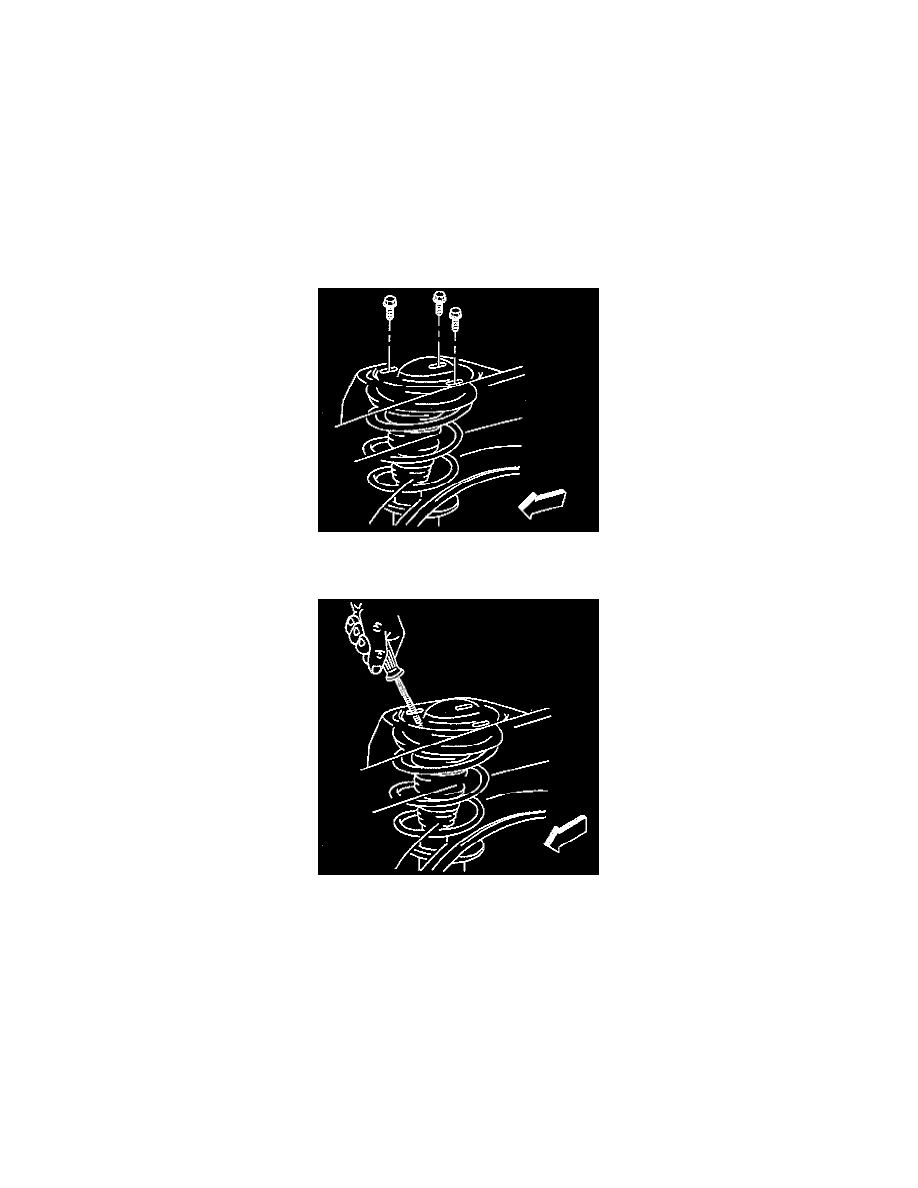
1. Remove the top strut mounting bolts.
2. Lift the front of the vehicle by the body to separate the strut from the inner wheel house.
3. Using a round file, enlarge the bolt hole opening in the strut tower at the front and rear of the strut mounting holes on the left and right strut towers.
4. File the excess metal to make the slotted holes.
5. Paint the exposed metal with rust preventive paint or primer.
6. Lower the front of the vehicle.
7. Install the strut attaching bolts, but do not tighten them at this time.
8. Adjust the caster by moving the top of the strut forward or rearward. A 1 mm (0.040 inch) position change at the tower is about equal to 0.1
degree change in caster. Set the caster to the required specification.
NOTICE: Always use the correct fastener in the proper location. When you replace a fastener, use ONLY the exact part number for that
application. The manufacturer will call out those fasteners that require a replacement after removal. The manufacturer will also call out the
fasteners that require thread lockers or thread sealant. UNLESS OTHERWISE SPECIFIED, do not use supplemental coatings (paints, greases, or
other corrosion inhibitors) on threaded fasteners or fastener joint interfaces. Generally, such coatings adversely affect the fastener torque and joint
clamping force, and may damage the fastener. When you install fasteners, use the correct tightening sequence and specifications. Following these
instructions can help you avoid damage to parts and systems.