
Seville STS V8-4.6L VIN 9 (1998)
6. Remove the radio. Refer to Radio Replacement in Instrument Panel, Gauges and Warning Indicators.
7. Remove the left Instrument Panel (I/P) closeout panel. Refer to I/P Closeout Panel Removal Closeout/Insulator Panel Replacement - I/P Lower
(Left) in Instrument Panel, Gauges and Warning Indicators.
8. Remove the left console side panel. Refer to Console Trim Panel Replacement - Left (LHD) in Instrument Panel, Gauges and Warning Indicators.
9. If equipped with RPO Code (T1A) anti-theft option, the I/P must be removed in order to remove the anti-theft park lock cable which has a ridged
housing and cannot be removed with the I/P in the vehicle. Refer to I/P Carrier Replacement in Instrument Panel, Gauges and Warning Indicators.
10. Turn the ignition switch to the RUN position.
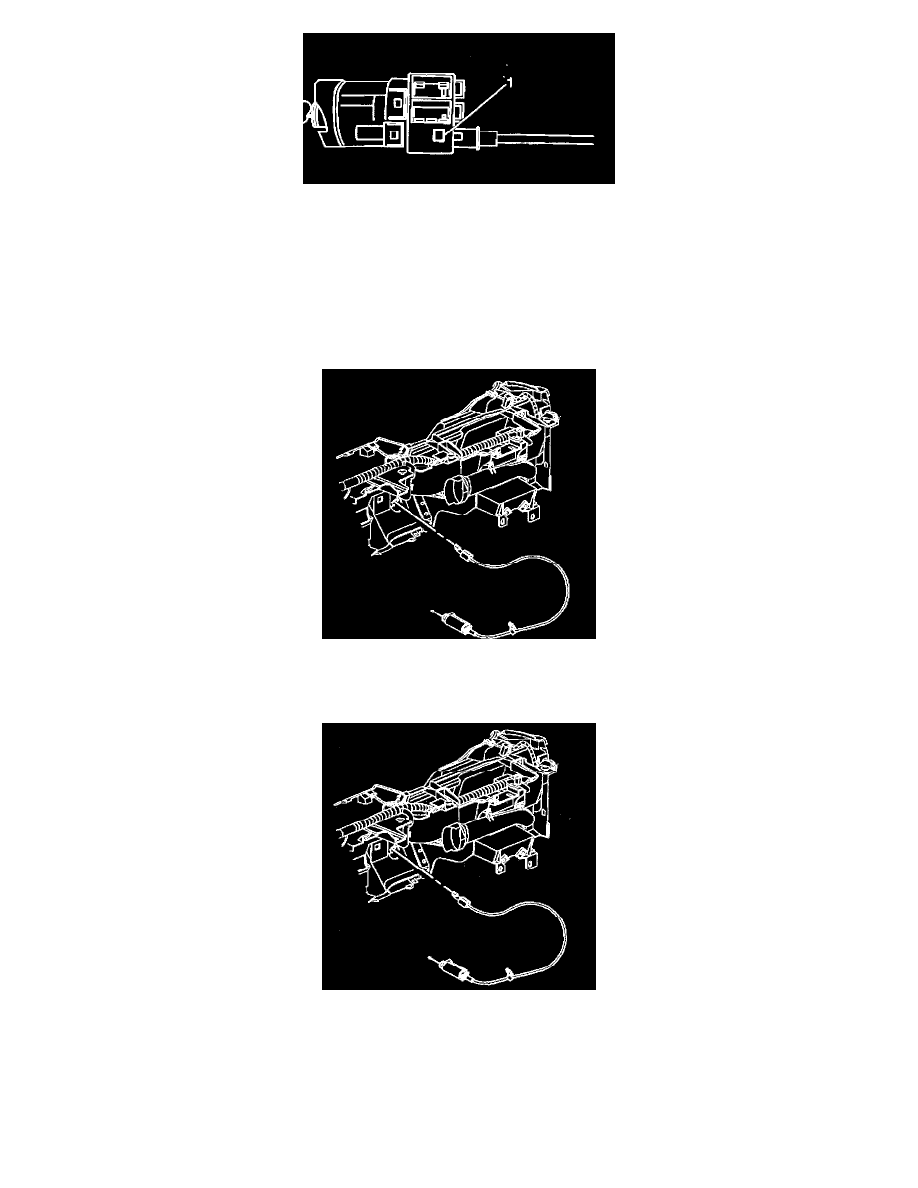
11. Depress the locking tab (1) on the cable and pull the cable out of the back of the ignition switch. The locking tab is located on the bottom of the
ignition switch facing in the 6 o'clock position.
12. Remove the park lock cable from the vehicle.
INSTALLATION PROCEDURE
1. If equipped with Regular Production Option (RPO) Code (T1A) anti-theft option, install the park lock cable into the Instrument Panel (I/P) before
installing the I/P into the vehicle. Refer to I/P Carrier Replacement in Instrument Panel, Gauges and Warning Indicators.
2. Turn the ignition switch to the RUN position.
3. Install the park lock cable into the back of the I/P.