
SRX 2WD V8-4.6L VIN A (2004)
Variable Valve Timing Solenoid: Service and Repair
Camshaft Position (CMP) Actuator Solenoid Replacement - Bank 2 (Left) Exhaust
CAMSHAFT POSITION (CMP) ACTUATOR SOLENOID REPLACEMENT - BANK 2 (LEFT) EXHAUST
REMOVAL PROCEDURE
1. Remove the remote power steering reservoir.
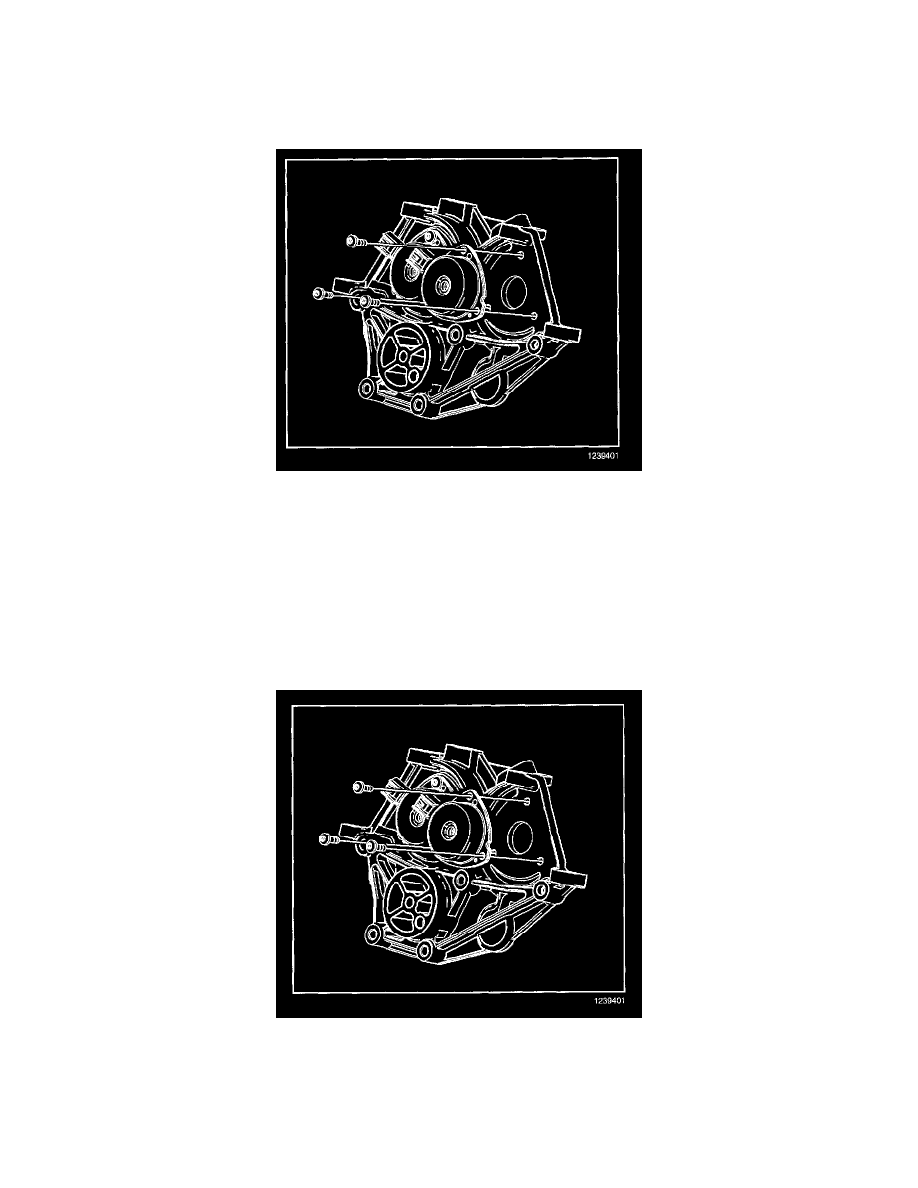
2. Remove the air conditioning, power steering and water pump drive belt tensioner.
3. Disconnect the actuator solenoid electrical connector.
4. Remove the left exhaust camshaft position actuator solenoid bolts.
5. Remove the left exhaust camshaft position actuator solenoid.
INSTALLATION PROCEDURE
IMPORTANT: The camshaft position actuator solenoid must be precisely aligned to the camshaft position actuator oil control valve on the end of
the camshaft. This is accomplished with an alignment pin. Failure to align the camshaft position actuator solenoid to the camshaft position actuator oil
control valve can lead to poor engine performance and engine component damage.
1. To allow for camshaft position actuator solenoid to camshaft position actuator oil control valve alignment, DO NOT install the NEW camshaft
position actuator solenoid alignment plugs at this time.
2. Camshaft Position Actuator Solenoid Alignment:
2.1.
Make an alignment pin from drill rod 15/64 inch diameter and at least 50 mm (1.97 in) long.
2.2.
Verify that the alignment pin will pass through the camshaft position actuator solenoid alignment hole.
2.3.
Verify that the alignment pin will fit into the alignment hole in the camshaft position actuator oil control valve.