
SRX 2WD V8-4.6L VIN A (2004)
5. Open and remove the quick connect fitting from the A/C refrigerant component.
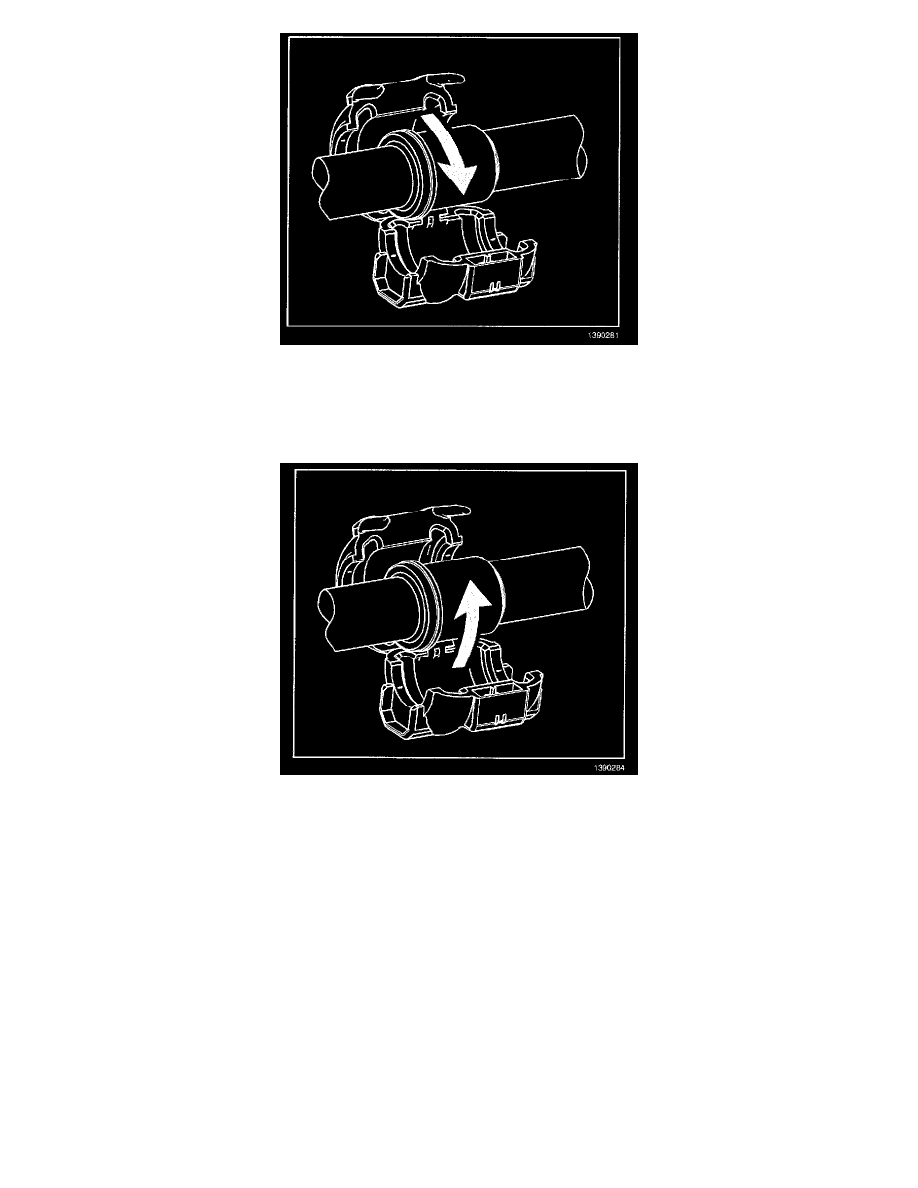
INSTALLATION PROCEDURE
IMPORTANT: Inspect the A/C quick connect fitting locking tab for damage or wear. Replace the A/C quick connect fitting if any conditions exist.
1. Install the A/C quick connect fitting to the A/C refrigerant component.
IMPORTANT: Ensure that the A/C quick connect fitting is latched securely to the A/C refrigerant component
2. Close the A/C quick connect fitting.
3. Evacuate and recharge the A/C system. Refer to Refrigerant Recovery and Recharging.
4. Leak test the fittings of the component using J 39400-A.
Discharge Hose Replacement
DISCHARGE HOSE REPLACEMENT
TOOLS REQUIRED
J 39400-A Halogen Leak Detector
REMOVAL PROCEDURE