SRX 2WD V8-4.6L VIN A (2004)

6. Lower the vehicle.
7. Remove the suction line quick connect fitting from the strut tower bracket.
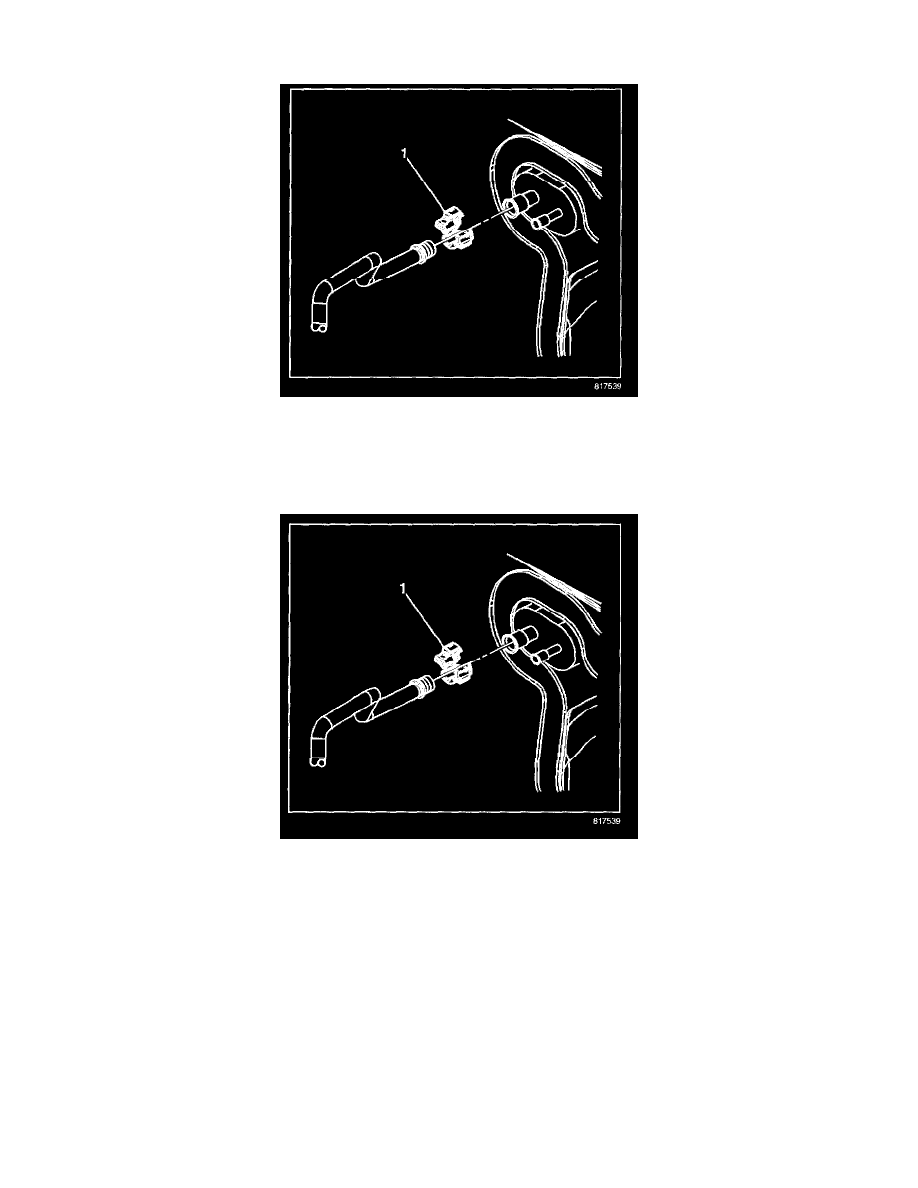
8. Remove the suction line quick connect fitting (1) from the evaporator.
9. Remove the suction line from the vehicle.
10. Remove and discard the O-rings from the suction line.
INSTALLATION PROCEDURE
1. Install new O-rings to the suction line.
2. Install the suction line to the vehicle.
3. Install a quick connect fitting (1) to the suction line at the evaporator.
4. Install a quick connect fitting to the suction line at the strut tower.
5. Raise and support the vehicle. Refer to Vehicle Lifting.
6. Install a quick connect fitting to the suction line at the mid-section A/C lines.
7. Lower the vehicle.
NOTE: Refer to Fastener Notice in Service Precautions.
8. Install the suction clamp screw to the strut tower.
Tighten
Tighten the screw to 1 N.m (9 lb in).
9. Install the liquid line.
10. Evacuate and recharge the A/C system. Refer to Refrigerant Recovery and Recharging.
