
SRX 2WD V8-4.6L VIN A (2004)
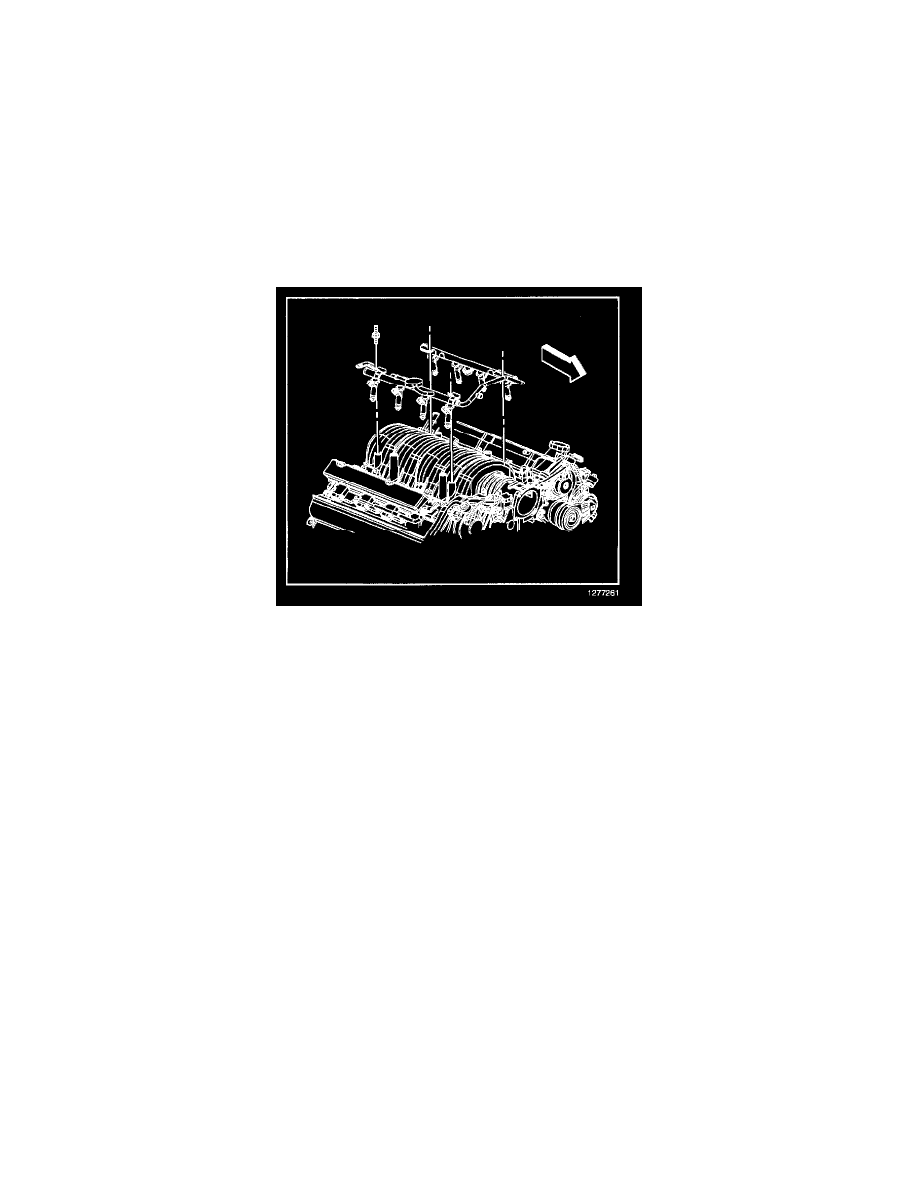
12. Remove the fuel rail assembly.
13. Remove the injector lower O-ring seal from the spray tip end of each injector.
14. Discard the O-ring seals.
15. Remove the retainers from the fuel injectors.
16. Remove the fuel injectors from the fuel rail.
17. Remove the O-ring seals from the fuel injectors. Discard the O-ring seals.
INSTALLATION PROCEDURE
NOTE:
-
Use care when servicing the fuel system components, especially the fuel injector electrical connectors, the fuel injector tips, and the injector
O-rings. Plug the inlet and the outlet ports of the fuel rail in order to prevent contamination.
-
Do not use compressed air to clean the fuel rail assembly as this may damage the fuel rail components.
-
Do not immerse the fuel rail assembly in a solvent bath in order to prevent damage to the fuel rail assembly.
1. Lubricate the new fuel injector O-ring seals with clean engine oil.
2. Install the new fuel injector O-ring seals on to the fuel injectors.
3. Install the fuel injectors to the fuel rail using new retainer clips.
4. Ensure that the injectors are aligned by orientating the electrical connectors perpendicular to the crankshaft centerline.
5. Lubricate and install the new O-ring seals on the spray tip end of each injector.
6. Align the fuel injectors and fuel rail to the intake manifold.
7. Carefully press the fuel rail assembly downward until fully seated against the intake manifold.
NOTE: Refer to Fastener Notice in Service Precautions.
8. Install the fuel rail attaching studs.
Tighten
Tighten the studs to 10 N.m (89 lb in).