
SRX AWD V6-3.0L (2010)
Sun Shade: Service and Repair
Sunroof Sunshade Cable Assembly Replacement
Sunroof Sunshade Cable Assembly Replacement
Removal Procedure
1. Remove the front sunroof window. Refer to Sunroof Window Replacement - Front (See: Sunroof / Moonroof Panel/Service and Repair/Sunroof
Window Replacement - Front).
2. Remove the rear sunroof window. Refer to Sunroof Window Replacement - Rear (See: Sunroof / Moonroof Panel/Service and Repair/Sunroof
Window Replacement - Rear).
3. Remove the rear luggage shade and the left luggage shade bolt, if equipped.
4. Remove the rear compartment floor stowage cover assembly.
5. Remove the rear end trim finish panel and floor panel rails. Refer to Rear End Trim Finish Panel Replacement (See: Interior Moulding /
Trim/Trim Panel/Service and Repair/Rear End Trim Finish Panel Replacement).
6. Remove the left body side trim panel and left quarter upper trim finish panel. Refer to Quarter Upper Trim Panel Replacement (See: Interior
Moulding / Trim/Trim Panel/Service and Repair/Quarter Upper Trim Panel Replacement).
Note: It is only necessary to lower the headliner. Only do those step in headliner replacement that will lower the headliner enough to gain access
to the part.
7. Repositioning the rear door opening weatherstrip to lower the left rear corner of the headliner. Refer to Headlining Trim Panel Replacement (With
C3U) (See: Interior Moulding / Trim/Headliner/Service and Repair/Headlining Trim Panel Replacement (With C3U))Headlining Trim Panel
Replacement (Without C3U) (See: Interior Moulding / Trim/Headliner/Service and Repair/Headlining Trim Panel Replacement (Without C3U))
8. Remove the 3 sunroof sunshade motor bolts and disengage the motor from the frame. Refer to Sunroof Sunshade Motor Replacement (See:
Sunroof Sunshade Motor Replacement).
9. Now working from the top side of the vehicle, unseat the sunroof inner window seal from the rear corners on both sides of the sunroof frame. This
allows access to the sunshade cable retainers and guide extensions, as necessary.
Note: The sunshade should be free from the drive cable on the broken side, but remove any piece of the cable retainer end from the sunshade and
retain the white guide clip.
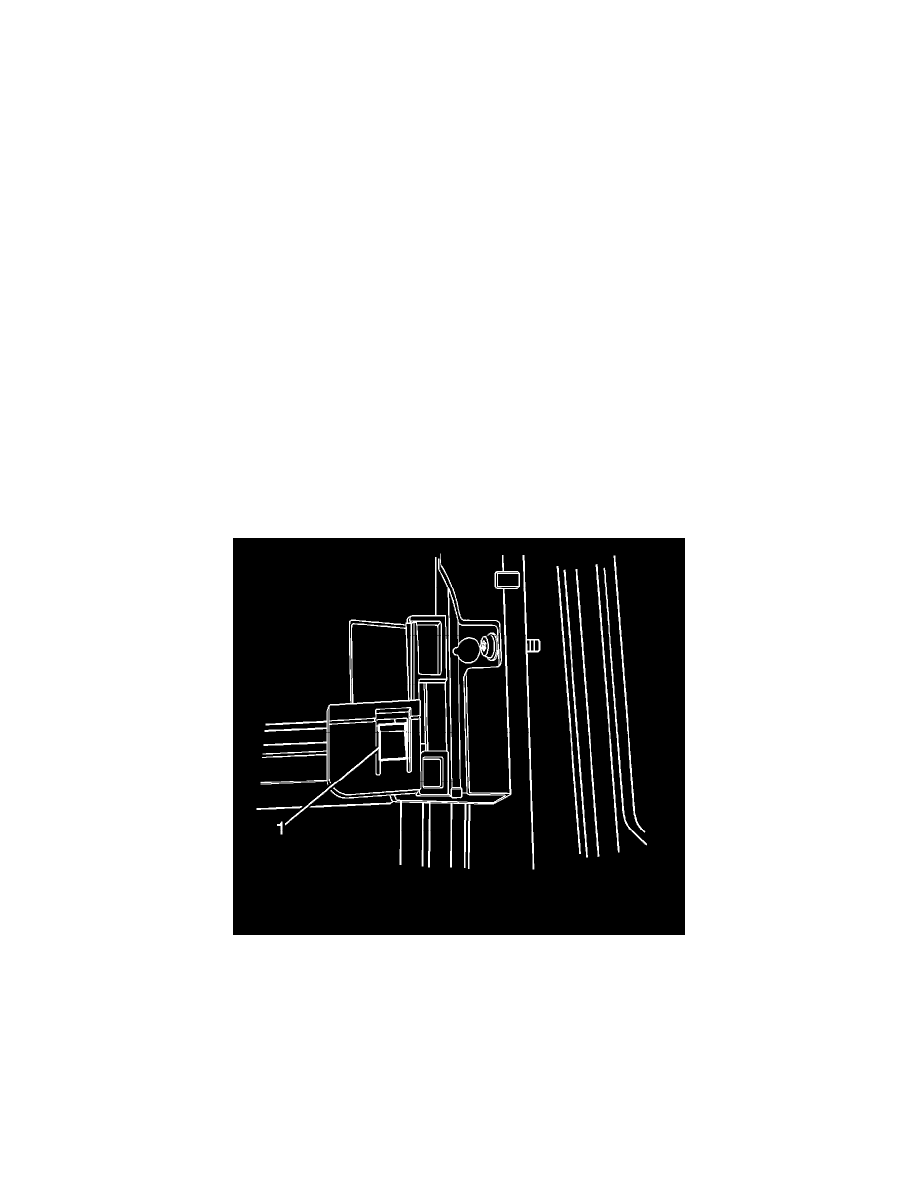
10. On the side opposite the broken cable, detach the sunshade front crossbar from the cable retainer by carefully lifting the retaining tab (1) and
pulling the crossbar forward.