
SRX AWD V8-4.6L VIN A (2004)
2. Push the electrical connector and the wiring through the hole in the headliner.
3. Connect the electrical connector (1).
4. Position the plastic retainer (2) over the top of the electrical harness.
5. Align the fasteners to the holes in the sunshade metal integral clip (2).
Important: Do not pinch the wiring (3) when you install the fasteners.
Notice: Refer to Fastener Notice in Service Precautions.
6. Install the fasteners that secure the bezel (2) to the headliner.
Tighten the fasteners to 2 N.m (18 lb in).
7. Install the windshield pillar garnish molding.
8. Secure the sunshade to the sunshade rod retainer.
Sunshade Retainer Bezel Replacement
Sunshade Retainer Bezel Replacement
Removal Procedure
1. Remove the windshield pillar garnish moldings.
2. Detach the sunshades from the sunshade rod retainers.
3. Carefully pry open the sunshade rod retainer cover using a thin flat-bladed tool.
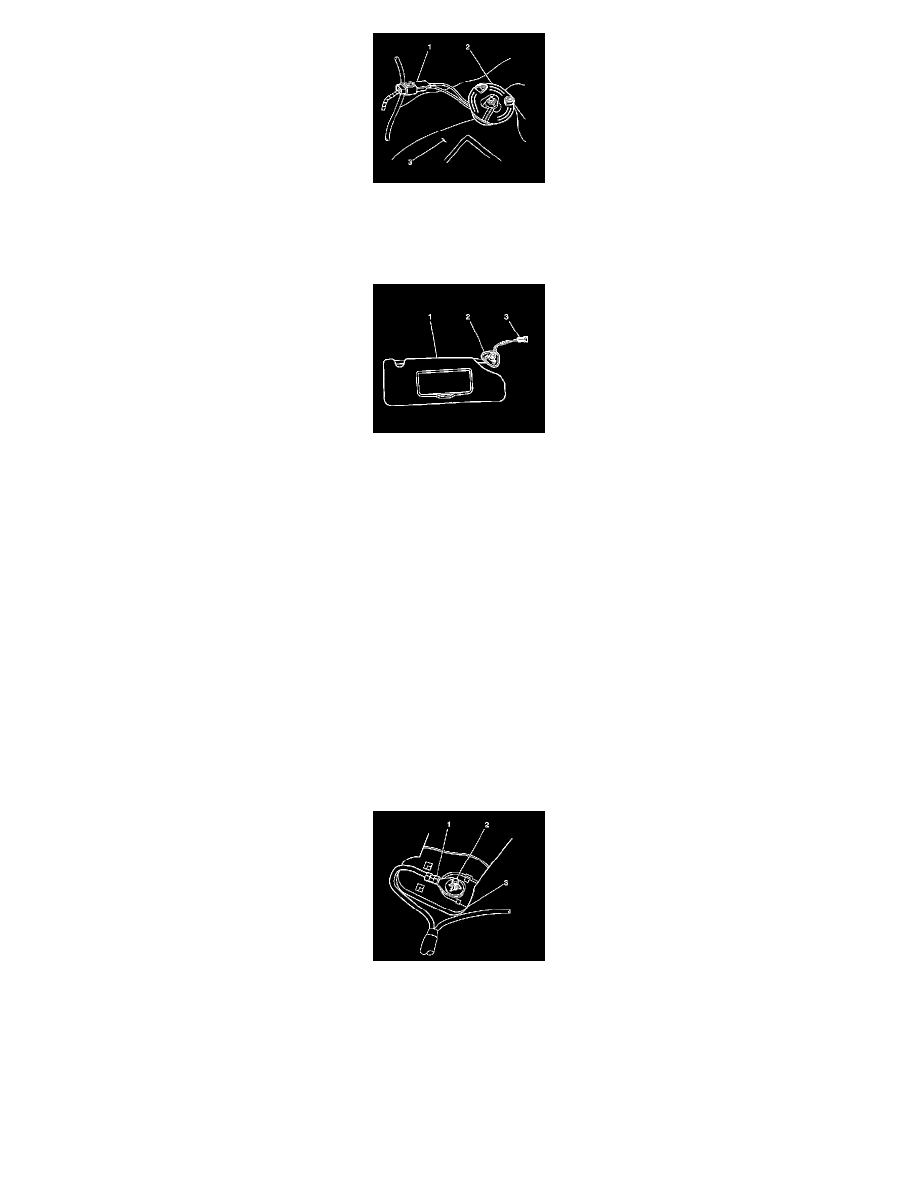
Important: The right side sunshade retainer bezel fastener (2) secures the ground strap (1) for the coaxial cable and the overhead console
bracket (3) above the headliner.
4. Ensure to include the ground strap upon re-assembly of the sunshade rod retainer, right side only.
5. Remove the fasteners.
6. Lower the front part of the headliner in order to access the ground strap (1).
7. Remove the right side sunshade bezel from the headliner.
8. Remove the left side sunshade bezel from the headliner.
Installation Procedure