
SRX AWD V8-4.6L VIN A (2004)
Power Seat Switch: Removal and Replacement
Seat Switch Replacement - Power
Seat Switch Replacement - Power
Removal Procedure
Caution: Refer to SIR Caution () in Service Precautions.
1. Disable the SIR system. Refer to SIR Disabling and Enabling Zone 7 () driver's seat and SIR Disabling and Enabling Zone 9 () and passenger seat.
2. Remove the seat cushion from the adjuster track enough to gain access to the power seat switch.
3. Remove the knobs from the switch by gently prying them off using a flat bladed tool.
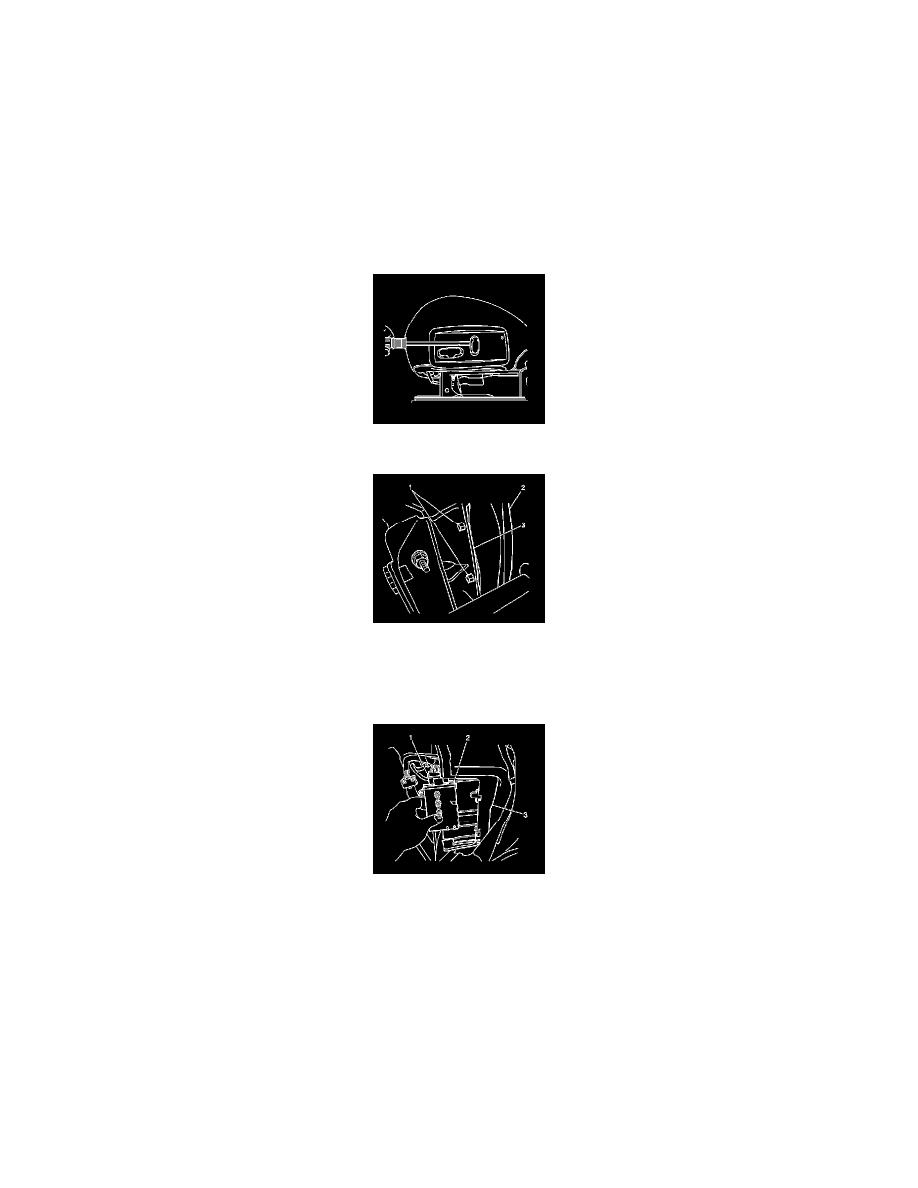
4. On the underside of the seat cushion, locate the retainers (1) securing the power seat switch bezel to the seat cushion frame (3).
5. Squeeze the retainers while gently prying the bezel from the seat cushion frame.
6. Remove the power seat switch bezel.
7. Release the J channel retainers securing the seat cushion cover to the seat cushion frame in order to gain access to the power seat switch.
8. Remove the push-in fastener securing the power seat switch (2) to the seat cushion frame (3).
9. Slide the power seat switch (2) from the seat cushion frame (3).
Notice: Note the correct routing of the electrical wiring. Failure to reinstall the wiring properly could result in damage to the wiring.
10. Disconnect the electrical connector (1) from the power seat switch.
Installation Procedure
1. Install the wiring harness in the position in which it was removed.
2. Connect the electrical connector to the power seat switch.
3. Slide the power seat switch upward into the seat cushion frame.
4. Install the push-in fastener in order to secure the power seat switch to the seat cushion frame.
5. Install the seat cushion cover over the switch.
6. Position the power seat switch bezel over the switches.