
SRX AWD V8-4.6L VIN A (2004)
1. Install new O-rings to the auxiliary front discharge line.
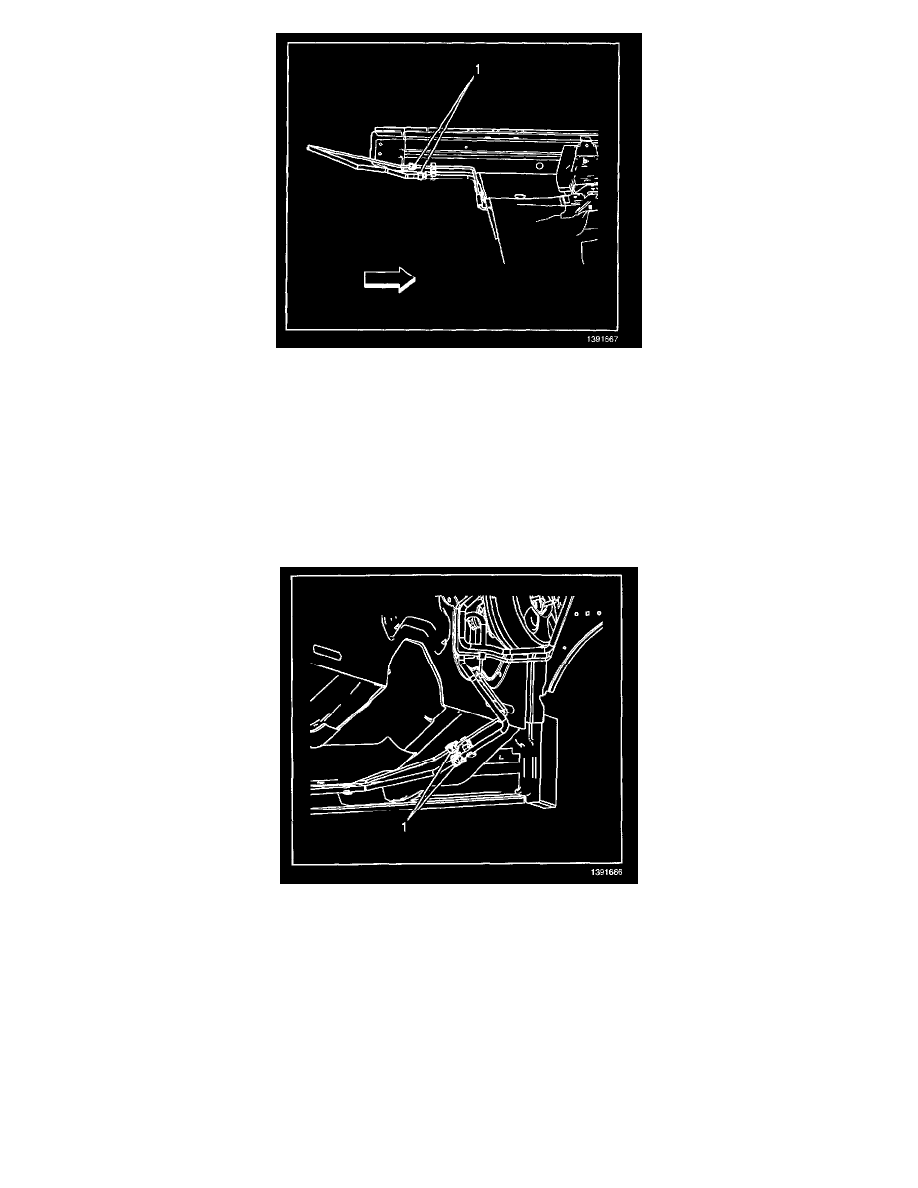
2. Install the auxiliary front discharge line to the vehicle.
3. Connect the auxiliary front discharge line to the body retainers.
4. Connect the auxiliary front discharge line to the auxiliary rear discharge line.
NOTE: Refer to Fastener Notice in Service Precautions.
5. Tighten the fitting of the auxiliary front discharge line.
Tighten
Tighten the fitting to 9 N.m (80 lb in).
6. Connect the auxiliary front discharge line to the front discharge line.
7. Install the auxiliary front discharge line to front discharge line quick connect fitting.
8. Lower the vehicle.
9. Evacuate and recharge the A/C system. Refer to Refrigerant Recovery and Recharging.
10. Leak test the fittings of the component using J 39400-A.
Evaporator Tube Replacement - Auxiliary Rear (Liquid Line)
EVAPORATOR TUBE REPLACEMENT - AUXILIARY REAR (LIQUID LINE)
TOOLS REQUIRED
J 39400-A Halogen Leak Detector
REMOVAL PROCEDURE