
SRX AWD V8-4.6L VIN A (2004)
9. Remove the retaining ring using J 8059, or equivalent, and discard the old retaining ring.
10. Important:
Accurately reference mark the tripot spider position on the wheel drive shaft bar before disassembly.
Reference mark the position of the tripot spider (1) on the wheel drive shaft bar (2).
11. Using a brass drift and hammer, carefully tap around the tripot spider face to remove the tripot spider (1) from the wheel drive shaft bar.
12. Remove the joint seal from the wheel drive shaft bar.
13. Inspect the following parts for damage and/or wear:
^
The wheel drive shaft inboard seal
^
The tripot joint spider assembly
^
The housing
^
The trilobal tripot bushing
Assembly Procedure
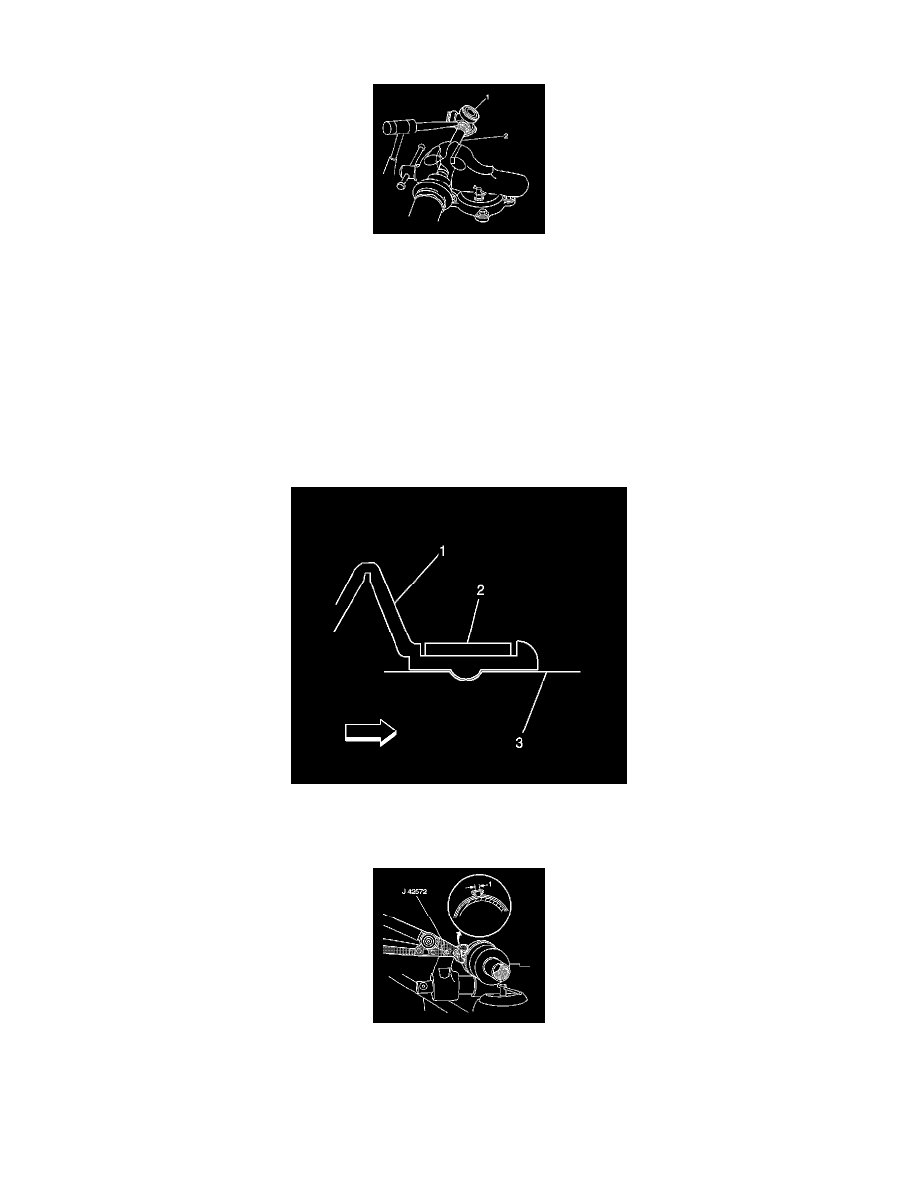
1. Place the new small seal clamp (2) onto the small end of the inner joint seal (1).
2. Slide the inner joint seal and the small seal clamp into the boot groove on the wheel drive shaft bar.
3. Position the small end of the inner joint seal into the inner joint seal groove (3) on the wheel drive shaft bar.
4. Important:
The seal retaining clamp must not be over-tightened or under-tightened.
Using the J 42572, or equivalent, crimp the small seal retaining clamp.
^
Tighten the small seal clamp until the base of the omega ohm shape has a gap of 1 mm (0.039 inch).
The clamping hold time must be no less than 2 seconds.