
SRX RWD V8-4.6L VIN A (2006)
28. Locate the timing mark (1) on the actuator marked RE which stands for right exhaust.
29. Align the timing mark (3) of the right bank exhaust camshaft position actuator with the timing chain black link and install the actuator on the
camshaft with the actuator timing mark perpendicular (90 degrees) to the cylinder head deck surface near the top of its rotation. Ensure that the
camshaft alignment pin hole on the rear of the actuator engages with the camshaft alignment pin. If necessary, use an open-end wrench on the hex
cast into the camshaft to obtain proper camshaft pin to actuator engagement.
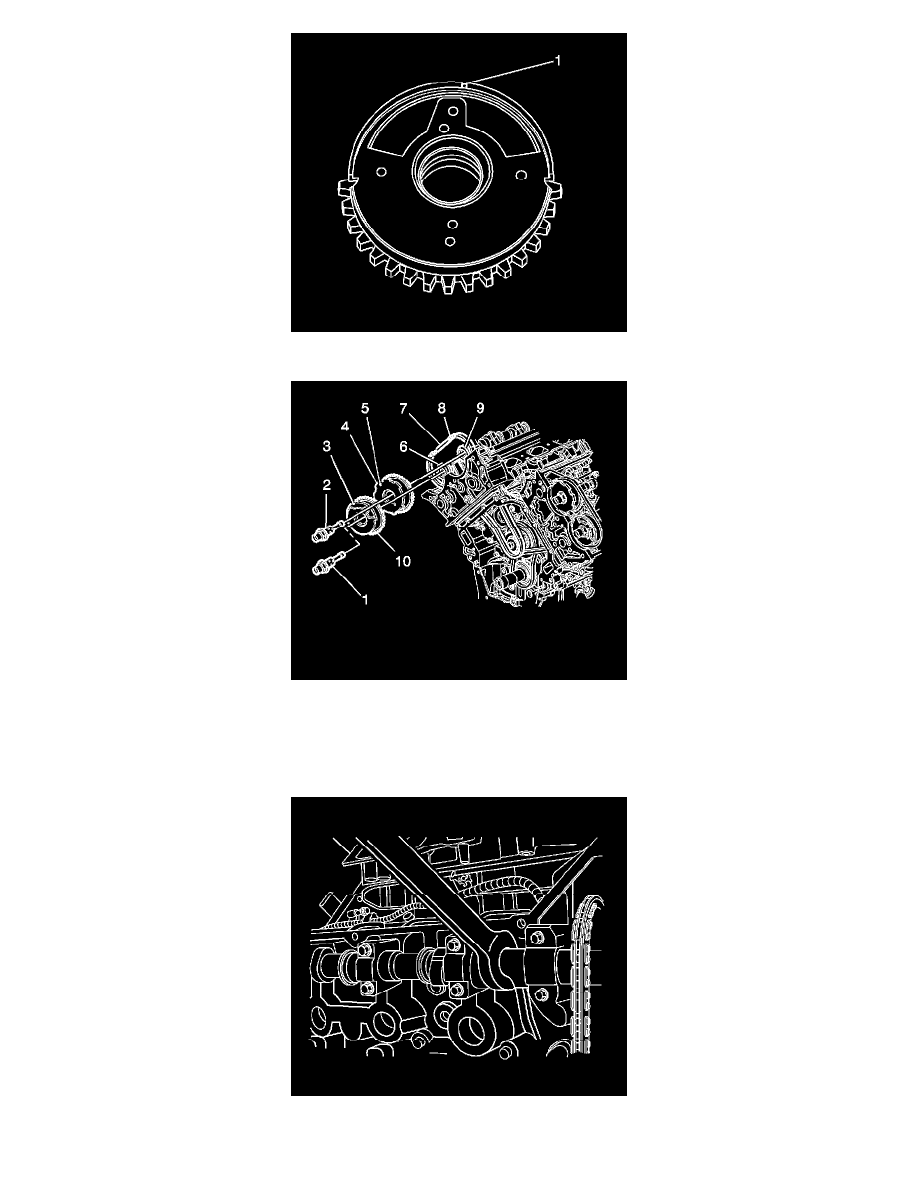
30. Loosely install the oil control valve (1) to secure the exhaust actuator.
31. Use an open-end wrench on the hex cast into the camshaft in order to prevent the camshaft from rotating when tightening the oil control valve.
Tighten the oil control valve to 120 Nm (89 ft. lbs.).