
SRX RWD V8-4.6L VIN A (2006)
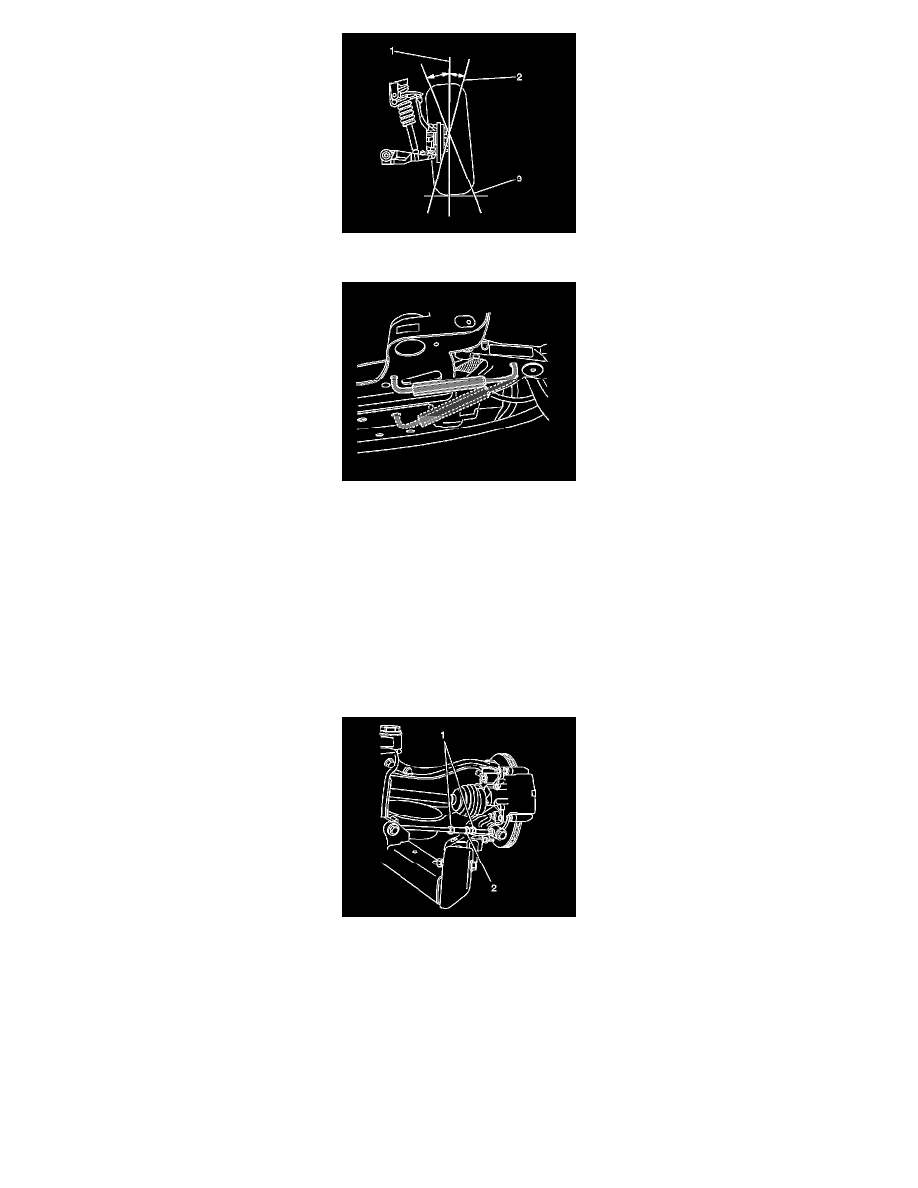
3. Determine the camber angle (2, 3).
4. Install the J 45845 to the lower control arm and the frame.
5. Loosen the lower control arm adjustment nuts.
Notice: Refer to Fastener Notice.
6. Adjust the caster and the camber angle by repositioning the lower control arm until the specifications have been met. When the adjustments are
complete, hold the lower control arm in position so that the specifications do not change while tightening the lower control arm adjustment bolts.
Tighten the lower control arm adjustment bolts to 135 Nm (96 ft. lbs.).
7. Verify that the caster and the camber are still within specifications. Refer to Wheel Alignment Specifications. When the caster and camber are
within specifications, adjust the toe. Refer to Front Toe Adjustment.
Rear Toe Adjustment
1. Important: Complete the left and right rear toe adjustments separately, per wheel. Using the following procedure.
Loosen the adjustment link jam nuts (1).
2. In order to adjust the toe, rotate the turnbuckle (2).
3. Notice: Refer to Fastener Notice in Service Precautions.
Hold the turnbuckle (2) when tightening the jam nuts (1).
Tighten the jam nuts to 40 Nm (30 ft. lbs.).
4. Recheck the toe setting after tightening.
5. Readjust the toe setting if necessary. Refer to Wheel Alignment Specifications.